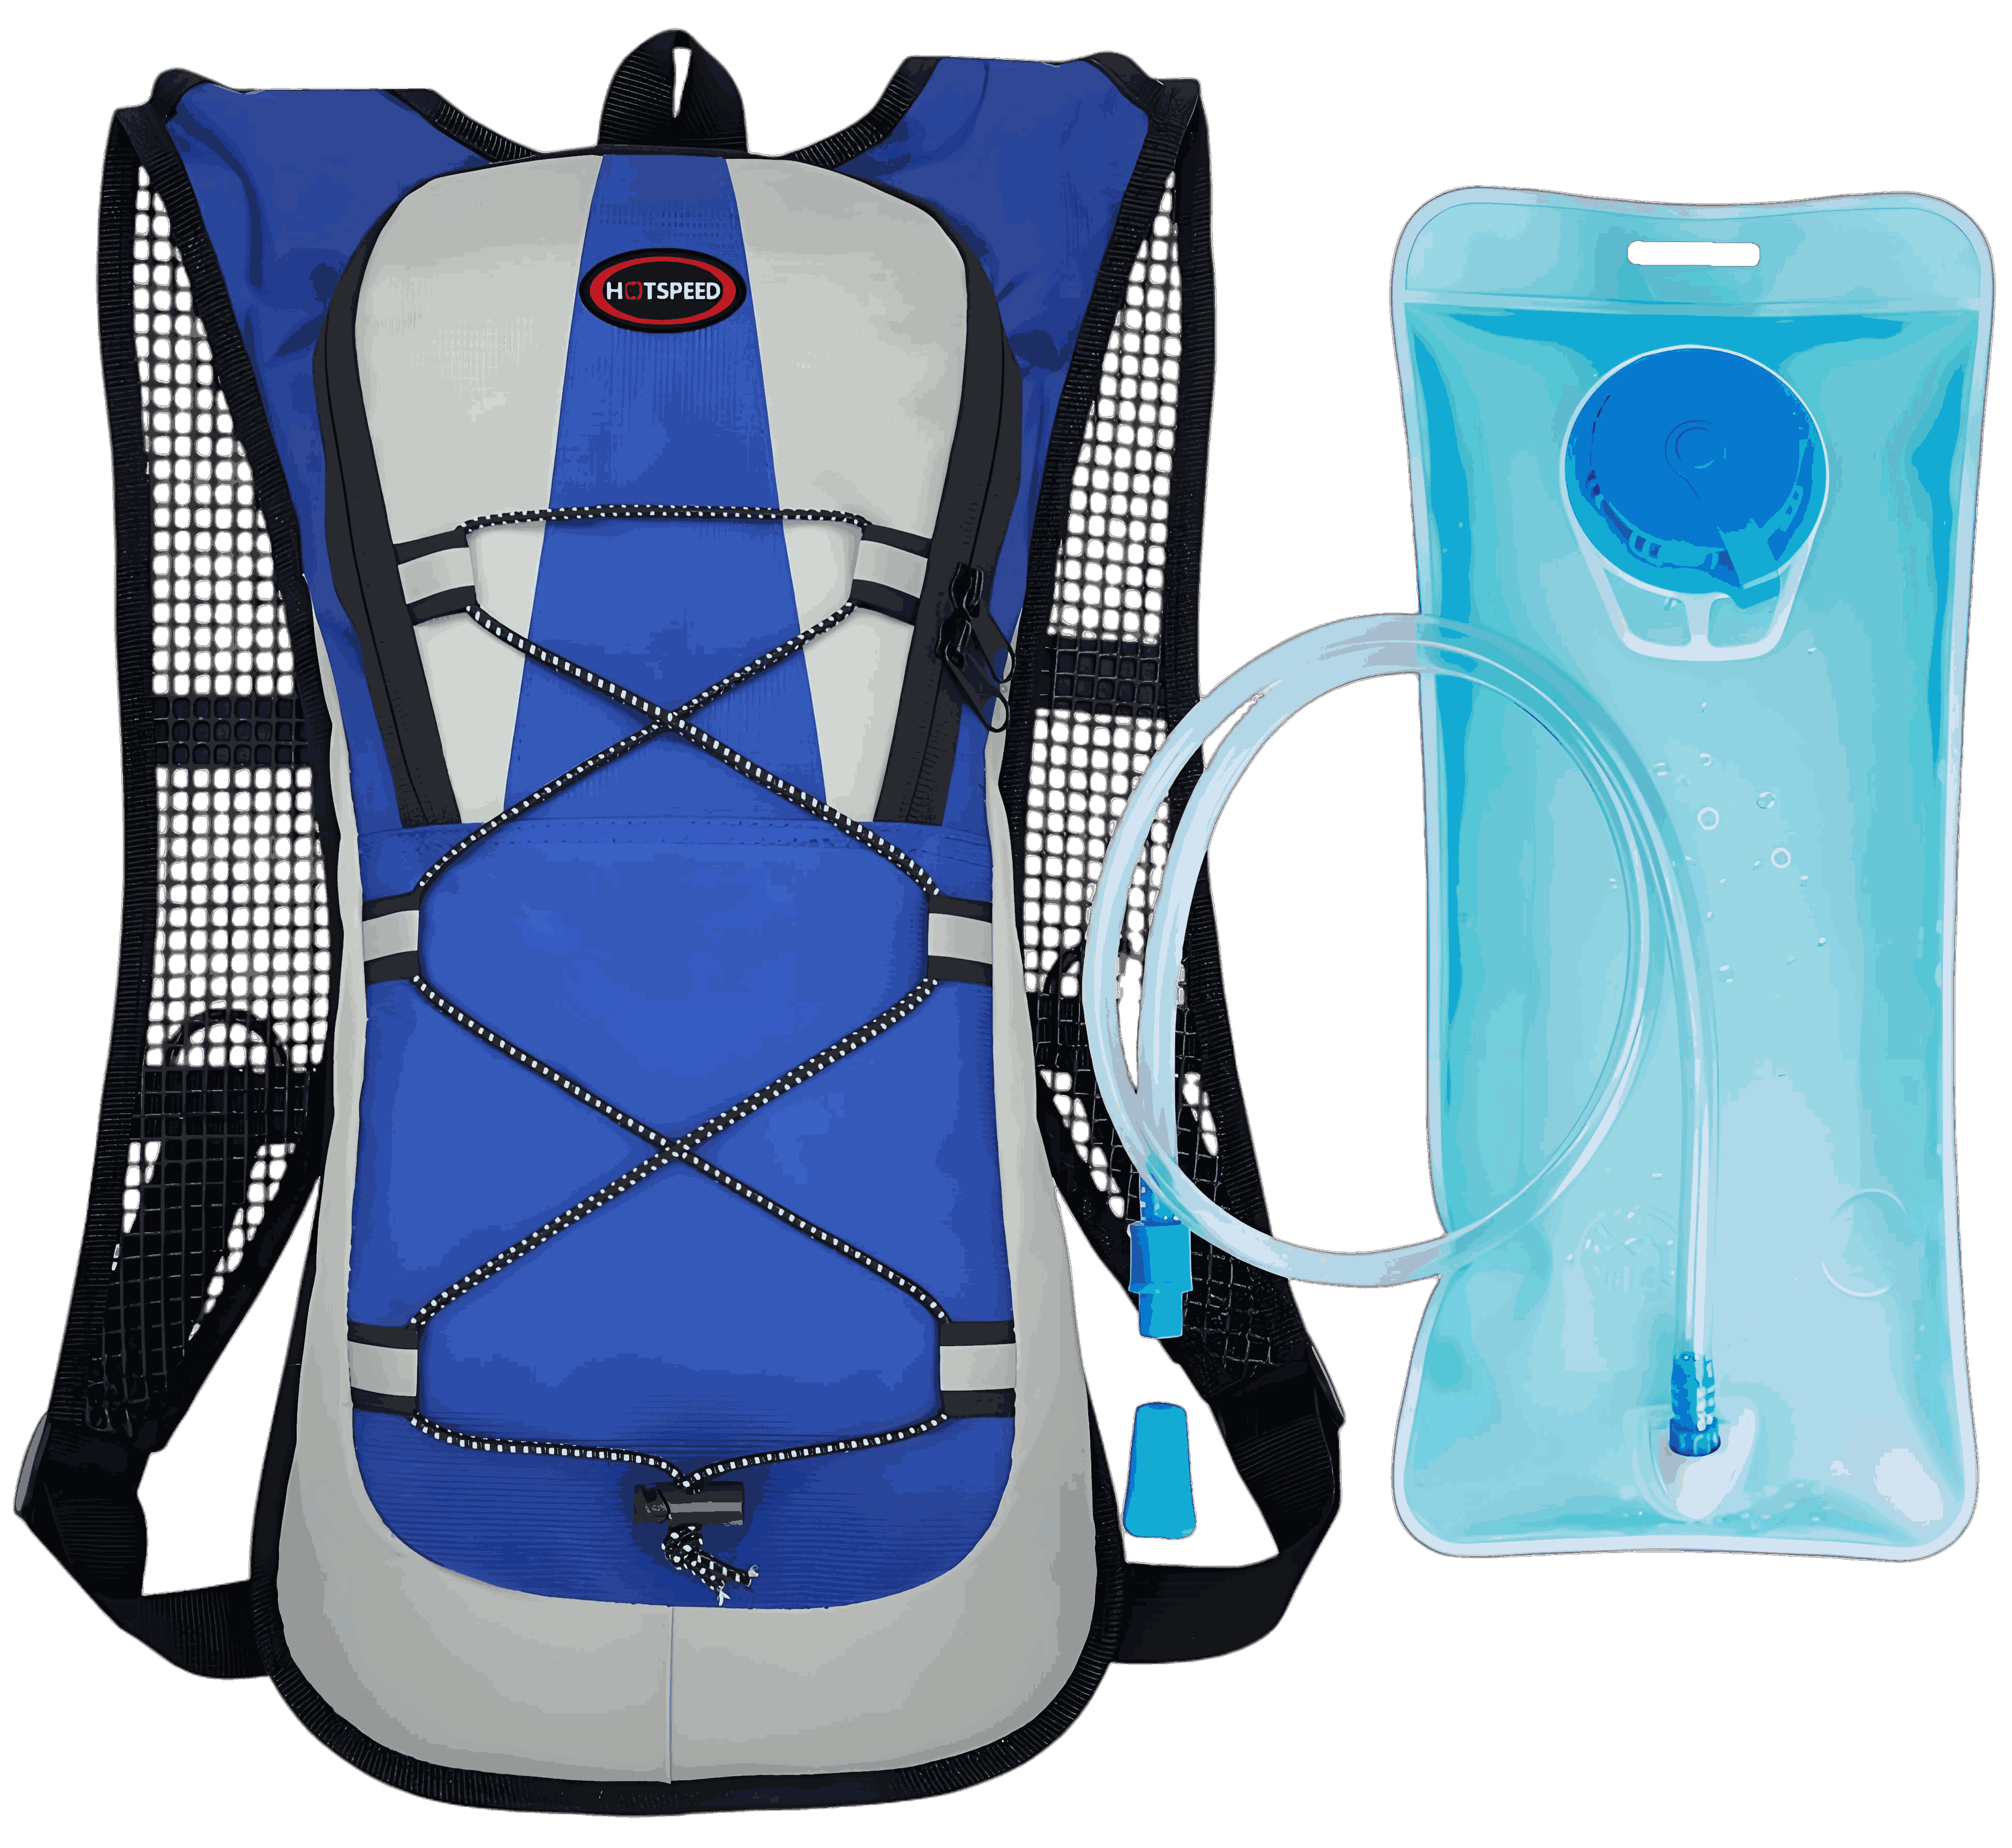
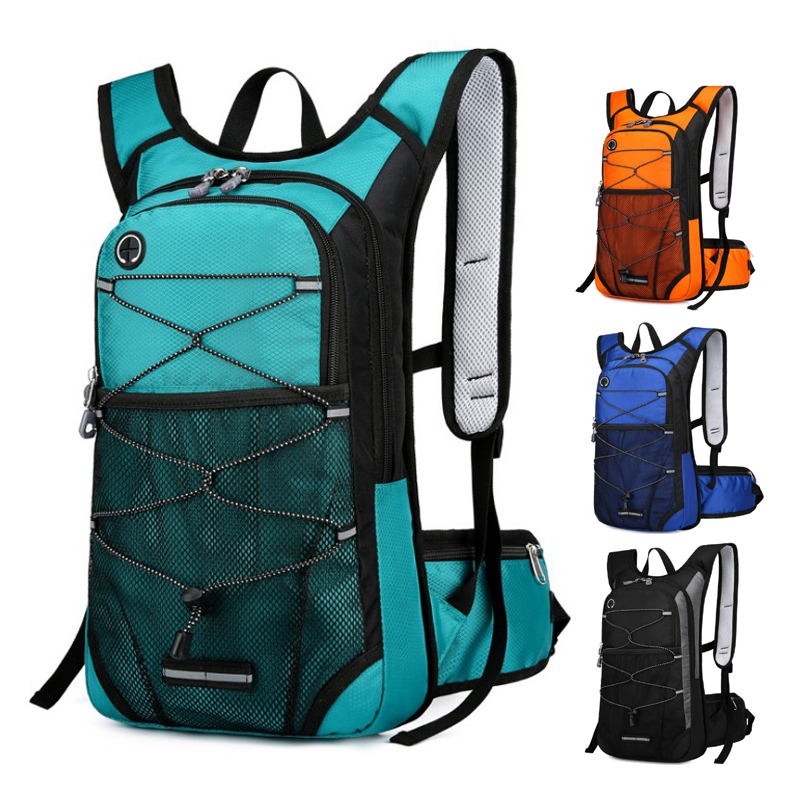
As an avid hiker and outdoor gear enthusiast, I’ve spent countless hours on trails, tweaking my setup to make every adventure as smooth as possible. One game-changer in my kit has been the hydration bladder—a convenient, hands-free way to stay hydrated without fumbling for a water bottle. But if you’ve ever tried attaching a hydration bladder to a backpack, you know it can feel like wrestling with a slippery puzzle. Whether you’re a newbie gearing up for your first hike or a seasoned trekker looking to optimize your setup, I’m here to walk you through how to attach a hydration bladder to a backpack with practical steps, tips, and a few hard-earned lessons from the trail.
Why Is Attaching a Hydration Bladder So Tricky?
Hydration bladders are fantastic for keeping you hydrated on the go, but their flexible, floppy nature and the variety of backpack designs can make installation a bit daunting. From tangled tubes to incompatible compartments, I’ve faced my fair share of frustrations. After years of experimenting with different setups and learning from fellow hikers, I’ve honed a reliable method to secure a hydration bladder properly. Let’s dive into the process, so you can hit the trail with confidence!

Step-by-Step Guide to Attaching a Hydration Bladder to a Backpack
Attaching a hydration bladder isn’t rocket science, but it does require attention to detail to ensure comfort and functionality. Below, I’ll break down the process into clear, actionable steps.
1. Choose a Compatible Backpack
Not all backpacks are designed to accommodate hydration bladders, so checking compatibility is the first step. Most hiking and outdoor backpacks have a dedicated hydration sleeve or compartment, but it’s worth confirming.
What to Look For:
A hydration sleeve: A flat, internal pocket (usually near the back panel) designed to hold the bladder.
Tube routing ports: Small openings or loops on the shoulder straps or top of the pack for the drinking tube.
Hanging clip or loop: Some sleeves have a clip to secure the bladder and prevent it from sliding down.
Tip: If your backpack lacks a hydration sleeve, you can still use a bladder by placing it in a main compartment, but ensure it’s upright and won’t be punctured by other gear.
2. Prepare the Hydration Bladder
Before attaching, prepare the bladder to ensure it’s clean, functional, and ready for use. A poorly prepped bladder can lead to leaks or contamination.
Steps:
Clean the bladder if it’s new or hasn’t been used recently. Use warm water with a mild dish soap, rinse thoroughly, and let it air dry. For stubborn residue, try a cleaning kit with brushes (available at most outdoor retailers).
Fill the bladder with water, leaving some air space to prevent overpressure. Most bladders hold 1-3 liters; choose based on your trip length.
Check the bite valve and tube for leaks by gently squeezing the bladder.
Close the bladder securely, whether it uses a screw cap, slide-lock, or fold-top seal.
Note: According to the Centers for Disease Control and Prevention (CDC), proper cleaning of water containers is essential to prevent bacterial growth, especially for outdoor use.
3. Insert the Bladder into the Hydration Sleeve
Now it’s time to place the bladder in the backpack. This step is crucial for stability and comfort during your hike.
How to Do It:
Locate the hydration sleeve (usually accessible via a zipper or top opening). If your pack doesn’t have one, use the main compartment but place the bladder upright.
Slide the bladder into the sleeve, ensuring the fill port is at the top and the tube exit is at the bottom (most bladders are designed this way).
If the sleeve has a clip or loop, attach the bladder’s hanging tab to keep it from slumping.
Gently shake the pack to ensure the bladder sits flat and isn’t twisted.
Tip: If the bladder feels loose, pad the sleeve with soft items (like a jacket) to stabilize it.

4. Route the Drinking Tube
The drinking tube needs to be routed correctly to ensure easy access without getting in the way. A poorly routed tube can snag on branches or bounce annoyingly.
Steps:
Feed the tube through the backpack’s routing port (usually a small hole near the top or shoulder straps).
Pull the tube through and attach it to the shoulder strap using clips, loops, or magnetic holders (if provided).
Position the bite valve within reach of your mouth—typically near your chest or shoulder.
Test the tube length; it should be long enough to sip comfortably but not so long it dangles.
Pro Trick: Coil any excess tube and secure it with a small elastic band to prevent flapping.
5. Test and Adjust
Before heading out, test the setup to ensure everything works smoothly and feels comfortable.
Checklist:
Fill the bladder halfway, wear the backpack, and take a sip to confirm the tube is accessible.
Walk around to check if the bladder shifts or leaks.
Adjust the tube routing or bladder position if needed.
Note: A properly installed bladder should feel balanced and not slosh excessively when you move.
Common Challenges and Solutions
Attaching a hydration bladder can come with hiccups, especially if you’re new to it. Here’s a table summarizing common issues and how to fix them:
|
Challenge |
Cause |
Solution |
|---|---|---|
|
Bladder slides down in the sleeve |
No clip or loose fit |
Use the sleeve’s clip or add a small carabiner to secure the bladder’s top loop. |
|
Tube gets tangled or snags |
Poor routing or excess length |
Shorten the tube by coiling or reroute through a different port; use strap clips to secure. |
|
Leaks at the fill port or tube |
Improper sealing or damage |
Double-check the cap or seal; inspect the tube for cracks and replace if needed. |
|
No hydration sleeve in backpack |
Older or non-specialized pack |
Place the bladder upright in the main compartment, cushioned by soft gear to prevent punctures. |
|
Difficult to access bite valve |
Incorrect tube positioning |
Adjust the tube to rest closer to your mouth; use a magnetic clip for quick access. |
Practical Tips for a Seamless Hydration Setup
Over the years, I’ve picked up some tricks that make attaching and using a hydration bladder easier. Here are my favorites:
Label Your Bladder: If you own multiple bladders, mark them (e.g., “Hiking” or “Camping”) to avoid grabbing the wrong one.
Freeze for Hot Days: For summer hikes, fill the bladder halfway and freeze it overnight. Top it off with water before your trip for a refreshing, cool sip.
Use a Tube Insulator: In cold weather, a neoprene tube sleeve prevents freezing. I learned this the hard way during a winter hike when my tube turned into an icicle!
Practice at Home: Before a big trip, practice attaching and removing the bladder a few times to build muscle memory.
Carry a Backup: For long treks, pack a collapsible water bottle as a backup in case the bladder fails.

Choosing the Right Hydration Bladder and Backpack
While the attachment process is key, your gear choices can make or break the experience. Here’s what to consider:
Hydration Bladder Features
Capacity: 1L for short hikes, 2-3L for day-long or multi-day trips.
Closure Type: Screw caps are secure but slower; slide-locks or fold-tops are faster but require careful sealing.
Material: Look for BPA-free, durable TPU (thermoplastic polyurethane) for safety and longevity.
Tube Design: Quick-disconnect tubes make cleaning and refilling easier.
Backpack Features
Hydration Compatibility: Ensure it has a sleeve and tube ports.
Size: Match the pack’s capacity to your trip (e.g., 20-30L for day hikes, 50L+ for multi-day).
Fit: A well-fitted pack distributes weight evenly, reducing strain from the bladder’s weight.
According to REI’s gear guide, a properly sized hydration bladder should match your activity duration and pack capacity to avoid over- or under-packing water.
Different Types of Hydration Bladders and Their Attachment Needs
Not all hydration bladders are created equal, and their design can affect how you attach them. Here’s a quick overview:
|
Bladder Type |
Features |
Attachment Tips |
|---|---|---|
|
Screw-Cap Bladders |
Secure seal, but slower to fill |
Ensure the cap is at the top for easy access when refilling. |
|
Slide-Lock Bladders |
Quick to open/close, prone to leaks if not sealed properly |
Double-check the seal before inserting; align the lock with the sleeve’s top. |
|
Fold-Top Bladders |
Lightweight, easy to clean |
Fold tightly and clip the top to the sleeve’s loop to prevent slipping. |
|
Insulated Bladders |
Built-in tube insulation for extreme weather |
Route the thicker tube carefully to avoid kinks; use wider ports if available. |
My Personal Experience: Lessons from the Trail
A few years ago, during a multi-day trek in the mountains, I struggled with a poorly attached hydration bladder. The tube kept slipping off my shoulder strap, and the bladder sloshed around in the sleeve, throwing off my balance. After that trip, I spent time researching and testing different setups. Now, I always double-check the bladder’s position, secure the tube with clips, and test my pack before heading out. This small effort has made my hikes far more enjoyable, letting me focus on the scenery instead of my gear.
One memorable moment was when a fellow hiker saw me effortlessly sip from my bladder and asked for tips. I showed her how to route the tube properly, and she was amazed at how simple it was once she knew the trick. Sharing knowledge like this is why I love being part of the outdoor community!

FAQs: Your Hydration Bladder Questions Answered
To wrap up, I’ve compiled some common questions about attaching hydration bladders, along with practical answers to help you out:
Q1: Can I use a hydration bladder in a regular backpack?
A: Yes, but it’s trickier. Place the bladder upright in the main compartment, cushioned by soft items to prevent punctures. Route the tube through a zipper opening or over the top.
Q2: How do I prevent the bladder from leaking?
A: Ensure the cap or seal is tight, check the tube for cracks, and avoid overfilling. Test for leaks at home by squeezing the filled bladder.
Q3: What if my backpack has no tube routing ports?
A: Run the tube over the top of the pack or through a partially unzipped compartment. Secure it to the strap with a clip or Velcro tie.
Q4: How often should I clean the bladder?
A: Clean after every use if you add anything besides water (e.g., electrolytes). For water-only use, clean every 2-3 trips or if you notice an odor.
Q5: Can I carry other gear with the bladder in the pack?
A: Yes, but avoid sharp or heavy items near the bladder to prevent punctures. Place the bladder in its sleeve first, then pack other gear around it.
Wrapping Up: Hydrate with Ease
Attaching a hydration bladder to a backpack might seem intimidating at first, but with the right steps and a bit of practice, it becomes second nature. From choosing compatible gear to routing the tube like a pro, these tips will help you stay hydrated and comfortable on any adventure. I hope this guide empowers you to tackle your next hike with confidence, knowing your hydration setup is rock-solid.
Got more questions or trail-tested tips of your own? Drop them in the comments—I’d love to hear from you! Here’s to many more miles of hydrated, happy hiking!