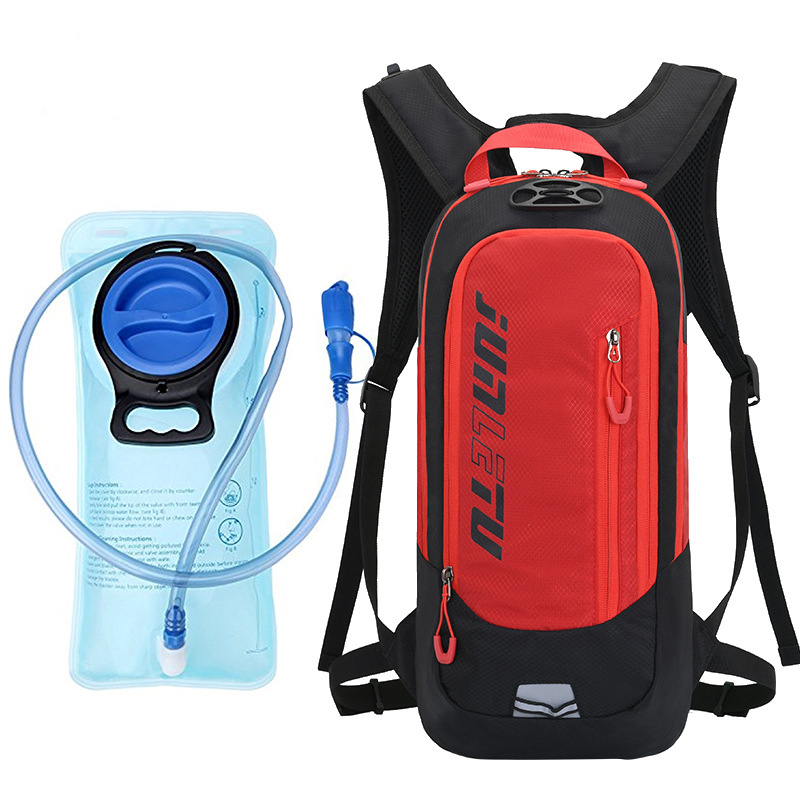
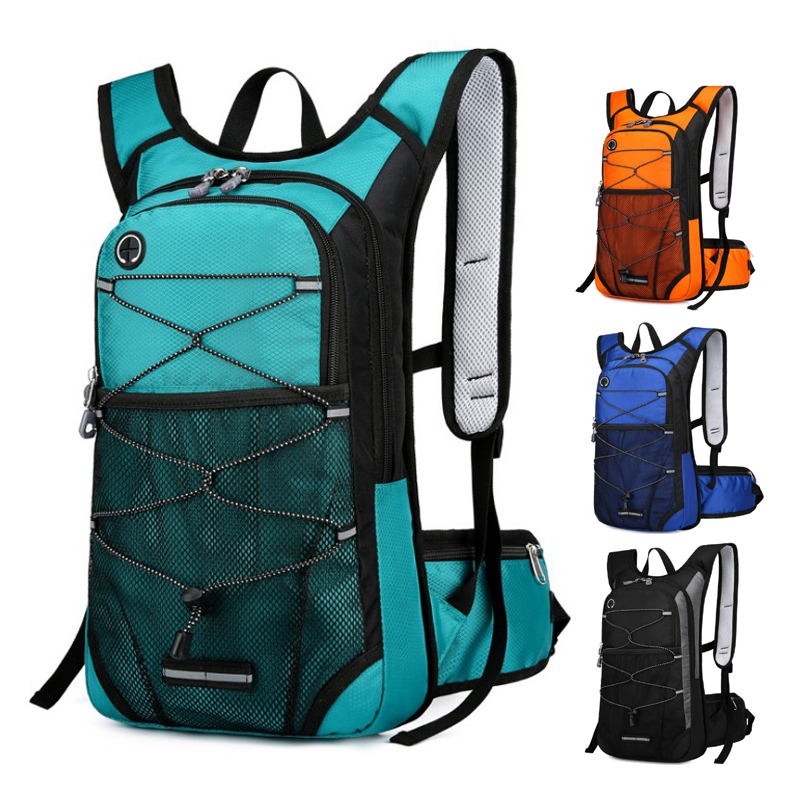
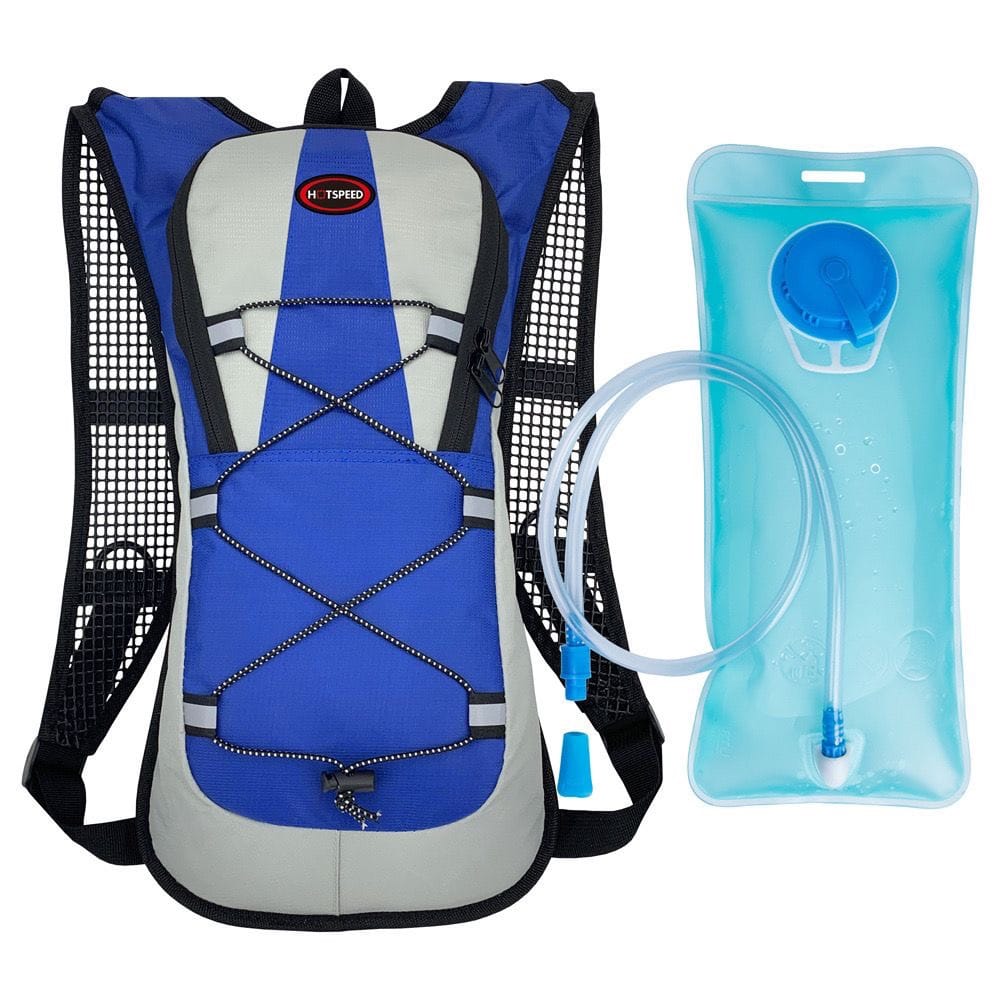
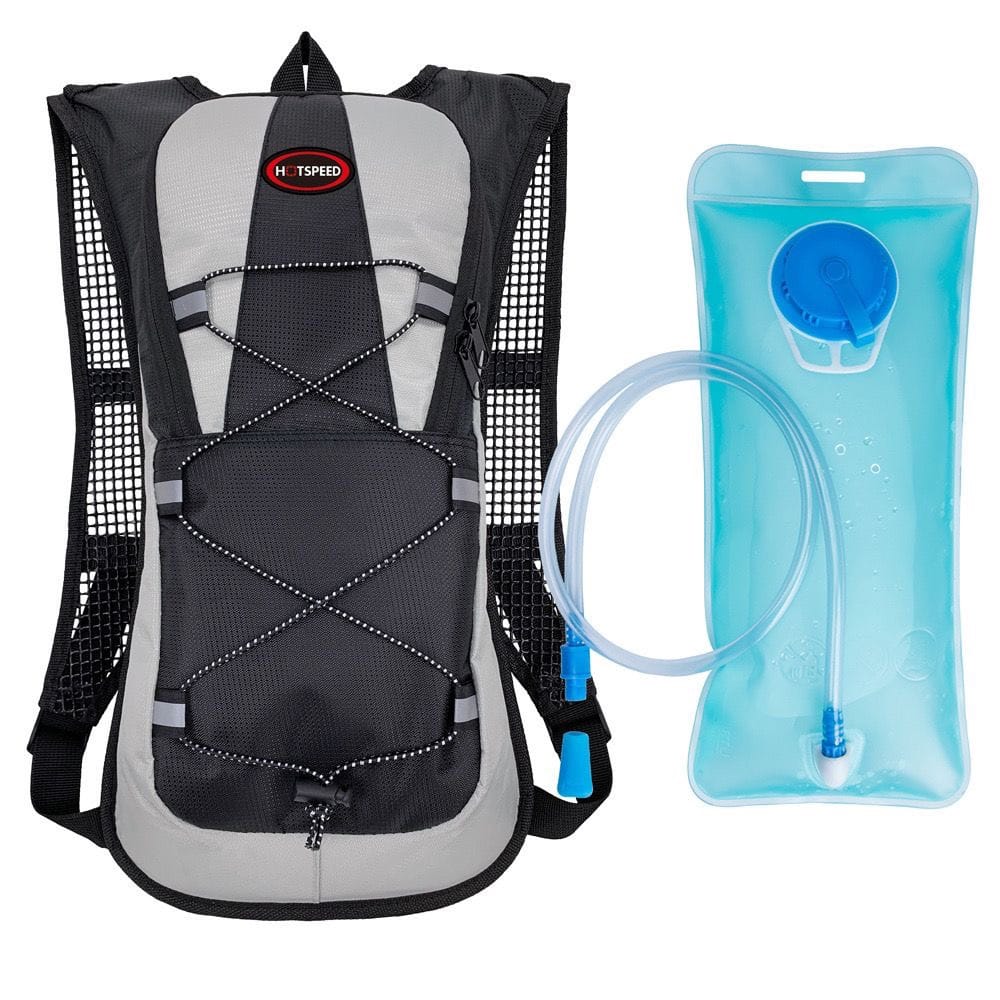
As an avid mountain biker, I’ve spent countless hours tackling rugged trails, from dusty singletracks to muddy descents. One piece of gear that’s become indispensable for me is a hydration backpack. It’s not just about carrying water—it’s about staying comfortable, organized, and prepared for whatever the trail throws at you. But with so many options out there, picking the right one can feel overwhelming. After testing several models and learning from my own mistakes, I’ve put together this comprehensive guide to help you choose the perfect hydration backpack for mountain biking. Whether you’re a weekend warrior or a seasoned rider, this article will walk you through the key factors to consider, practical tips, and common pitfalls to avoid.

Why a Hydration Backpack Matters for Mountain Biking
Mountain biking is physically demanding, often taking you far from civilization where water stops aren’t an option. A good hydration backpack ensures you stay hydrated without needing to stop and fumble with bottles. Plus, it doubles as a storage solution for tools, snacks, and extra layers. But not all hydration packs are created equal—some are too bulky for agile riding, while others lack durability for rough terrain. My goal here is to share what I’ve learned from trial and error, so you can find a pack that balances comfort, capacity, and functionality for your rides.
Key Factors to Consider When Choosing a Hydration Backpack
1. Water Capacity
The amount of water you need depends on your ride’s duration, intensity, and climate. Most hydration backpacks come with reservoirs ranging from 1 to 3 liters. For short rides (1-2 hours), a 1.5-liter reservoir is usually enough. For longer adventures or hot weather, I prefer a 2-3 liter capacity to avoid running dry.
My experience: On a 3-hour ride in the summer heat, my 1.5-liter pack ran out halfway, leaving me parched. Now, I always opt for at least 2 liters for rides over 2 hours, especially in dry conditions. Check your trail’s water availability too—if there are no refill points, go bigger.
2. Storage Capacity
Beyond water, you’ll need space for essentials like a multi-tool, spare tube, snacks, a phone, and maybe a lightweight jacket. Hydration packs typically range from 2 to 20 liters in storage capacity:
2-5 liters: Minimalist packs for short rides, ideal for carrying just the basics.
6-10 liters: Versatile for half-day rides, with room for tools, food, and an extra layer.
11-20 liters: Best for all-day or multi-day adventures, but can feel bulky on technical trails.
Tip: For most mountain bikers, a 6-10 liter pack strikes the perfect balance. I use an 8-liter pack for most rides—it holds my repair kit, a windbreaker, and enough snacks without feeling like I’m carrying a hiking backpack.

3. Fit and Comfort
A poorly fitting pack can ruin your ride, causing chafing, bouncing, or shoulder strain. Look for these features:
Adjustable Straps: Chest and waist straps keep the pack secure, especially on rough descents.
Ventilated Back Panel: Mesh or channeled padding reduces sweat buildup.
Size Options: Some packs come in S/M/L sizes for better fit based on torso length or body type.
My lesson learned: My first pack was too big for my frame, and it bounced around on every jump. After switching to a pack with a snug fit and a wide waist strap, I noticed a huge difference in control and comfort. Try on packs if possible, or check sizing charts online.
4. Durability and Materials
Mountain biking is tough on gear—branches, rocks, and occasional crashes can tear flimsy materials. Look for packs made of ripstop nylon or Cordura fabric, which are lightweight yet resistant to abrasions. Reinforced stitching and durable zippers are also must-haves for long-term use.
Pro tip: Check the reservoir material too. TPU (thermoplastic polyurethane) reservoirs are more durable and taste-free compared to cheaper plastics. After a cheap reservoir started leaking at the seams, I switched to a TPU model, and it’s held up for years.

5. Ease of Use
On the trail, you want quick access to water and gear without stopping. Key features to look for:
Bite Valve Design: A high-flow valve with a lock or shut-off prevents leaks.
Quick-Access Pockets: External pockets for snacks or tools save you from digging through the main compartment.
Reservoir Accessibility: A dedicated sleeve or clip system makes refilling and cleaning easier.
My take: I love packs with magnetic or clip-on hose systems—they keep the drinking tube secure and easy to grab mid-ride. Also, test the bite valve before buying; some are stiff and hard to drink from.
6. Weight
A lighter pack improves agility, especially on technical trails. Most hydration packs weigh between 0.5-1.5 kg (empty). Minimalist packs are great for racing or short rides, but don’t skimp on features like padding or storage for longer trips.
My experience: I once tried an ultralight pack for a long ride, but the lack of padding made my shoulders ache. Now, I prioritize a balance between weight and comfort, aiming for packs around 0.8-1 kg.
7. Additional Features
Some extras can enhance your riding experience:
Helmet Storage: External straps or nets for carrying your helmet when not riding.
Reflective Elements: For visibility during early morning or evening rides.
Rain Cover: Built-in or included covers for wet conditions.
Armor Compatibility: Some packs are designed to work with back protectors for downhill riding.
My pick: A pack with a helmet net is a game-changer for stops at trailheads or cafes. I also appreciate packs with a small waterproof pocket for my phone during rainy rides.

Comparison Table of Hydration Backpack Features
To help you visualize the options, here’s a table comparing key features for different types of mountain biking hydration backpacks:
| Feature | Minimalist (2-5L) | Mid-Range (6-10L) | Large (11-20L) |
|---|---|---|---|
| Best For | Short rides, racing, minimal gear | Half-day rides, versatile use | All-day or multi-day adventures |
| Water Capacity | 1-1.5 liters | 1.5-2 liters | 2-3 liters |
| Storage | Basics (tools, snacks, phone) | Tools, snacks, extra layers, small first-aid | Full repair kit, clothing, camping gear |
| Weight (Empty) | 0.5-0.7 kg | 0.8-1.2 kg | 1.2-1.5 kg |
| Comfort | Basic padding, less stable on rough terrain | Good padding, secure fit, ventilated | Heavy padding, but can feel bulky |
| Durability | Moderate, thinner materials | High, ripstop fabrics, reinforced zippers | Very high, built for rugged use |
| Price Range | $30-$60 | $60-$120 | $120-$200 |
Common Mistakes to Avoid
Through my own trial and error, I’ve learned a few pitfalls to steer clear of:
Buying Too Big or Too Small: A pack that’s too large feels cumbersome on technical trails, while one that’s too small won’t hold enough water or gear. Match the size to your ride length.
Ignoring Fit: A loose pack will bounce and chafe. Always check strap adjustability and torso sizing.
Skimping on Quality: Cheap packs often have weak zippers or leaky reservoirs. Invest in a mid-range model for better durability.
Overlooking Cleaning Needs: Reservoirs can grow mold if not cleaned properly. Choose a pack with an easy-to-remove reservoir and consider buying a cleaning kit.
Not Testing the Valve: A hard-to-use bite valve can make hydration frustrating. Test it or read reviews to ensure it’s user-friendly.

How to Test and Maintain Your Hydration Backpack
Once you’ve chosen a pack, here’s how to ensure it performs well and lasts:
Test Before the Ride: Fill the reservoir and wear the pack around the house to check for leaks or discomfort. Adjust straps for a snug fit.
Clean Regularly: After each ride, rinse the reservoir with warm water and a mild soap. Use a cleaning brush for the hose and valve. Dry thoroughly to prevent mold. CamelBak’s cleaning guide is a great resource.
Store Properly: Empty the reservoir and store the pack in a cool, dry place. Avoid folding the reservoir tightly to prevent creases.
Check for Wear: Inspect zippers, straps, and the reservoir for damage before long rides. Replace worn parts promptly.
Who Should Use a Hydration Backpack?
Based on my experience, hydration backpacks are a must for:
Trail Riders: Anyone tackling technical singletracks or long climbs needs easy access to water and gear.
Enduro/Downhill Riders: Packs with armor compatibility are great for aggressive riding.
Bikepackers: Larger packs are perfect for multi-day trips with extra storage needs.
Hot-Climate Riders: If you ride in warm weather, a larger reservoir is essential to stay hydrated.
Beginners: Even casual riders benefit from the convenience of hands-free hydration.
If you only do short, urban rides with easy access to water, a bottle might suffice. But for most mountain bikers, a hydration backpack is a game-changer.

Frequently Asked Questions
To wrap up, here are answers to some common questions I’ve come across or wondered myself:
Q1: How much water do I need for a mountain biking ride?
A: It depends on the ride length and conditions. For 1-2 hour rides, 1.5 liters is usually enough. For 3+ hours or hot weather, go for 2-3 liters. Always check if your trail has refill points.
Q2: Can I use a regular backpack instead of a hydration pack?
A: You can, but it’s less practical. Regular backpacks lack dedicated reservoir compartments, secure hose systems, and the snug fit needed for rough trails. They’re also less ventilated, leading to more sweat.
Q3: How do I prevent my reservoir from leaking?
A: Ensure the cap is tightly sealed and the hose is securely connected. Avoid overfilling, and check for cracks or wear in the reservoir. A lockable bite valve also helps prevent leaks during transport.
Q4: Are hydration backpacks comfortable for downhill riding?
A: Yes, if you choose a low-profile pack with a secure fit. Look for models with wide waist straps and chest straps to minimize bouncing. Some are even designed to work with back protectors.
Q5: How do I clean the reservoir to avoid mold?
A: Rinse with warm water and mild soap after each use. Use a cleaning brush for the hose and valve. Let it air dry completely, and store it open to prevent moisture buildup. A cleaning tablet can help for deep cleans.

Wrapping It Up
Choosing the right hydration backpack for mountain biking can make or break your trail experience. From ensuring you have enough water to keeping your gear organized and your back comfortable, the right pack is like a trusty riding partner. Through my own rides—some sweaty, some muddy, and a few with epic views—I’ve come to appreciate how a well-chosen pack enhances both performance and enjoyment. Focus on capacity, fit, durability, and ease of use, and you’ll find a pack that suits your style, whether you’re shredding local trails or embarking on an all-day adventure.
I hope this guide gives you the confidence to pick the perfect hydration backpack. If you’ve got tips from your own rides or questions about specific features, drop them in the comments—I’d love to swap stories and learn from fellow riders!