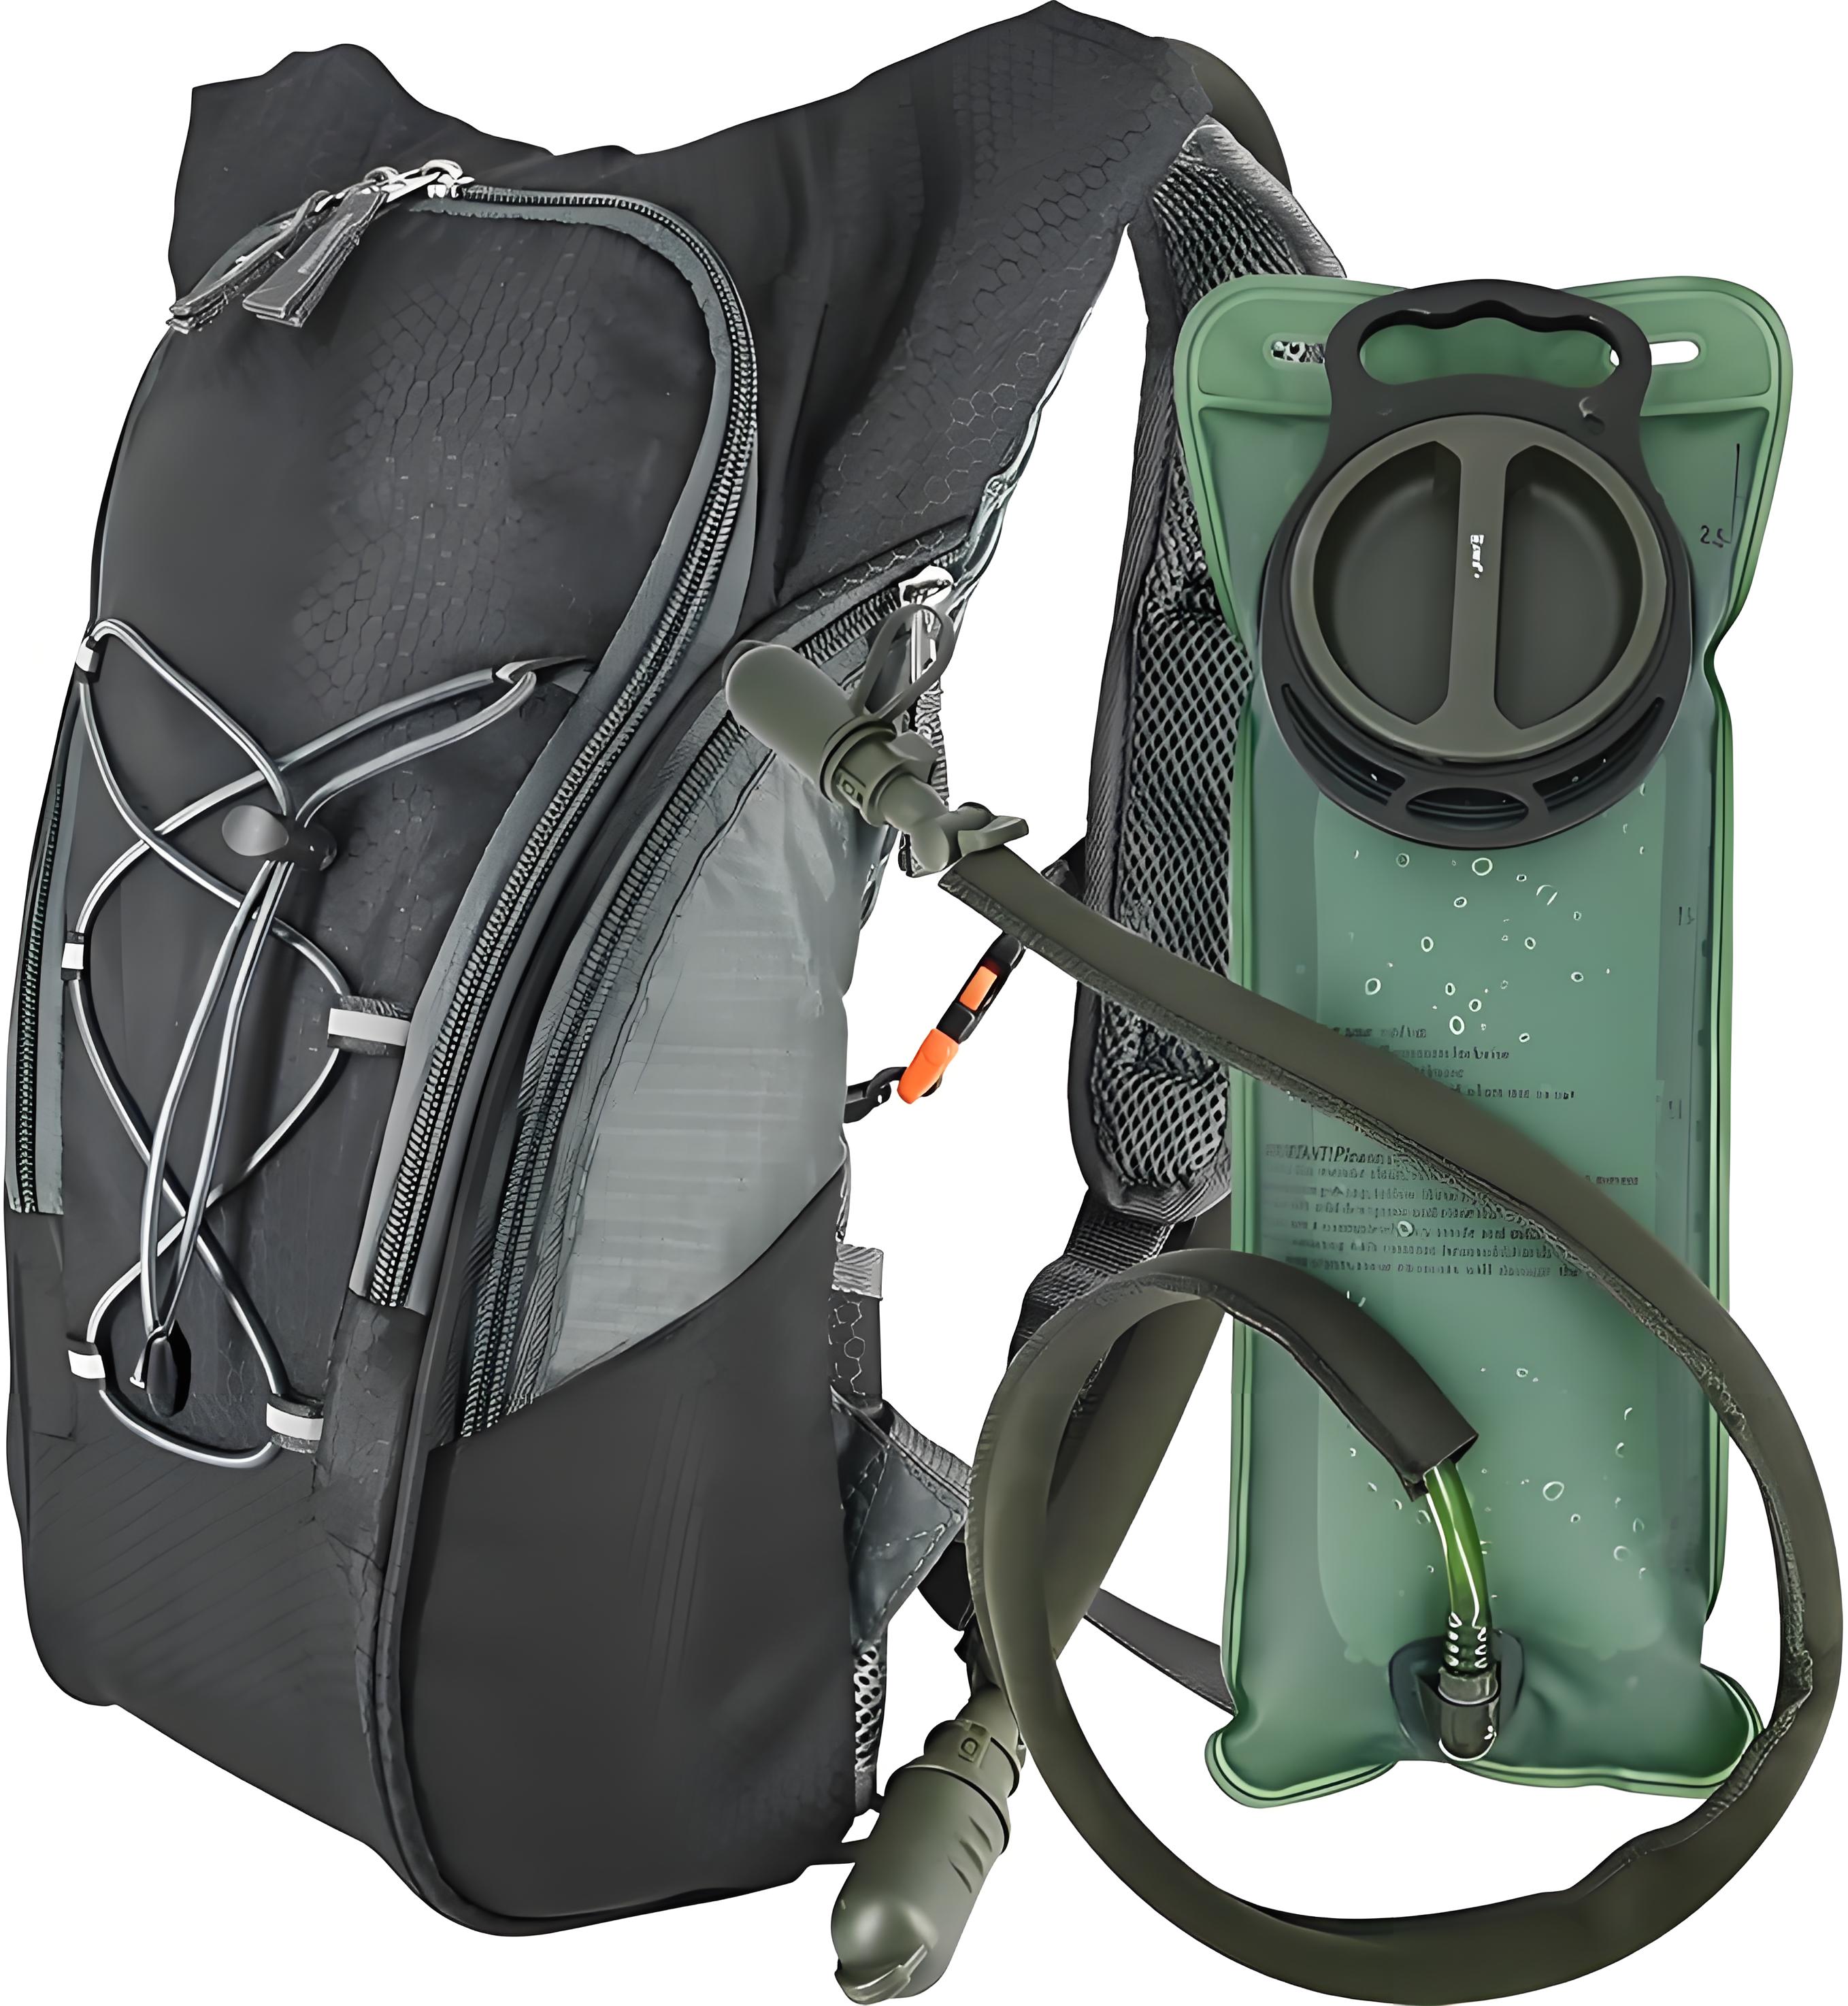
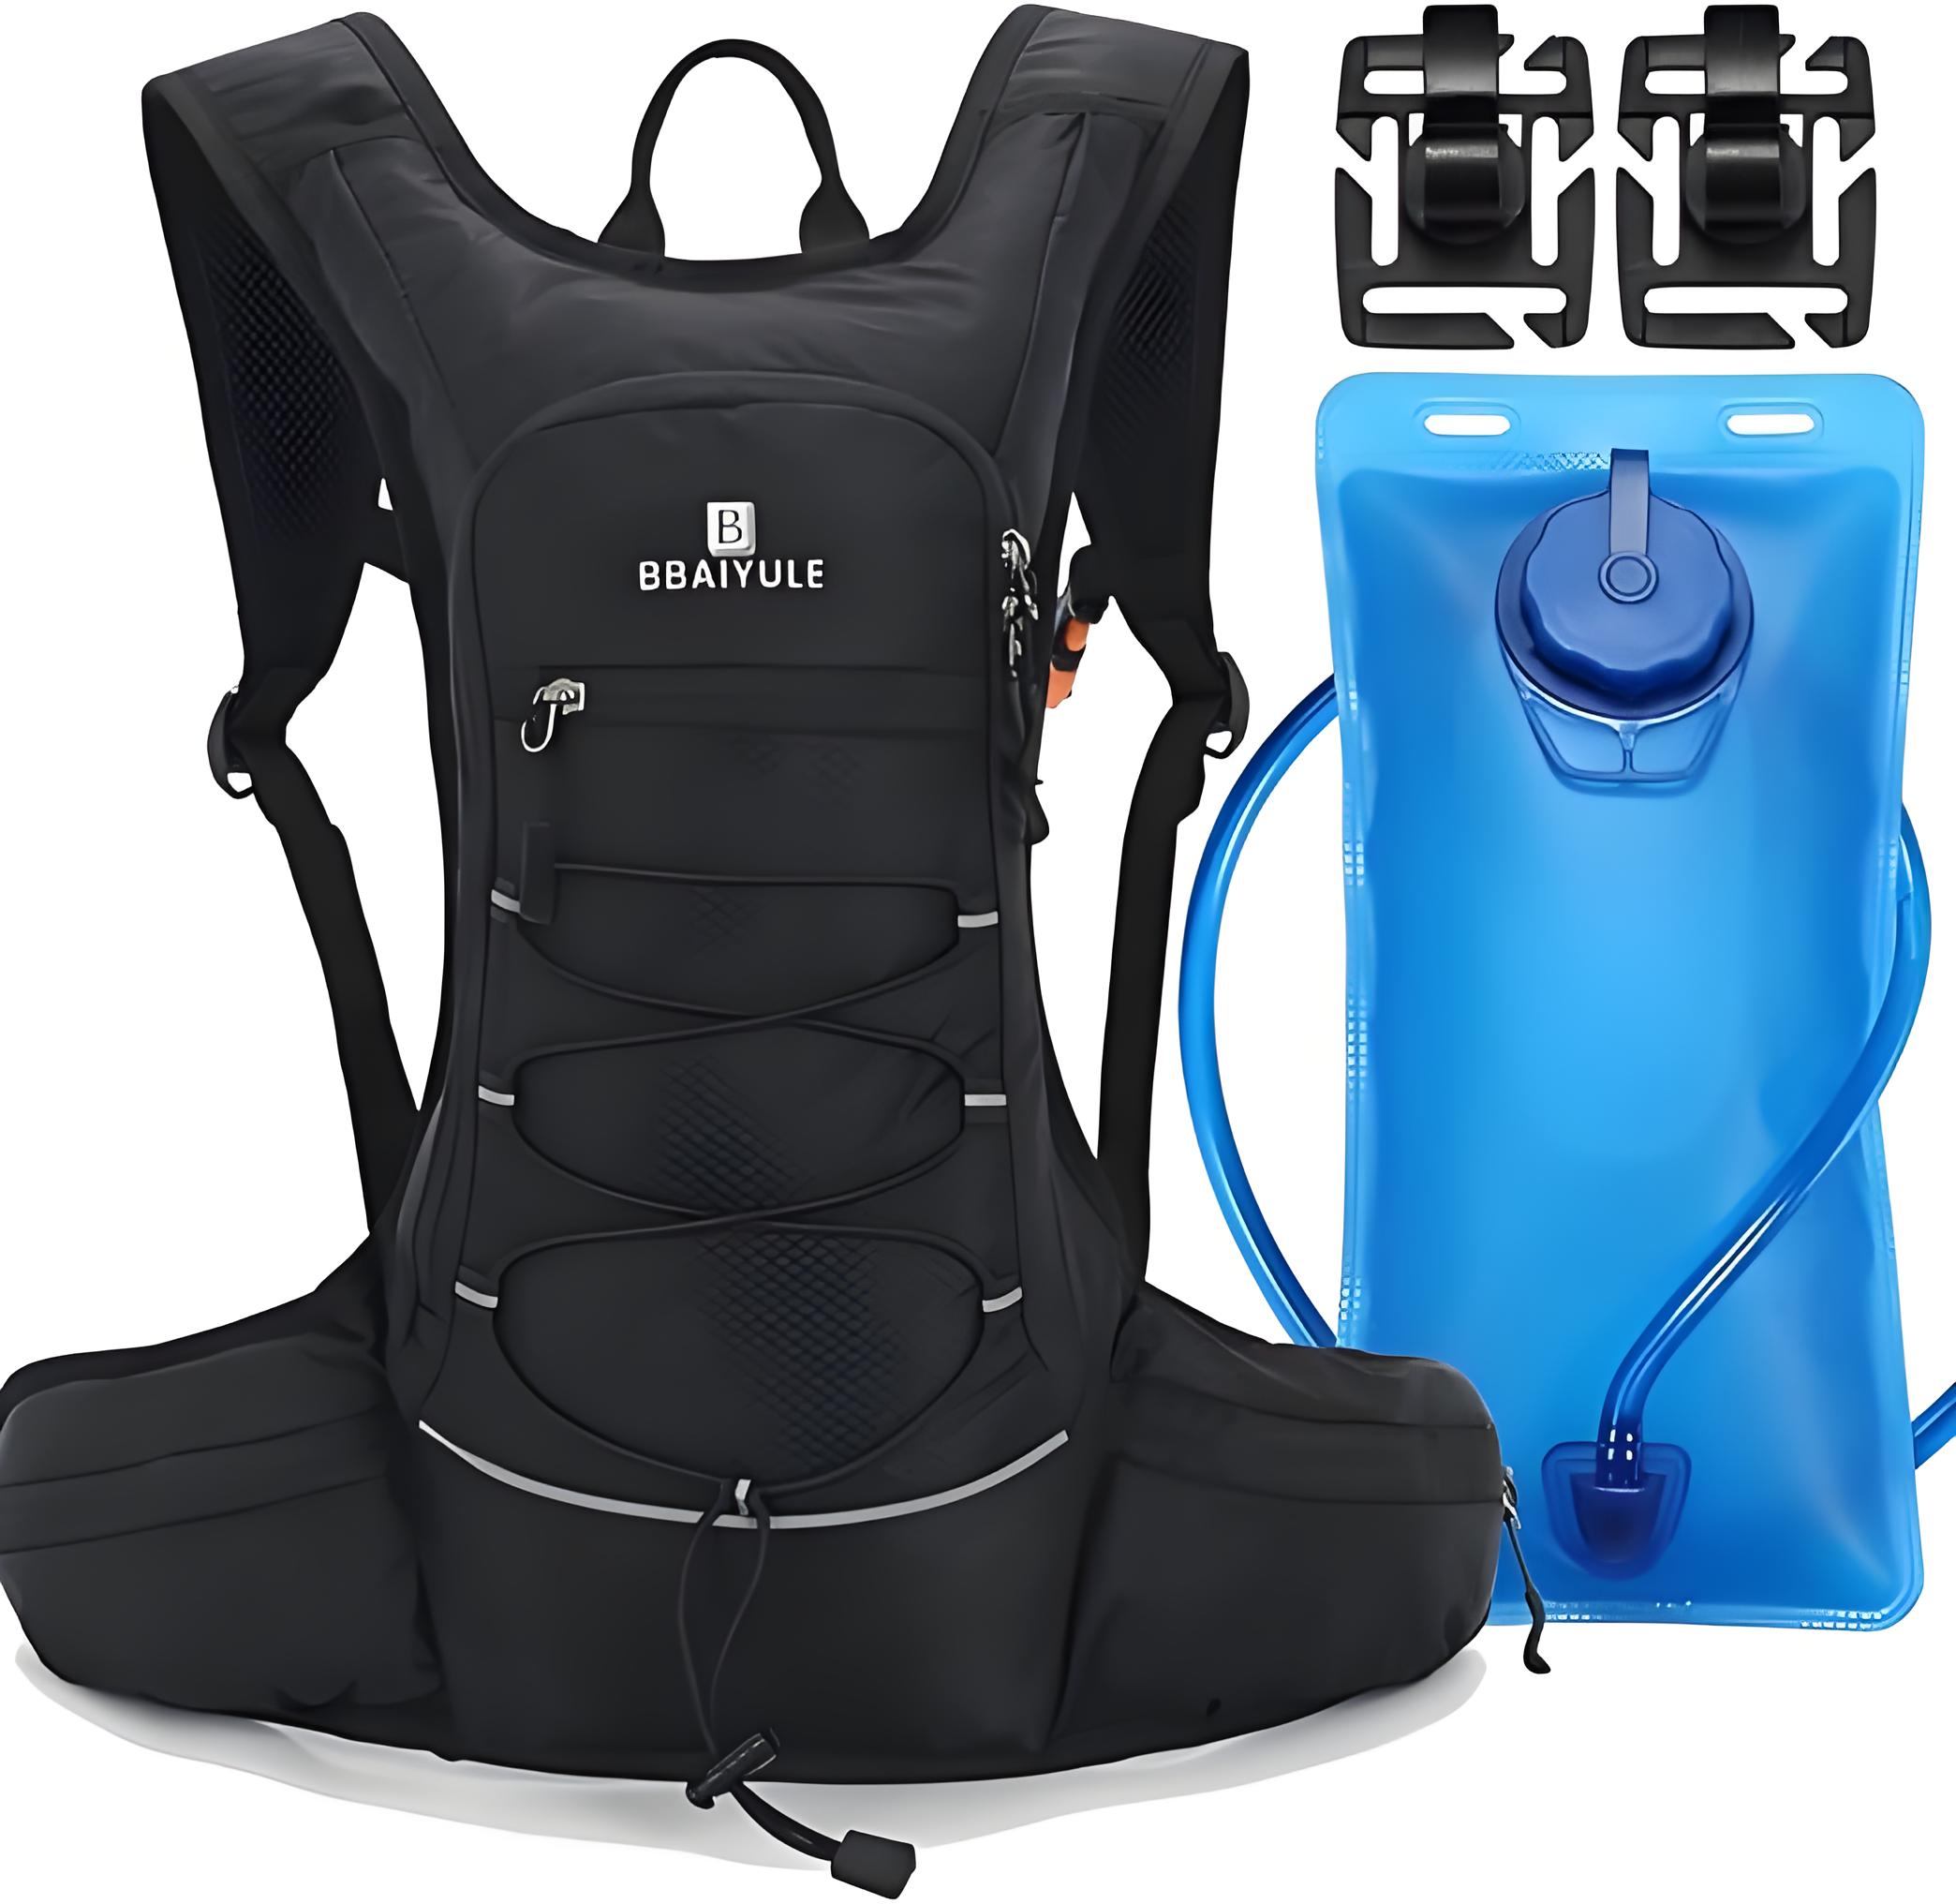
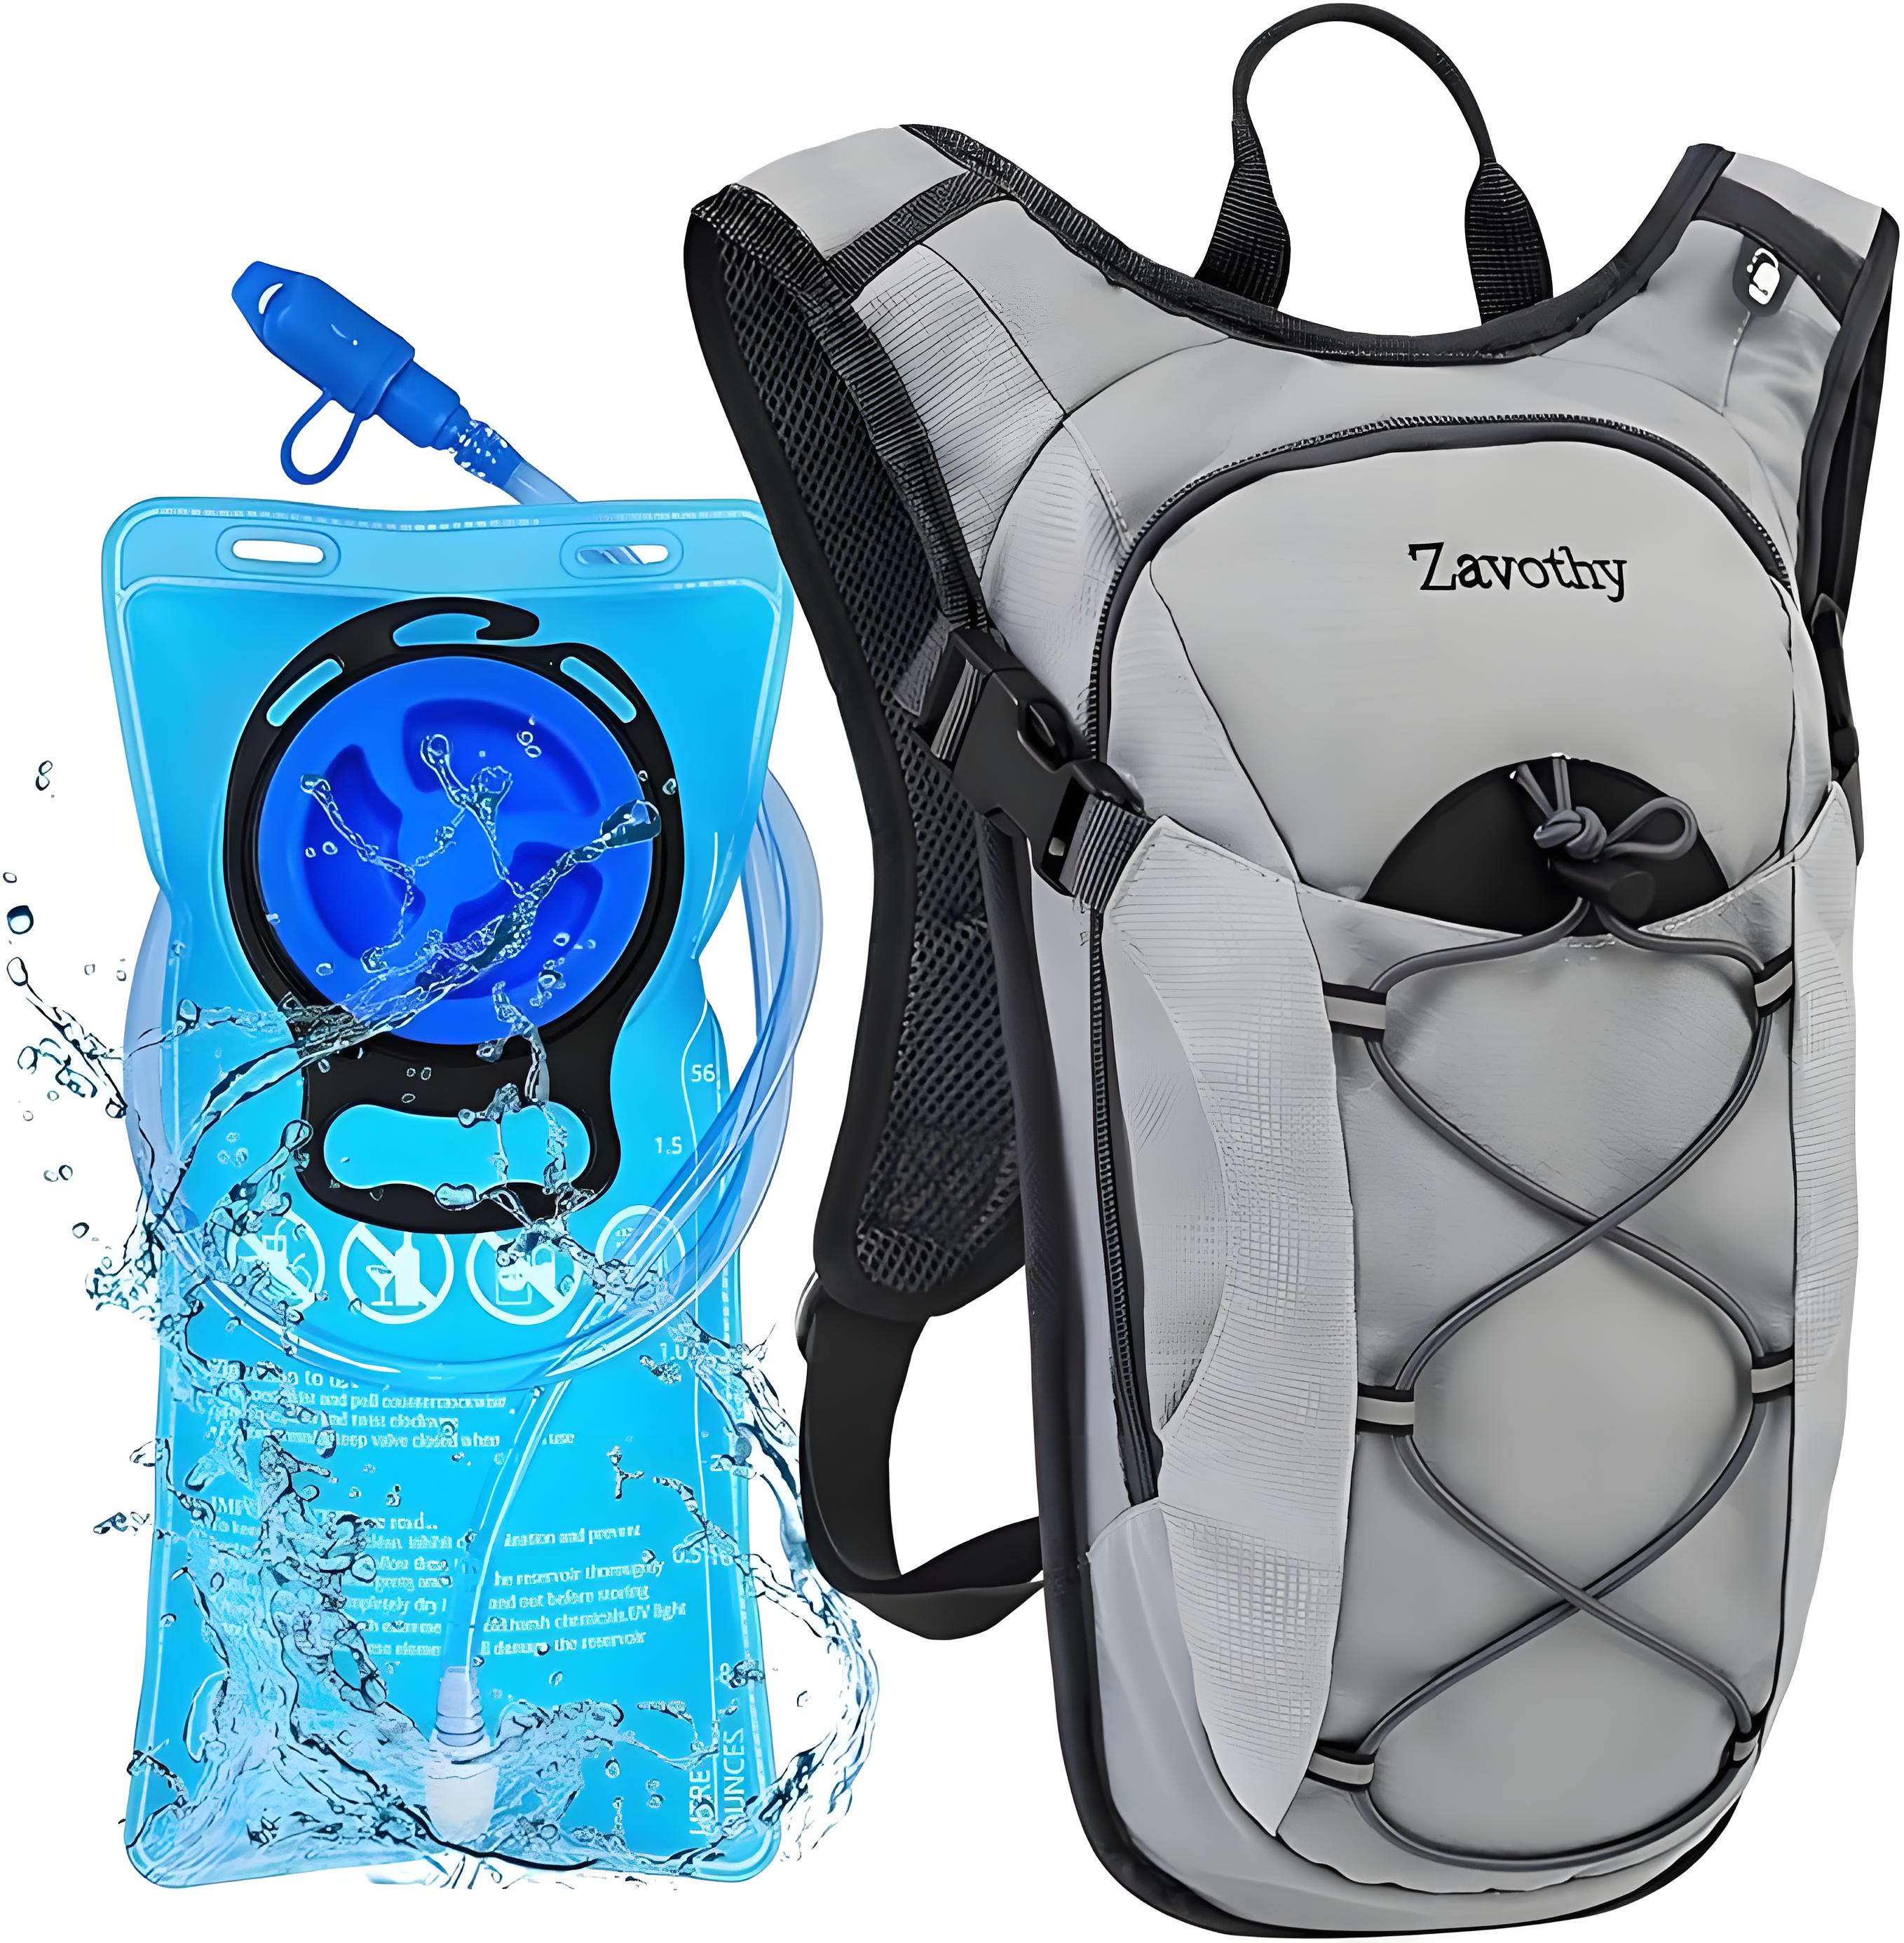
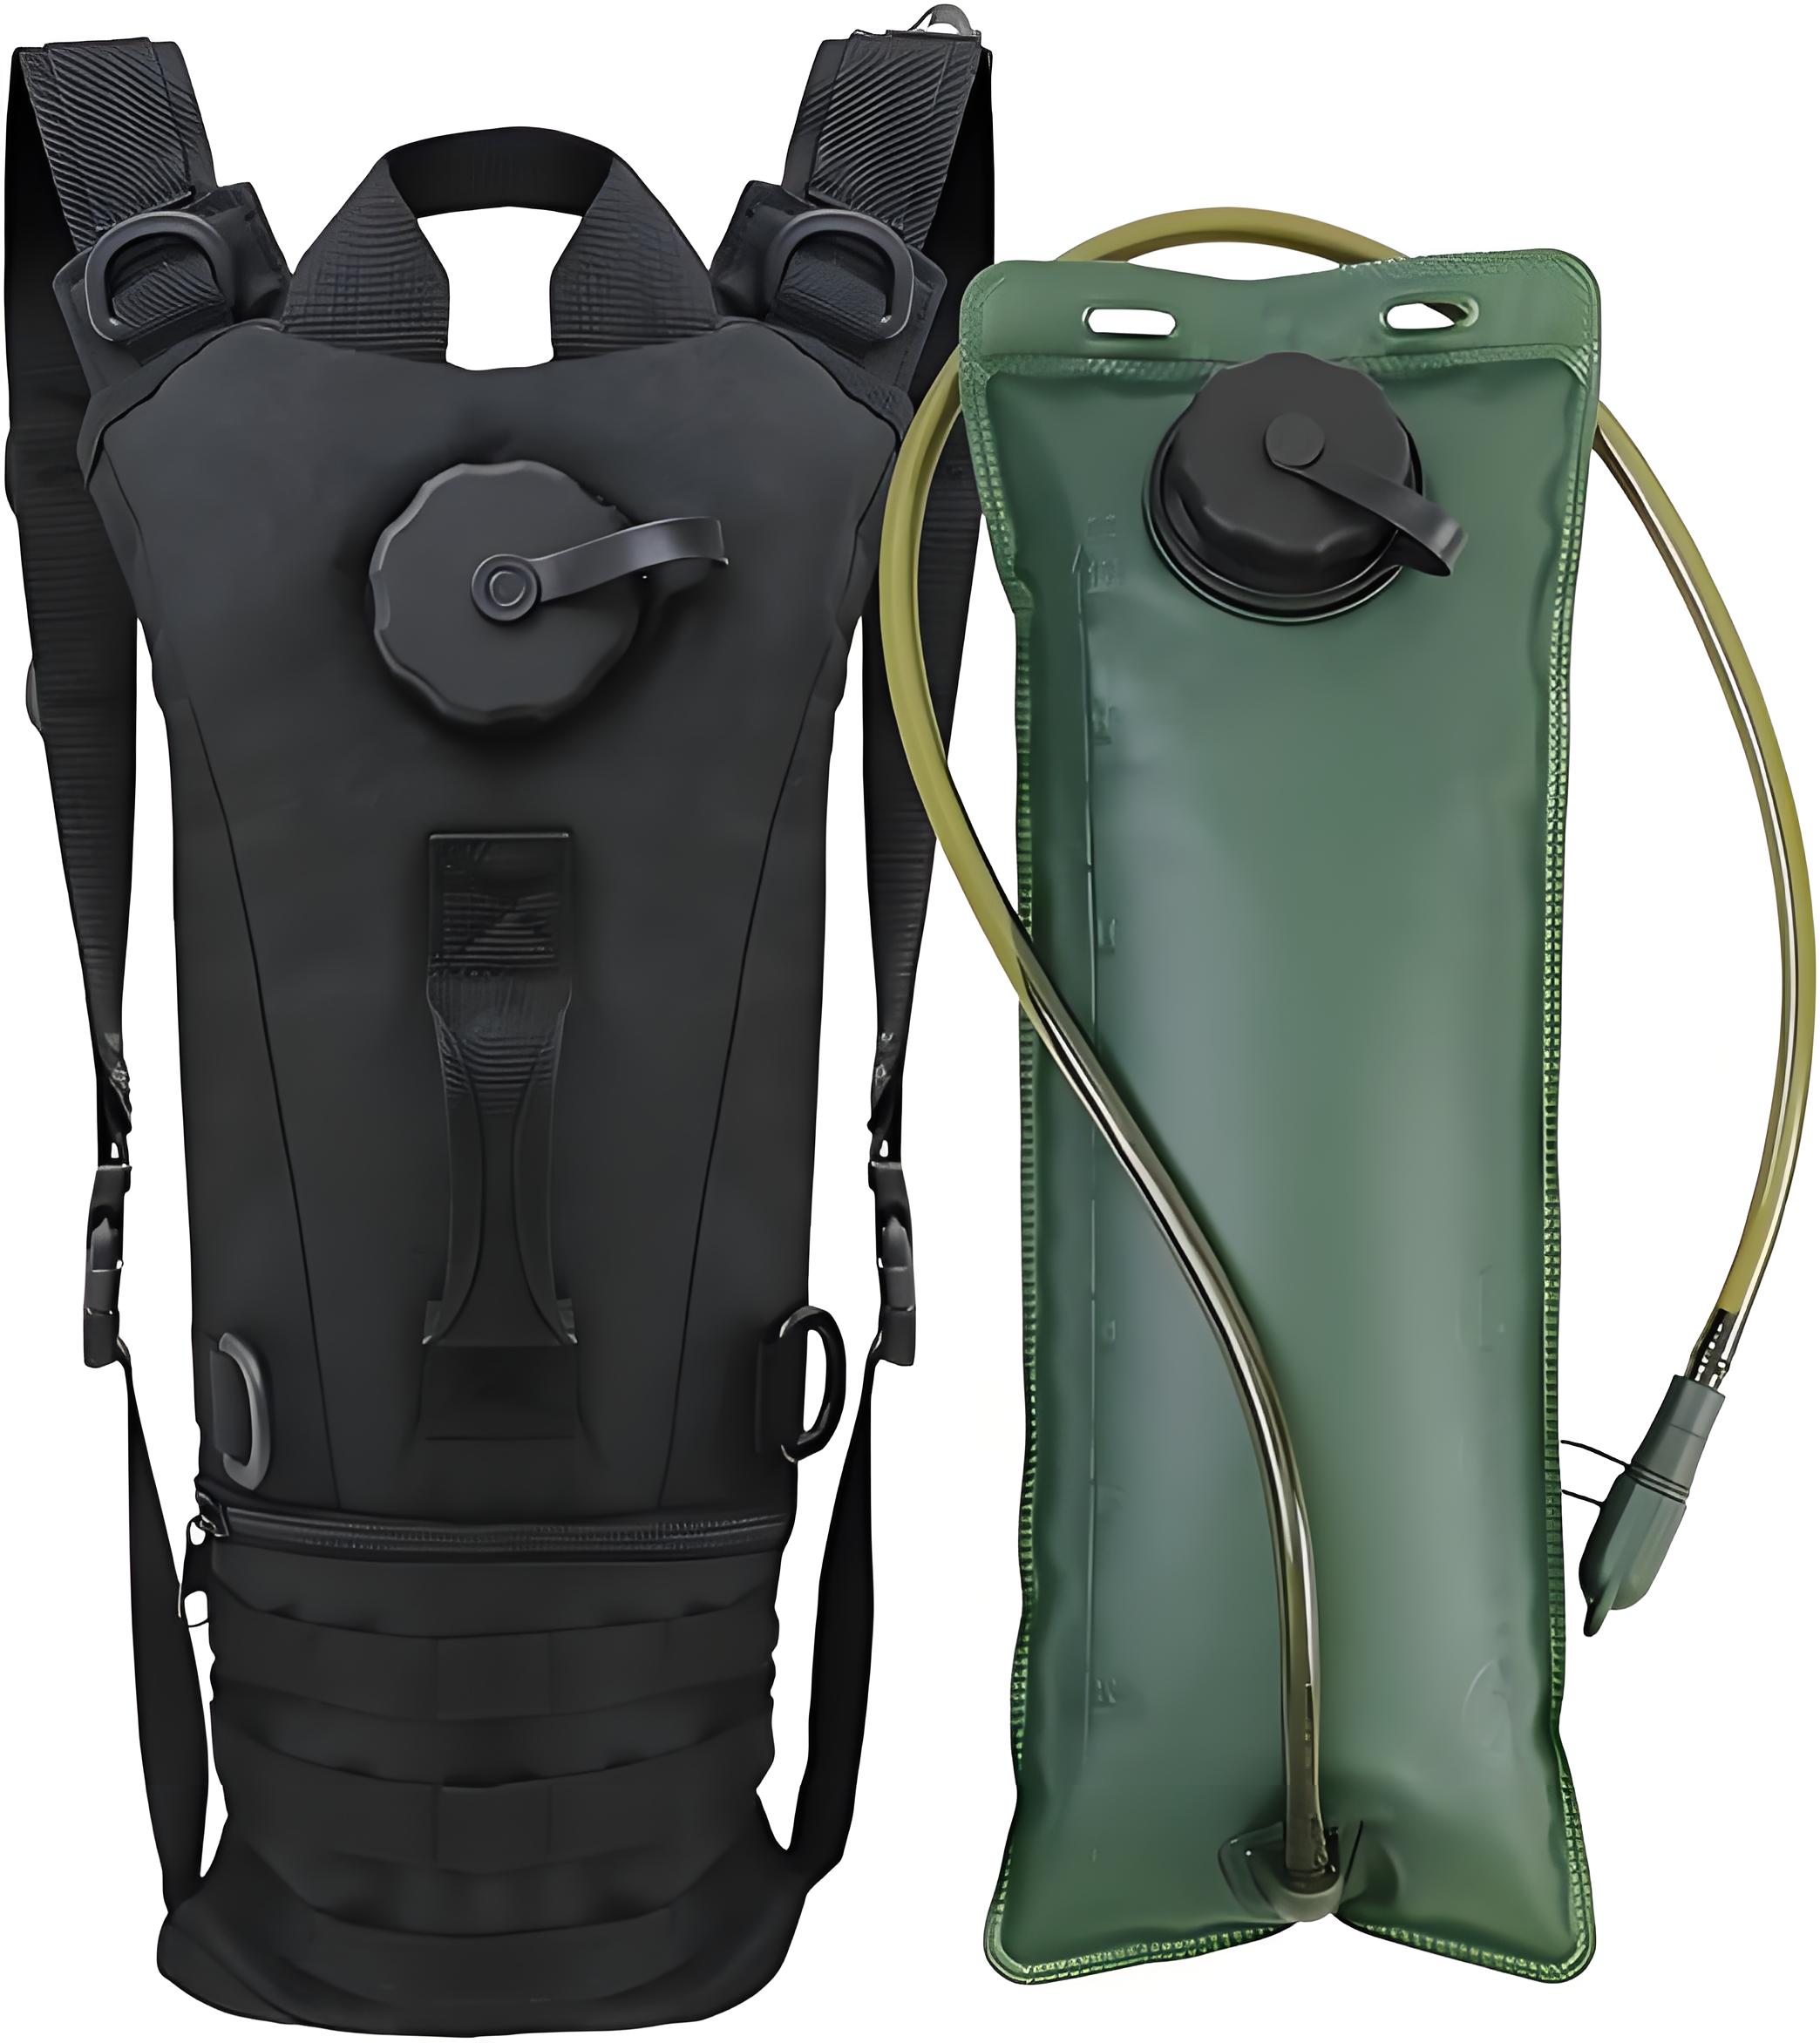
As an avid hiker and outdoor enthusiast who’s spent years exploring trails with a hydration backpack slung over my shoulders, I’ve learned a thing or two about keeping this essential gear in top shape. When someone asks, “How do you clean a hydration backpack?” I know they’re likely dealing with a funky-smelling reservoir, stubborn stains, or even mold concerns after a long adventure. A clean hydration backpack isn’t just about hygiene—it ensures your water stays fresh, your gear lasts longer, and your next trip is as enjoyable as the last. In this article, I’ll share my tried-and-true methods for cleaning every part of a hydration backpack, from the reservoir to the hose and backpack itself, based on my own experiences and industry best practices. Let’s dive in and get your hydration pack sparkling clean!

Why Cleaning Your Hydration Backpack Matters
A hydration backpack, with its reservoir, hose, and bite valve, is a breeding ground for bacteria and mold if not properly maintained. After a sweaty hike or a multi-day camping trip, water left in the reservoir can stagnate, and residue from sports drinks or sugary liquids can cling to the interior. I learned this the hard way early on when I neglected my backpack after a weekend trip, only to find a slimy film inside the reservoir a week later. Regular cleaning prevents health risks, extends the life of your gear, and keeps your water tasting crisp and clean.
Below, I’ll break down the cleaning process into three main areas: the reservoir, the hose and bite valve, and the backpack exterior. I’ll also share tips for drying, storage, and maintenance to keep your hydration pack in pristine condition.
1. Cleaning the Reservoir: The Heart of Your Hydration System
The reservoir (or bladder) is where your water is stored, making it the most critical part to clean. Here’s how I tackle it:
Step-by-Step Reservoir Cleaning
Empty and Rinse Immediately
After every use, I empty any remaining water from the reservoir and rinse it with warm (not hot) water. Hot water can damage the plastic or cause it to deform. A quick rinse prevents residue buildup, especially if you’ve used anything other than plain water.
Basic Cleaning with Dish Soap
For a thorough clean, I fill the reservoir about one-quarter full with warm water and add a few drops of mild dish soap (avoid harsh detergents, as they can leave a soapy taste). I seal the reservoir, shake it gently, and let it sit for 5-10 minutes. Then, I use a soft sponge or a dedicated reservoir cleaning brush to scrub the interior, focusing on corners and seams where bacteria can hide. I’ve found that a long, flexible brush is a lifesaver for reaching deep into the reservoir.
Dealing with Stubborn Stains or Odors
If the reservoir has a lingering smell or stains (common with sports drinks), I use a mixture of 1 tablespoon baking soda and 1 cup warm water. I pour this in, shake vigorously, and let it sit for 15-20 minutes before rinsing thoroughly. Baking soda is my go-to because it’s gentle yet effective at neutralizing odors. For tough stains, I sometimes add a teaspoon of white vinegar to the mix, but I rinse extra carefully to avoid any vinegary aftertaste.
Sanitizing for Mold or Bacteria
If I suspect mold (like after forgetting to dry the reservoir properly), I sanitize it with a diluted bleach solution (1 teaspoon of unscented bleach per gallon of water). I fill the reservoir, let it sit for 1-2 minutes, then rinse at least three times with clean water. This method saved my favorite reservoir after a particularly humid camping trip left it with suspicious black spots.

Rinse Thoroughly
I rinse the reservoir multiple times to ensure no cleaning solution remains. To check, I fill it with water, take a sip through the hose, and confirm there’s no soapy or chemical taste.
Tools for Reservoir Cleaning
|
Tool |
Purpose |
Notes |
|---|---|---|
|
Reservoir Brush |
Scrubs interior surfaces |
Flexible, long handle preferred |
|
Mild Dish Soap |
Removes residue and odors |
Use sparingly to avoid residue |
|
Baking Soda |
Neutralizes odors and stains |
Safe and effective for regular use |
|
Bleach (Diluted) |
Sanitizes against mold/bacteria |
Unscented, rinse thoroughly |
2. Cleaning the Hose and Bite Valve: Don’t Skip These!
The hose and bite valve are often overlooked, but they’re just as prone to bacteria and mold. Here’s how I keep them clean:
Flush the Hose
After emptying the reservoir, I run warm water through the hose by squeezing the bite valve or using the reservoir’s pressure. This flushes out any residual liquid. If I’ve used sports drinks, I do this immediately to prevent sticky buildup.
Use a Hose Brush
I invested in a thin, flexible hose cleaning brush (often sold as part of a hydration pack cleaning kit), which makes scrubbing the hose’s interior a breeze. I add a drop of dish soap to warm water, run it through the hose, and scrub gently. This removes any grime or biofilm that can form inside.
Clean the Bite Valve
The bite valve is where your mouth makes direct contact, so it’s a hotspot for germs. I detach it (if possible) and soak it in warm, soapy water for a few minutes, then scrub with a small brush or an old toothbrush. For stubborn gunk, I use the baking soda solution mentioned earlier. If mold appears, a quick dip in the diluted bleach solution works wonders, followed by thorough rinsing.
Check for Wear
Over time, bite valves can crack or degrade. I inspect mine regularly and replace them if they show signs of wear, as damaged valves can harbor bacteria even after cleaning.
3. Cleaning the Backpack Exterior: Keeping the Fabric Fresh
The backpack itself—straps, pockets, and fabric—can get sweaty, dirty, or stained from outdoor use. Here’s how I clean it:
Empty and Shake Out Debris
I start by emptying all pockets and shaking out dirt, sand, or crumbs. This prevents loose particles from getting stuck in zippers or seams during cleaning.
Spot Clean Stains
For stains on the fabric, I use a soft cloth or sponge with warm water and a small amount of mild detergent. I gently scrub the stained areas, being careful not to soak the fabric excessively, as this can damage padding or waterproof coatings. For muddy stains from a rainy hike, I’ve found that a dab of diluted vinegar works well to break down the dirt.
Hand Wash for Deep Cleaning
If the backpack is particularly grimy, I hand wash it in a tub of lukewarm water with mild detergent. I avoid submerging zippers or electronic components (like integrated lights) and use a soft brush to clean tough spots. After washing, I rinse thoroughly to remove all soap.
Avoid Machine Washing
I never toss my hydration backpack in a washing machine, as the agitation can damage straps, zippers, or the reservoir compartment. I made this mistake once, and my backpack’s stitching started fraying—a costly lesson.

4. Drying Your Hydration Backpack Properly
Proper drying is as crucial as cleaning to prevent mold and odors. Here’s how I do it:
Reservoir Drying
After cleaning, I drain all water from the reservoir and hang it upside down with the cap off to air dry. To keep it open, I insert a drying rack (or improvise with a rolled-up paper towel). If I’m in a rush, I use a hairdryer on the cool setting to speed up the process, but I avoid heat to prevent warping. I once neglected to dry my reservoir properly, and the resulting mold was a nightmare to clean.
Hose and Bite Valve Drying
I run a dry cloth or a thin drying rod through the hose to remove residual water, then hang it vertically. For the bite valve, I leave it detached and open to air dry completely.
Backpack Drying
I air dry the backpack in a well-ventilated area, away from direct sunlight or heat sources, which can fade colors or weaken materials. I stuff the reservoir compartment with a clean towel to maintain its shape while drying.
5. Maintenance and Storage Tips
To keep your hydration backpack in top condition between uses, I follow these habits:
Clean After Every Use
Even if I only used water, I rinse the reservoir and hose after each trip to prevent residue buildup. This small habit has saved me from dealing with odors later.
Store Dry and Open
I store my reservoir with the cap off in a cool, dry place to ensure no moisture is trapped. I also keep the hose and bite valve detached to promote airflow. A friend once stored their hydration pack sealed, and the resulting mold ruined the reservoir.
Regular Inspections
I check my backpack before each trip for signs of wear, leaks, or mold. Catching issues early—like a cracked hose or a loose bite valve—prevents bigger problems down the trail.
Avoid Harsh Chemicals
I stick to mild soaps, baking soda, or diluted bleach for cleaning. Harsh chemicals like ammonia or strong detergents can degrade the plastic or leave harmful residues.

Cleaning Solutions Comparison
|
Solution |
Best For |
Pros |
Cons |
|---|---|---|---|
|
Mild Dish Soap |
General cleaning |
Safe, widely available |
May leave residue if not rinsed well |
|
Baking Soda |
Odors and stains |
Gentle, effective, natural |
Requires thorough rinsing |
|
White Vinegar |
Stubborn stains |
Natural, breaks down grime |
Strong smell, needs rinsing |
|
Diluted Bleach |
Mold and bacteria |
Highly effective sanitizer |
Must be used sparingly |
My Personal Experience: Learning from Mistakes
When I started using hydration backpacks, I was careless about cleaning. After a long hike, I’d toss my pack in a corner, reservoir half-full, thinking I’d deal with it later. Big mistake. The first time I opened my reservoir after a week, the musty smell hit me like a wall, and I spotted mold growing inside. It took hours of scrubbing and sanitizing to salvage it. Since then, I’ve made cleaning a ritual after every trip, and my gear has stayed in great shape. My current hydration backpack has lasted over five years, still delivering fresh-tasting water on every hike.
One memorable moment was during a group camping trip when a friend complained about “weird-tasting water.” I inspected their reservoir and found a slimy film from neglected sports drink residue. I showed them my cleaning routine, and they were amazed at how simple it was to restore their pack. Moments like that remind me how a little care goes a long way.
6. Troubleshooting Common Issues
Here are some common problems I’ve encountered and how to address them:
Mold in the Reservoir
If you spot mold, don’t panic. Use the diluted bleach solution (1 tsp per gallon of water), soak for 1-2 minutes, scrub with a brush, and rinse thoroughly. For prevention, always dry the reservoir completely after cleaning.
Clogged Hose
A clogged hose often results from dried residue. I flush it with warm water and use a hose brush to clear blockages. If it’s stubborn, soaking in a baking soda solution overnight helps.
Persistent Odors
If odors linger after cleaning, try the baking soda solution or a specialized hydration pack cleaning tablet. I’ve used tablets for convenience on long trips, and they work well when rinsed properly.
Stains on the Backpack
For tough stains, I apply a paste of baking soda and water, let it sit for 10 minutes, then scrub gently. This works wonders on dirt or sweat stains.

Conclusion: Keep Your Hydration Backpack Fresh and Functional
Cleaning a hydration backpack might seem daunting, but with the right approach, it’s a straightforward process that protects your health and extends the life of your gear. By focusing on the reservoir, hose and bite valve, and backpack exterior, using gentle cleaning solutions, and drying thoroughly, you can ensure your water stays fresh and your pack stays ready for every adventure. My years of trial and error have taught me that a little effort after each trip saves headaches (and nose-aches) down the road.
I hope this guide makes cleaning your hydration backpack feel manageable and even satisfying. If you have more questions or run into specific issues, check out the FAQs below or drop me a line—I’m happy to help!
FAQs
1. How often should I clean my hydration backpack?
Rinse the reservoir and hose after every use, especially if you used anything other than water. Do a deep clean (with soap or baking soda) every 1-2 weeks if used regularly, or after long trips.
2. Can I put my hydration reservoir in the dishwasher?
Most reservoirs are not dishwasher-safe, as high heat can warp the plastic or damage seals. I always hand wash mine with mild soap and a brush to be safe.
3. What if my bite valve is moldy?
Soak it in a diluted bleach solution (1 tsp per gallon of water) for 1-2 minutes, scrub with a small brush, and rinse thoroughly. Replace it if the mold persists or the valve is damaged.
4. How do I prevent mold in my hydration backpack?
Always empty and rinse after use, dry thoroughly (hang upside down with the cap off), and store in a cool, dry place with the reservoir open to allow airflow.
5. Can I use cleaning tablets instead of soap or vinegar?
Yes, cleaning tablets are convenient and effective, especially for travel. Follow the instructions, and rinse well to avoid any chemical taste. I use them occasionally for quick sanitizing.