As a lover of outdoor gear, I’ve seen countless runners struggle with their hydration systems on trail runs. Today I’m going to walk you through everything you need to know about using a 2-liter bladder in a trail running pack.
Understanding the Basics of a 2L Hydration Bladder
Before diving into how to use it, let’s first understand what a 2L hydration bladder is. A hydration bladder is a flexible, water – holding container that can be placed inside a backpack. The 2L capacity is a popular choice among trail runners as it provides a good balance between carrying enough water for a decent run and not adding too much weight to your back.

1. Components of a Hydration Bladder
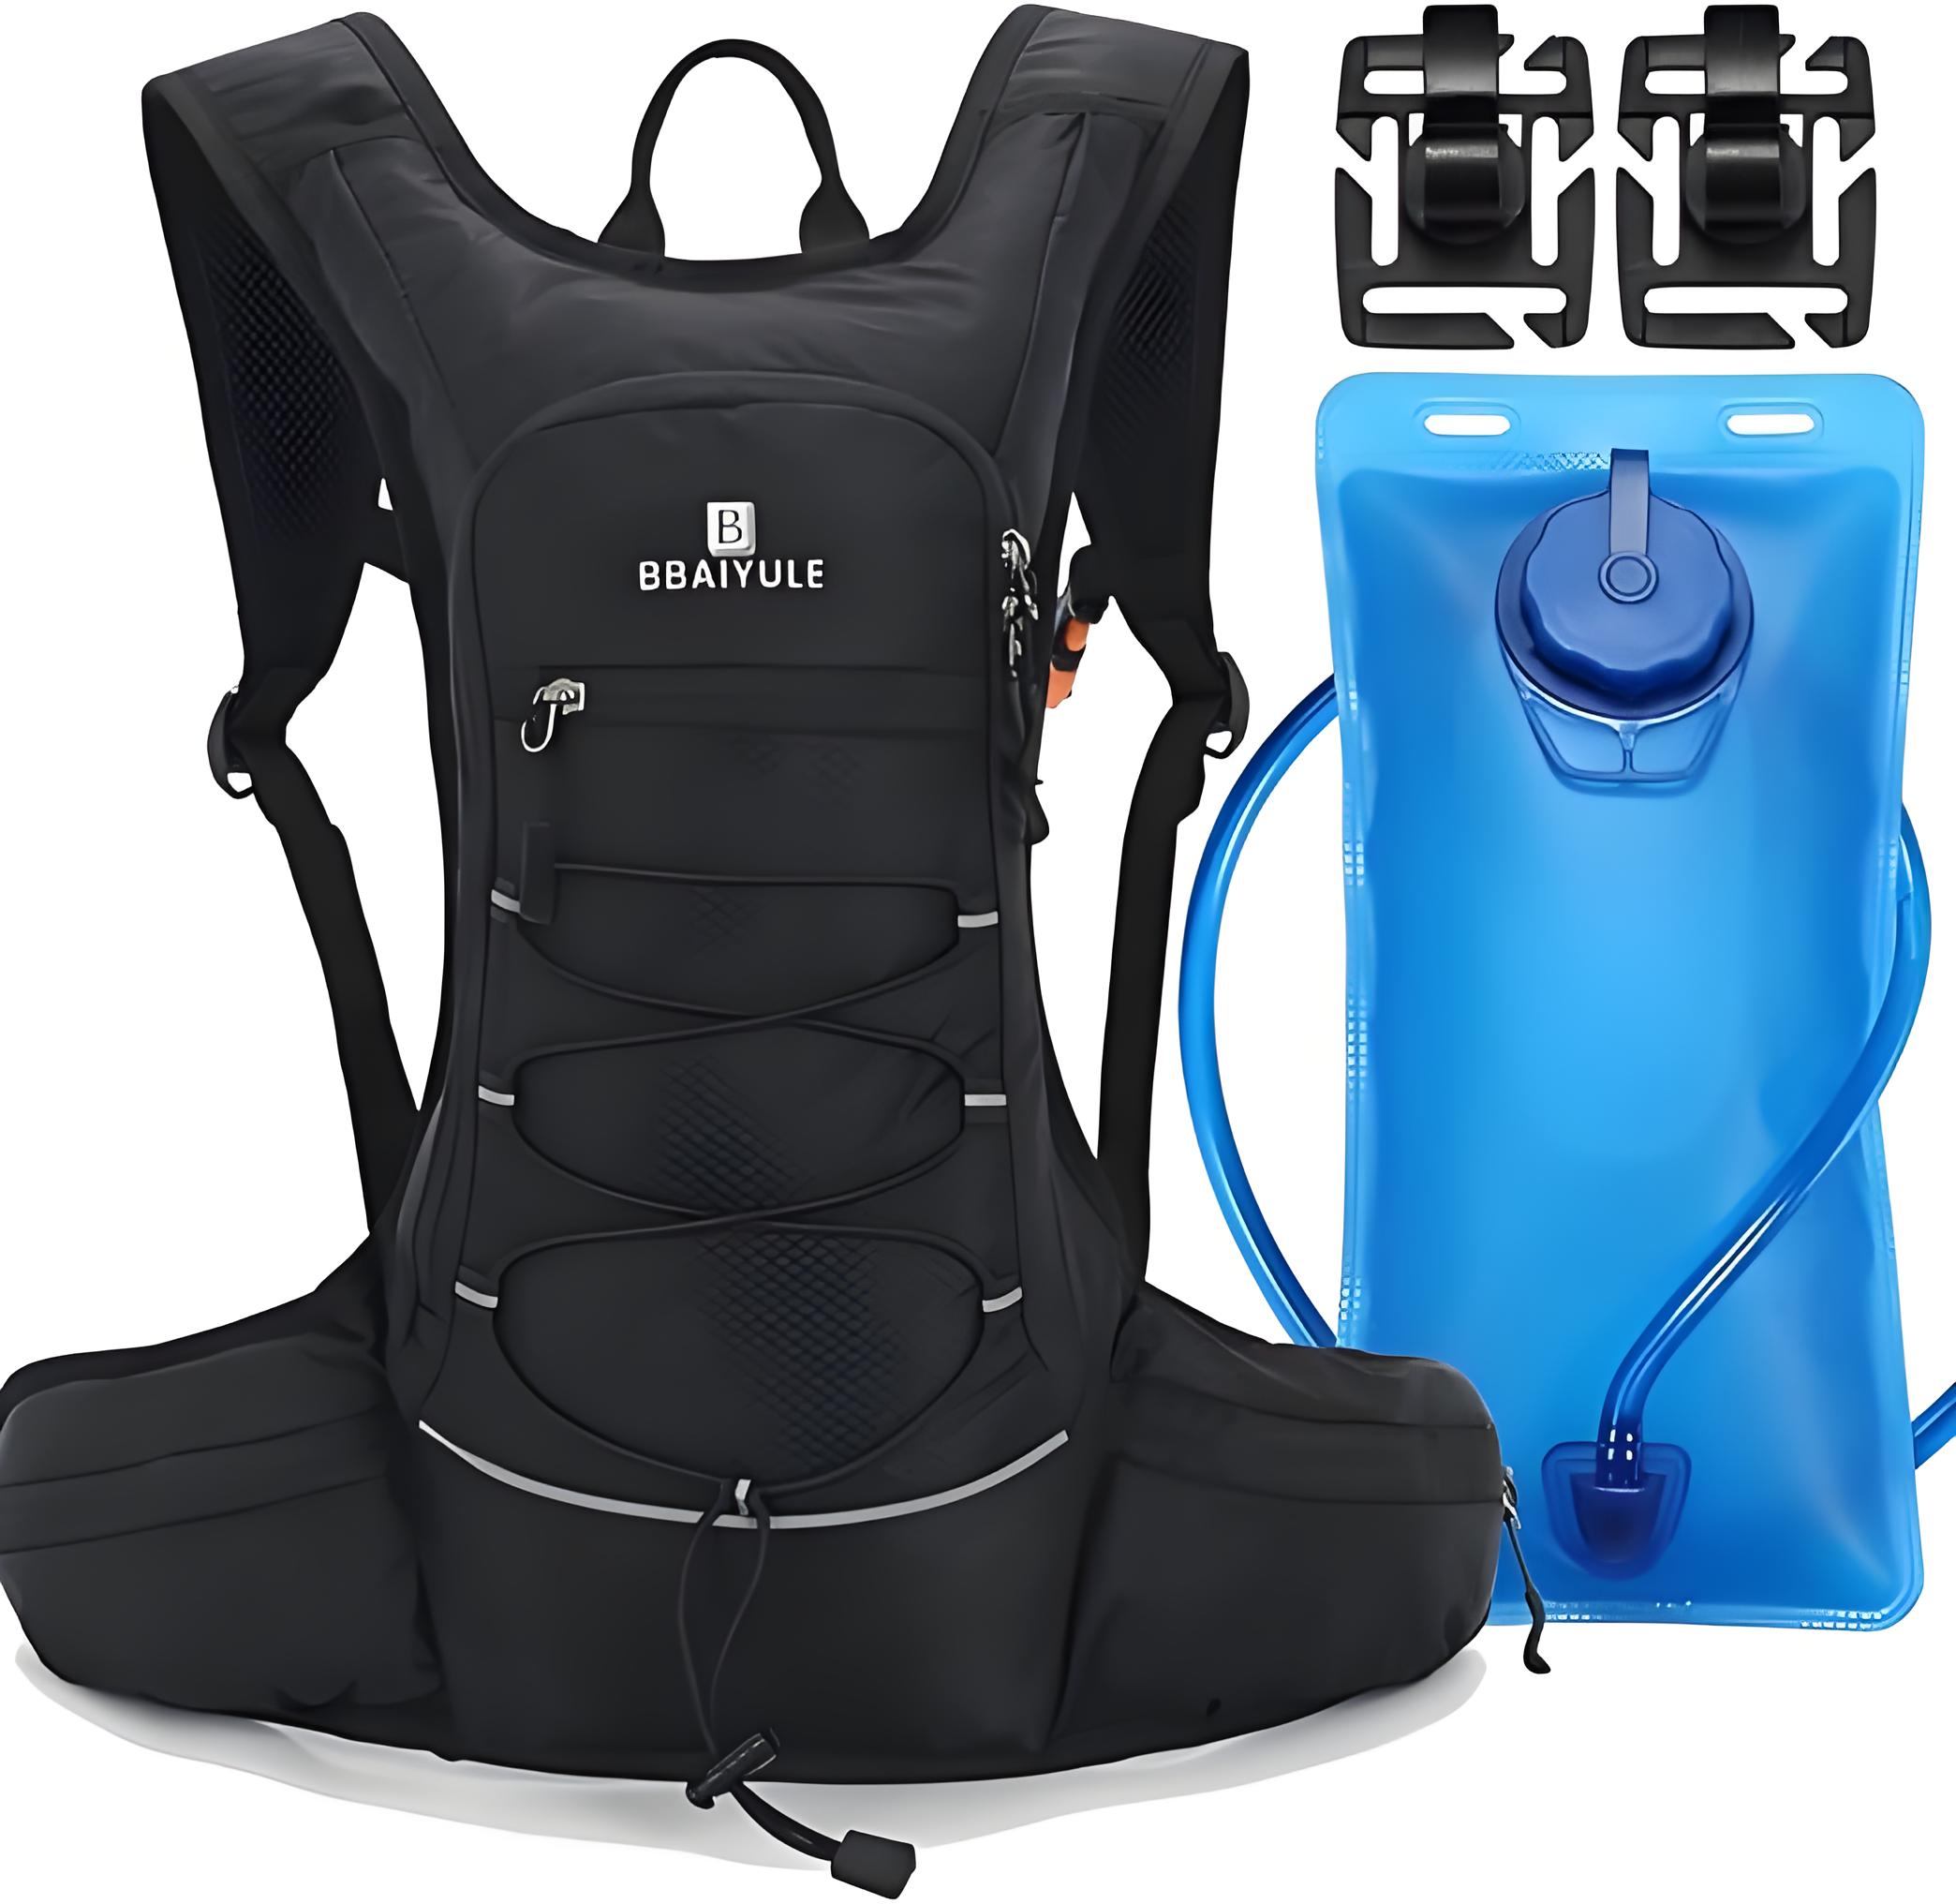
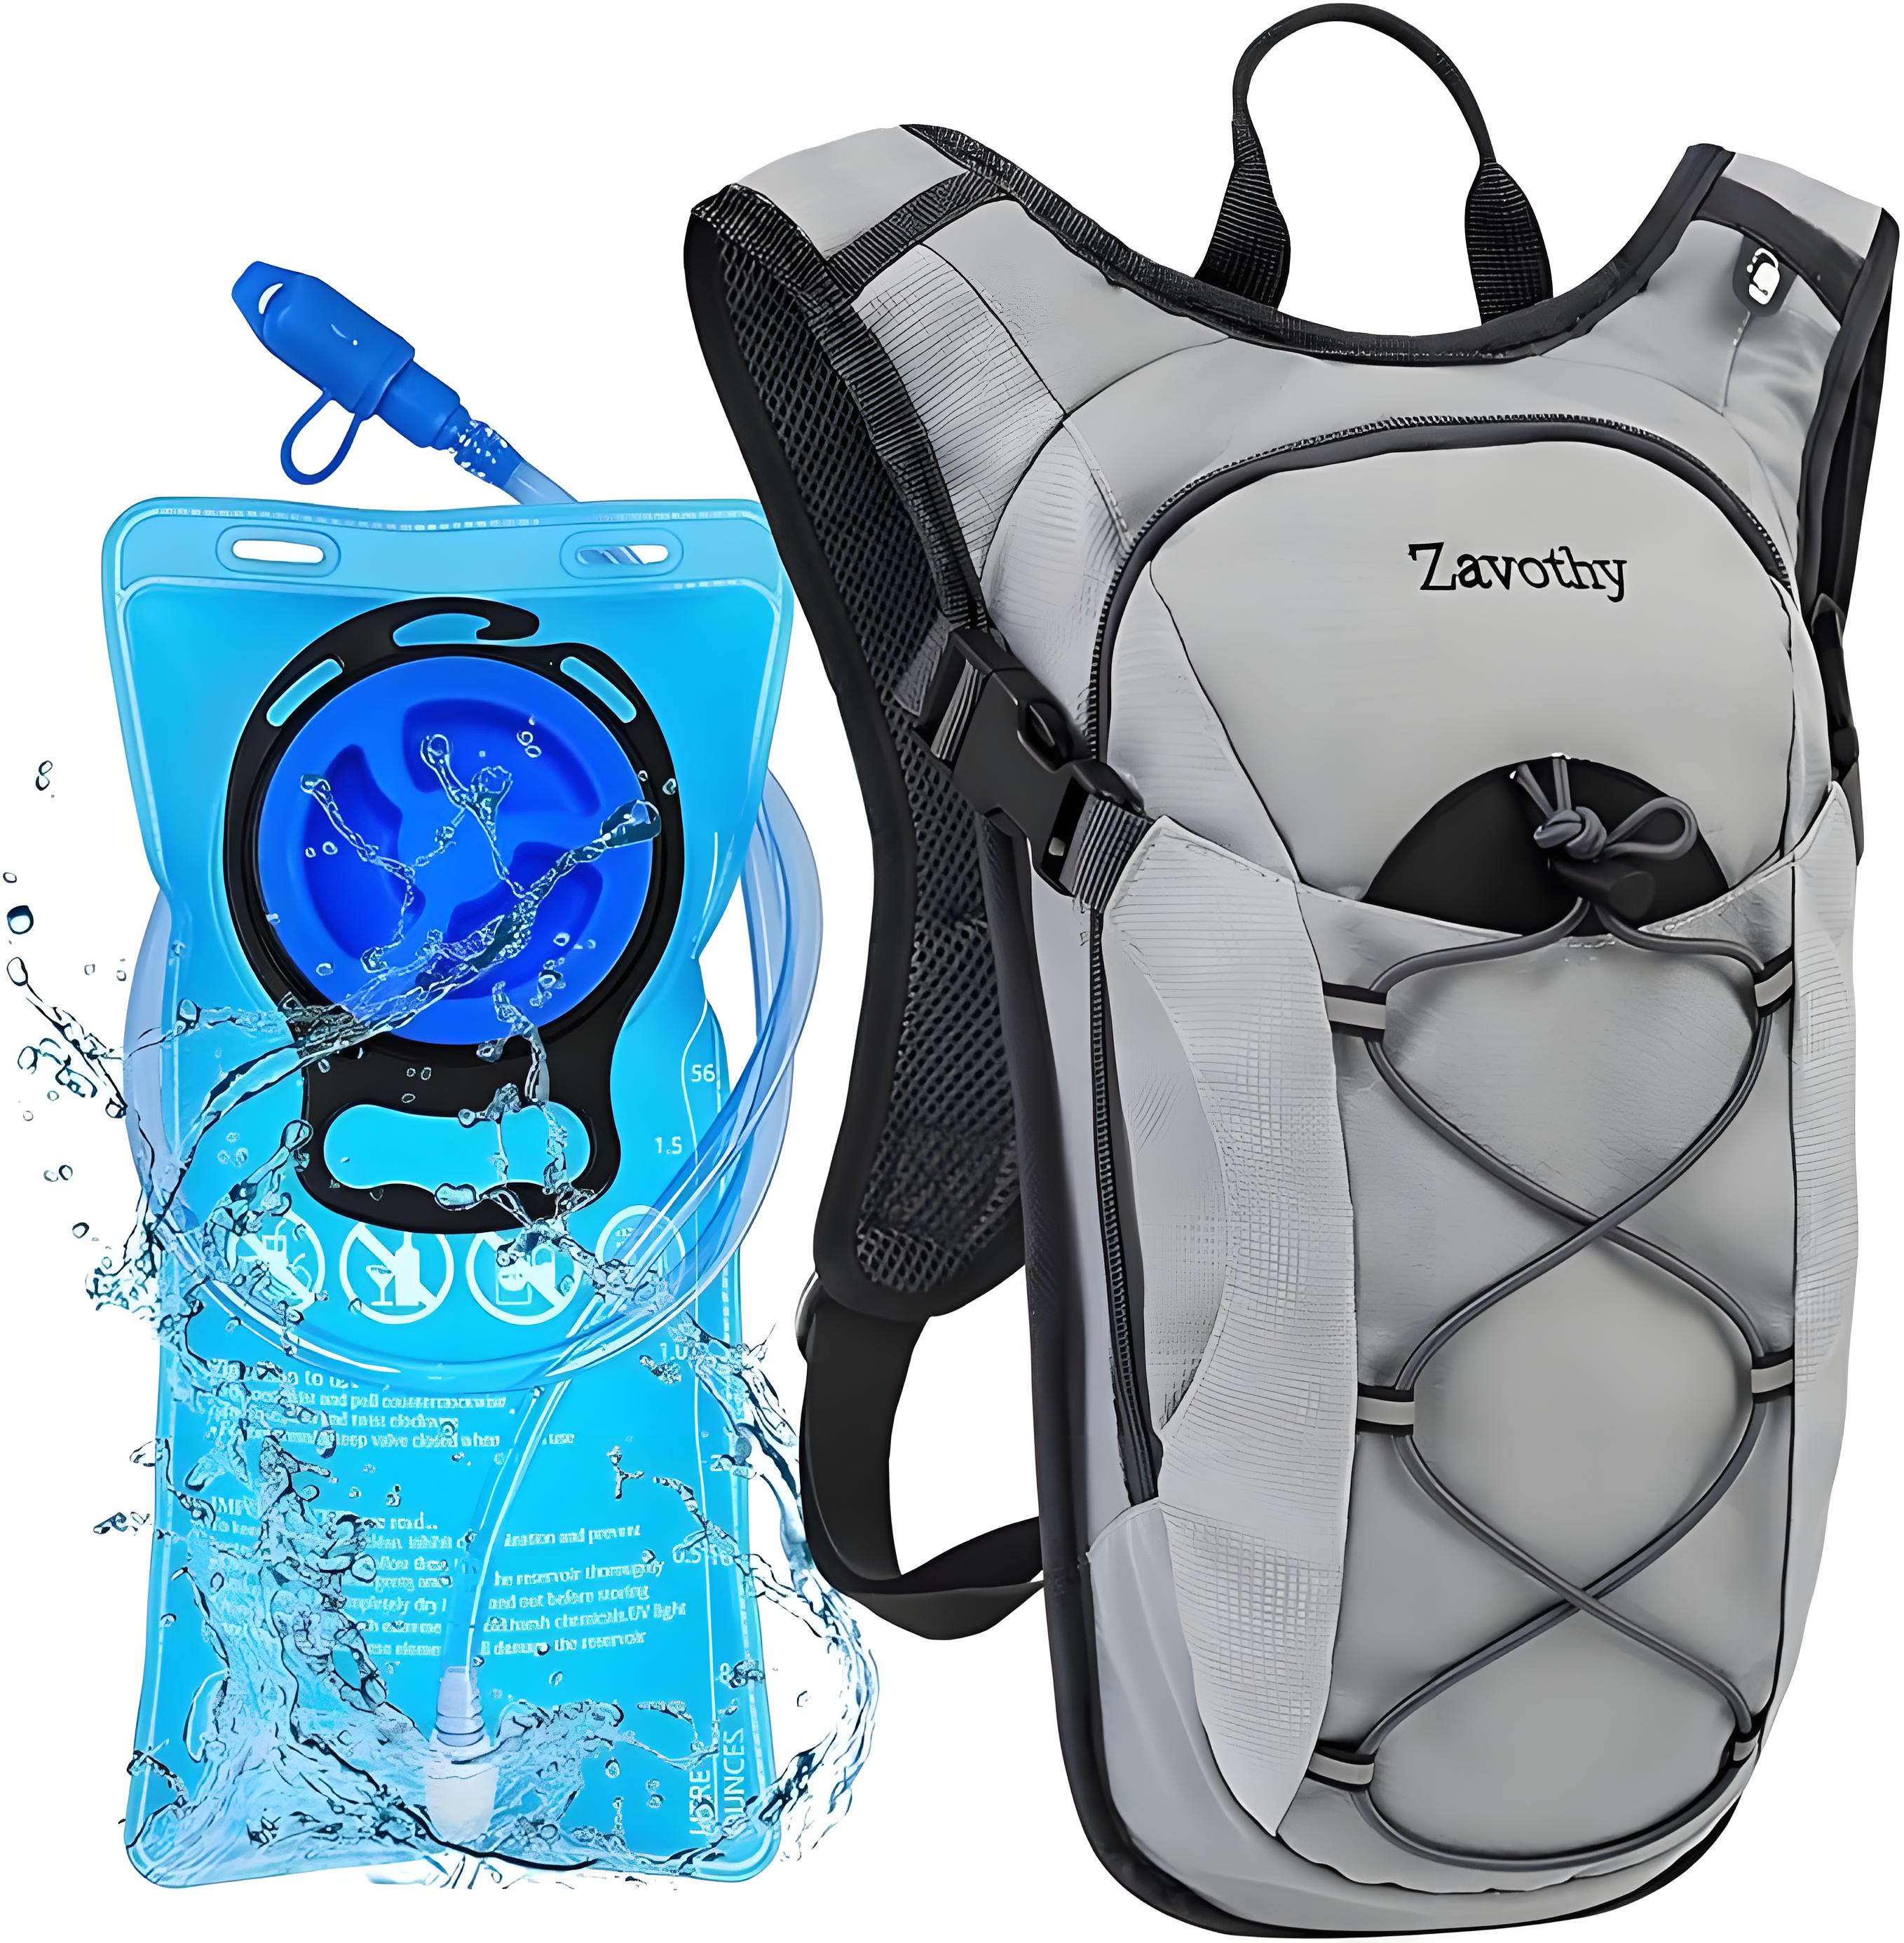
A typical 2L hydration bladder consists of a main water – holding pouch, a drinking tube, and a bite valve. The pouch is usually made of a durable, food – grade material that is resistant to leaks and can withstand the rigors of outdoor use. The drinking tube is a long, flexible hose that connects the pouch to the bite valve, allowing you to drink water without having to remove the backpack. The bite valve is the part you put in your mouth to control the flow of water.
Table 1: Key Components of a 2L Hydration Bladder
| Component | Description | Function |
|---|---|---|
| Main pouch | A flexible, water – holding container made of food – grade material | Stores the water |
| Drinking tube | A long, flexible hose | Connects the pouch to the bite valve for easy access to water |
| Bite valve | A small, mouth – operated valve | Controls the flow of water when you bite on it |
2. Choosing the Right Trail Running Backpack
Not all trail running backpacks are designed to accommodate a hydration bladder. When selecting a backpack, look for one that has a dedicated hydration compartment. This compartment is usually located near the back panel of the backpack and is designed to fit the shape of the hydration bladder snugly. It should also have a small opening or a clip to secure the drinking tube in place, preventing it from flapping around while you run.
Preparing the 2L Hydration Bladder for Use
Now that you have a basic understanding of the hydration bladder and a suitable backpack, let’s move on to preparing the bladder for use.
1. Cleaning the Bladder Before First Use
Just like any other water – holding container, it’s important to clean the hydration bladder before using it for the first time. Fill the bladder with warm water and add a small amount of mild dish soap. Close the bladder tightly and shake it gently to ensure the soap solution reaches all parts of the interior. Then, open the bladder and pour out the soapy water. Rinse the bladder thoroughly with clean water several times to remove any soap residue.

2. Filling the Bladder with Water
To fill the 2L hydration bladder, locate the large opening at the top of the pouch. This opening is usually covered by a screw – on or snap – on cap. Unscrew or unsnap the cap and place the bladder under a faucet. Fill the bladder slowly to avoid overflow. As you fill it, you can gently squeeze the bladder to remove any air pockets. Once the bladder is full, screw or snap the cap back on tightly to prevent leaks.
3. Installing the Bladder in the Backpack
Open the hydration compartment of your trail running backpack. Carefully insert the filled hydration bladder into the compartment, making sure it sits flat and doesn’t get twisted. Once the bladder is in place, thread the drinking tube through the designated opening or clip on the backpack. This will keep the tube secure and within easy reach.
Using the 2L Hydration Bladder During a Trail Run
Now that your hydration bladder is properly installed in your backpack, let’s talk about how to use it effectively during your trail run.
1. Accessing the Bite Valve
The drinking tube with the bite valve should be positioned in a way that you can easily reach it while running. Most trail running backpacks have the tube coming out near the shoulder strap. When you feel thirsty, simply reach up and grab the bite valve. Put it in your mouth and bite down gently. This will open the valve and allow water to flow through the tube and into your mouth.
2. Controlling the Water Flow
The amount of water that flows through the bite valve depends on how hard you bite. If you want a small sip, bite gently. If you need a larger drink, bite a bit harder. It may take a little practice to get the hang of controlling the water flow, but once you do, you’ll be able to hydrate yourself efficiently while on the move.
3. Preventing Leaks
Leaks can be a major inconvenience during a trail run. To prevent leaks, make sure the cap on the hydration bladder is screwed or snapped on tightly before you start running. Also, check the bite valve and the connections between the pouch, the tube, and the valve for any signs of damage or wear. If you notice any leaks, stop and fix the problem immediately. You can try tightening the connections or replacing the damaged part if necessary.

4. Monitoring Water Levels
It’s important to keep an eye on how much water you have left in the hydration bladder, especially during long trail runs. Some hydration bladders have a transparent strip on the side that allows you to see the water level. If your bladder doesn’t have this feature, you can estimate the water level by feeling the weight of the backpack. As you drink more water, the backpack will become lighter.
Maintaining the 2L Hydration Bladder After Use
After your trail run, it’s crucial to properly maintain the hydration bladder to ensure its longevity and keep it clean for future use.
1. Emptying the Bladder
As soon as you finish your run, empty the remaining water from the hydration bladder. Open the cap and pour out the water. If there is any sediment or debris in the bladder, you can rinse it out with clean water.
2. Cleaning the Bladder
Cleaning the hydration bladder after each use is essential to prevent the growth of bacteria and mold. Fill the bladder with warm water and add a small amount of baking soda or a specialized hydration bladder cleaning solution. Close the bladder and shake it vigorously for a few minutes. Then, let the solution sit in the bladder for about 15 – 20 minutes. After that, open the bladder and pour out the solution. Rinse the bladder thoroughly with clean water several times to remove any traces of the cleaning solution.
3. Drying the Bladder
Properly drying the hydration bladder is just as important as cleaning it. Hang the bladder upside down in a well – ventilated area. You can also use a clean towel to gently pat the inside of the bladder to remove excess water. Make sure the bladder is completely dry before storing it to prevent the growth of mold and mildew.
4. Storing the Bladder
Once the hydration bladder is dry, store it in a cool, dry place. Avoid storing it in direct sunlight or in a humid environment, as this can damage the material and shorten its lifespan. You can also roll up the bladder and secure it with a rubber band to save space.

Tips and Tricks for Using a 2L Hydration Bladder in Trail Running
Here are some additional tips and tricks to help you get the most out of your 2L hydration bladder during trail runs.
1. Freeze the Bladder for Cold Water
If you prefer to drink cold water during your runs, you can freeze the hydration bladder partially before filling it with water. Fill the bladder about one – third full with water and place it in the freezer overnight. In the morning, fill the rest of the bladder with water. The frozen part will keep the water cold for a longer period of time.
2. Use a Hydration Bladder Insulator
In extremely hot or cold weather, a hydration bladder insulator can be a great addition. An insulator is a sleeve that fits around the hydration bladder and helps to regulate the temperature of the water. It can keep your water cold in hot weather and prevent it from freezing in cold weather.
3. Mark the Bladder with Water Levels
If you want to keep track of how much water you’re drinking during your run, you can mark the hydration bladder with water levels. Use a permanent marker to make small marks at intervals along the side of the bladder, indicating different water volumes. This way, you can easily see how much water you’ve consumed and how much is left.
4. Practice Using the Bladder Before a Long Run
If you’re planning a long trail run and will be relying heavily on your hydration bladder, it’s a good idea to practice using it before the big day. Go on a few shorter runs and get used to accessing the bite valve, controlling the water flow, and dealing with any potential issues. This will help you feel more confident and comfortable during your long run.

Related Questions
Q: Can I put sports drinks in a 2L hydration bladder?
A: Yes, you can put sports drinks in a 2L hydration bladder. However, it’s important to clean the bladder thoroughly after using sports drinks, as they can leave behind residue and promote the growth of bacteria. Use a specialized cleaning solution or a mixture of warm water and baking soda to clean the bladder effectively.
Q: How often should I replace my 2L hydration bladder?
A: The lifespan of a 2L hydration bladder depends on how often you use it and how well you maintain it. Generally, it’s a good idea to replace your hydration bladder every 1 – 2 years, or sooner if you notice any signs of wear and tear, such as cracks, leaks, or a strange odor.
Q: Can I wash the hydration bladder in a dishwasher?
A: It’s not recommended to wash the hydration bladder in a dishwasher. The high heat and harsh detergents in a dishwasher can damage the material of the bladder and affect its performance. Stick to hand – washing the bladder with warm water and mild soap or a specialized cleaning solution.
Q: What should I do if the bite valve stops working?
A: If the bite valve stops working, first check if there is any debris or dirt blocking the valve. You can clean the valve by running warm water through it and gently squeezing it to remove any blockages. If the valve is still not working, you may need to replace it. Most hydration bladder manufacturers sell replacement bite valves that are easy to install.
In conclusion, using a 2L hydration bladder in a trail running backpack can greatly enhance your running experience by providing you with easy access to water on the go. By following the steps outlined in this article, from preparing the bladder for use to maintaining it after each run, you can ensure that your hydration system works efficiently and lasts for a long time. So, lace up your running shoes, fill up your hydration bladder, and hit the trails with confidence!