As a seasoned player in the cycling field who has been through thick and thin, and also an expert in Google SEO, I understand well the significance of staying hydrated during cycling. And the hydration bladder for a bicycle backpack is a reliable assistant for cyclists to maintain their water intake. Today, I’m going to have a heart-to-heart chat with you about how to use a hydration bladder for a bicycle backpack, hoping to help fellow cyclists enjoy their cycling journeys even more.

I. Getting to Know the Components of a Hydration Bladder for a Bicycle Backpack
The Bladder Body
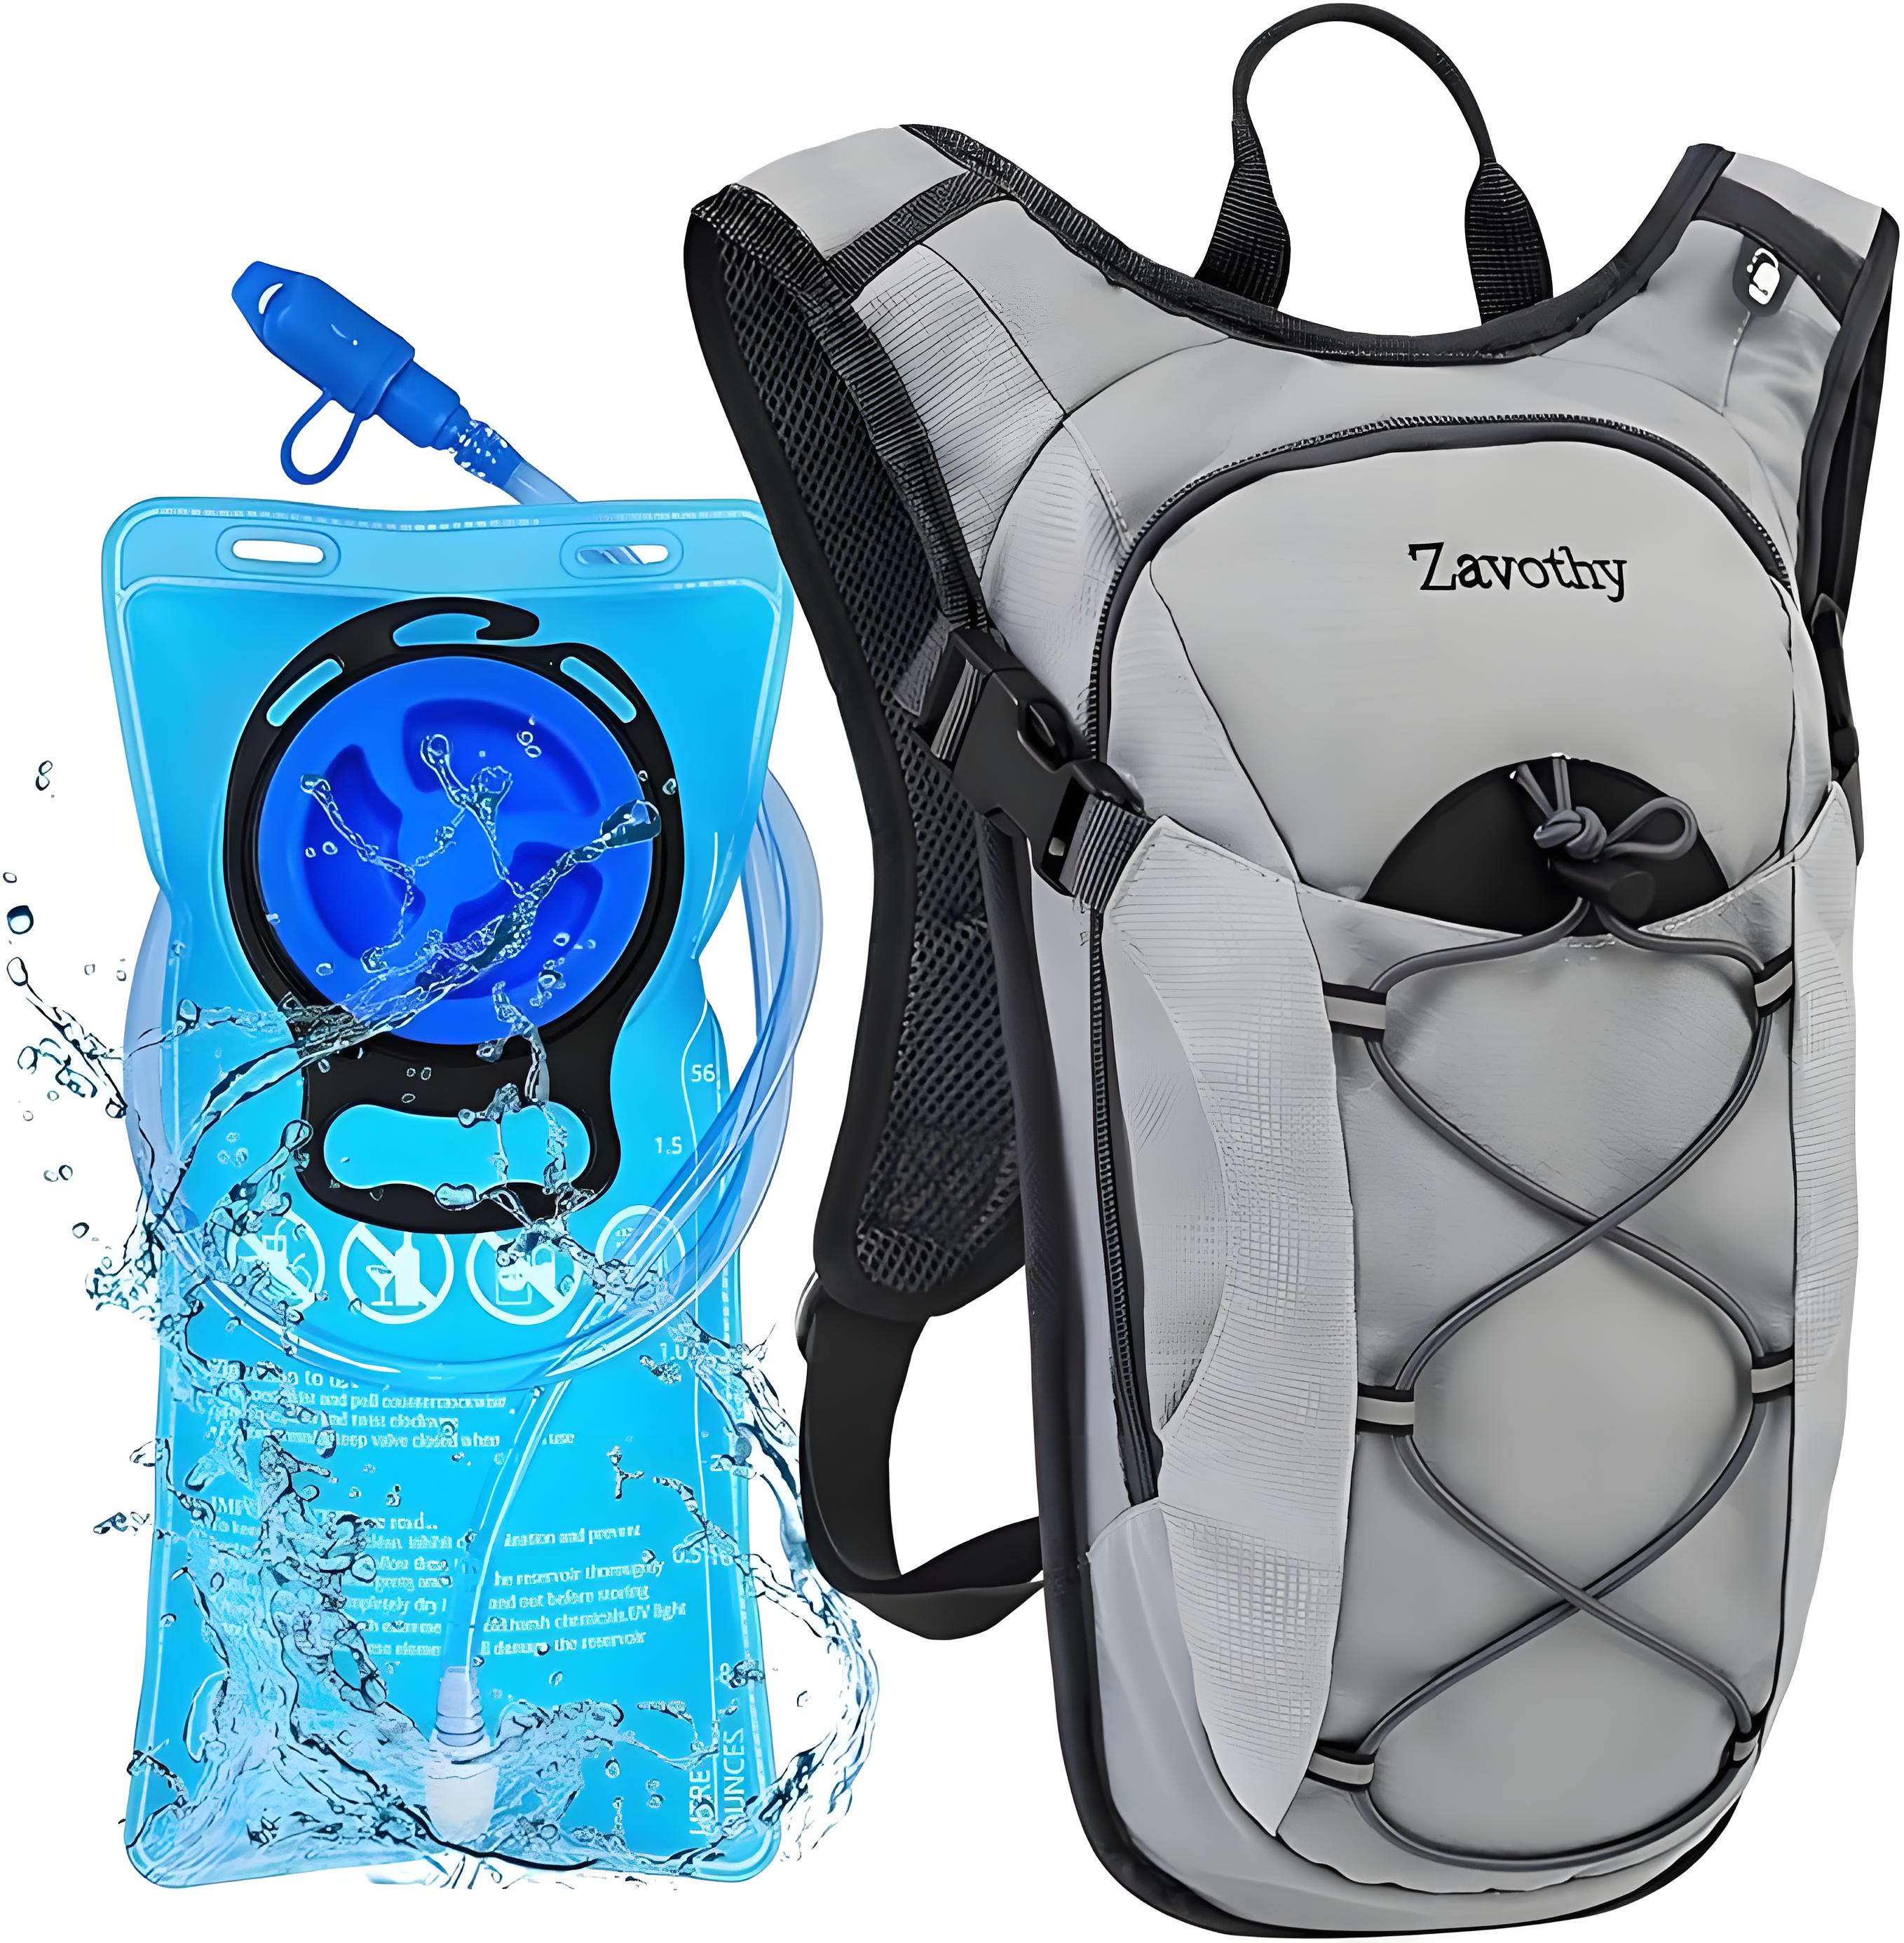
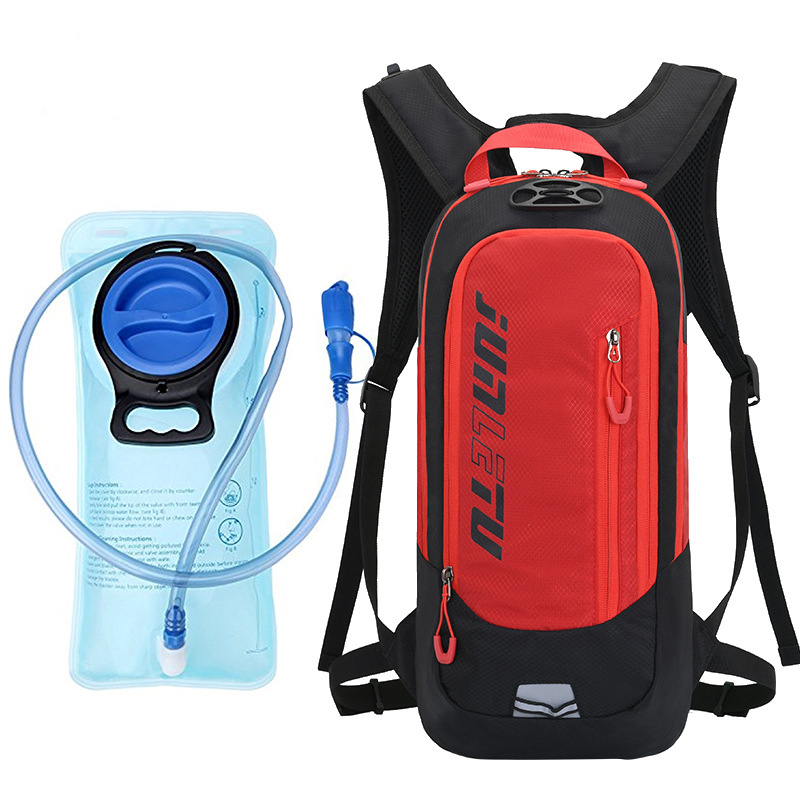
The bladder body is the core part of the entire system, acting like a “big pouch” for holding water. In terms of material, common ones include TPU (Thermoplastic Polyurethane) and PVC (Polyvinyl Chloride). TPU bladders are relatively more eco-friendly, odorless, flexible, and less prone to rupture. PVC bladders are usually more budget-friendly but may fall slightly short in terms of eco-friendliness and durability. Regarding capacity, common sizes are 1.5L, 2L, and 3L. Generally, a 1.5L – 2L bladder is sufficient for short-distance cycling. For long-distance cycling or in hot weather, a 3L bladder can provide more adequate water supply.
The Drinking Tube
The drinking tube serves as the “bridge” connecting the bladder and the cyclist’s mouth. Its length is usually between 50cm and 80cm, which is enough to meet the drinking needs in different cycling postures. The tube is commonly made of silicone or plastic. Silicone tubes are soft and comfortable, won’t harm the oral cavity, and are resistant to both high and low temperatures. Plastic tubes are relatively lighter and more cost-effective. Some tubes also come with dust caps, which can effectively prevent dust and debris from entering the tube, ensuring the hygiene of the drinking water.

The Bite Valve
The bite valve is the part that directly comes into contact with the cyclist’s mouth, and its design directly affects the drinking experience. Common bite valves include ordinary ones and one-touch open-close ones. Ordinary bite valves require the cyclist to gently bite with their teeth to let the water out. The water flow rate is relatively slow, but the structure is simple and less prone to damage. One-touch open-close bite valves are more convenient. You just need to press the button lightly, and the water will flow out. The water flow rate is faster, suitable for quick water replenishment during cycling. However, the structure of one-touch open-close bite valves is relatively complex, and there may be issues like water leakage.
The Backpack Mounting System
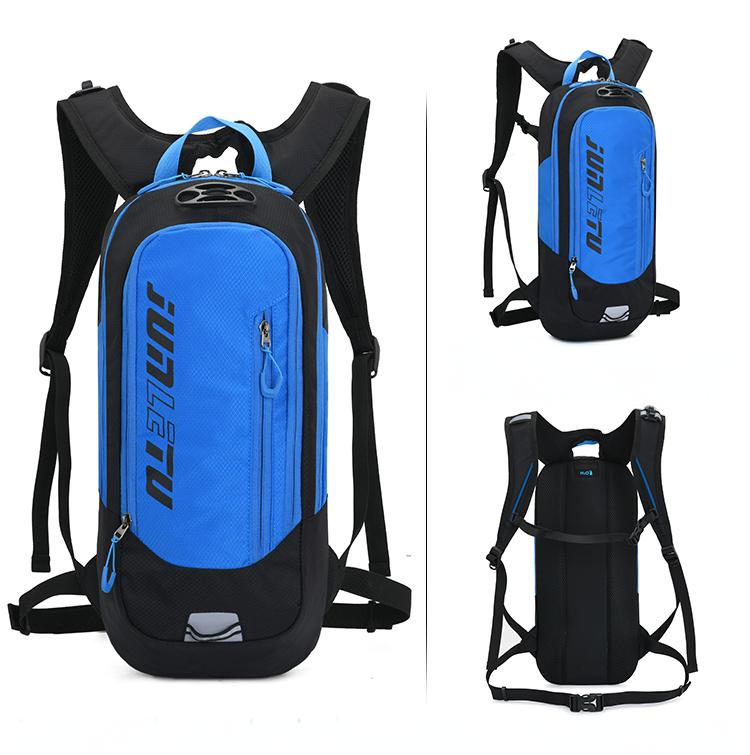
The backpack mounting system is the key to securing the hydration bladder to the bicycle backpack. It usually consists of hooks, Velcro, or fixing straps. Hooks can conveniently hang the bladder in a specific position inside the backpack to prevent it from shaking during cycling. Velcro and fixing straps can further secure the bladder to ensure its stability. Some backpacks are also designed with special bladder compartments, which have anti-slip materials inside to better fix the bladder and also play a certain heat-insulating role to keep the water temperature.
Connecting Components
Connecting components mainly include the connectors between the drinking tube and the bladder, and between the drinking tube and the bite valve. These connectors need to have good sealing performance to prevent water leakage. Common connector materials are plastic and metal. Plastic connectors are lightweight and cost-effective but may not be as durable as metal connectors. Metal connectors are more sturdy and durable but relatively heavier.
Comparison Table of Components
| Component | Common Materials | Features | Suitable Scenarios |
|---|---|---|---|
| Bladder Body | TPU, PVC | TPU is eco-friendly, odorless, and flexible; PVC is budget-friendly | Short-distance cycling can choose either; long-distance or hot-weather cycling, TPU is better |
| Drinking Tube | Silicone, Plastic | Silicone is soft, comfortable, and temperature-resistant; plastic is lightweight and cost-effective | For comfort, choose silicone; for lightness, choose plastic |
| Bite Valve | Ordinary, One-touch open-close | Ordinary has slow water flow but simple structure; one-touch open-close has fast water flow but complex structure | For quick water replenishment, choose one-touch open-close; for regular cycling, choose ordinary |
| Backpack Mounting System | Hooks, Velcro, Fixing Straps | Hooks are convenient for hanging; Velcro and fixing straps enhance stability | Suitable for various cycling scenarios |
| Connecting Components | Plastic, Metal | Plastic is lightweight and cost-effective; metal is sturdy and durable | General cycling can choose plastic; high-intensity cycling can choose metal |
II. Preparations Before Use
Inspect the Bladder
Before using the bladder for the first time, carefully check it for any damage, air leakage, etc. You can fill the bladder with water and gently squeeze it to see if there is any water seeping out. If you find any damage to the bladder, contact the seller in time for a replacement to avoid water leakage during cycling, which could affect the cycling experience.

Clean the Bladder
Newly purchased bladders may have some odors and need to be cleaned before use. You can gently scrub the inside of the bladder with warm water and a neutral detergent, then rinse it with clean water. Be careful not to use detergents containing bleach or strong acids or alkalis, as they may damage the bladder material. After cleaning, hang the bladder upside down to dry completely to prevent bacteria from breeding.
Install the Bladder
Put the dried bladder into the special bladder compartment of the bicycle backpack and adjust its position to ensure it won’t shake. Then, use the backpack mounting system to secure the bladder. Make sure the hooks are firmly hung, and the Velcro and fixing straps are tightly fastened. Next, thread the drinking tube out through the dedicated outlet of the backpack, connect the drinking tube to the bladder connector, and ensure the connection is tight without any water leakage. Finally, install the bite valve at the other end of the drinking tube and check if it can be used normally.
Prepare Drinking Water
Before cycling, fill the bladder with an appropriate amount of water according to the cycling time and weather conditions. If the cycling time is long, you can also add some electrolyte drinks to the bladder to replenish the salt and minerals lost by the body. After filling the water, tighten the bladder cap to prevent water from overflowing.
III. Usage Tips During Cycling
Adjust the Tube Position
During cycling, adjust the position of the drinking tube according to your cycling posture and needs. Generally, the tube should be on the side of your head for easy access to water at any time. You can fix the tube on the backpack’s shoulder strap or use a special tube fixing clip to secure it in a suitable position. In this way, you can easily drink water without stopping during cycling.
Master the Drinking Rhythm
During cycling, don’t wait until you’re thirsty to drink water. You should replenish water regularly and in appropriate amounts. Generally, take a small sip of water every 15 – 20 minutes to maintain the body’s water balance. If the cycling intensity is high or the weather is hot, you can appropriately increase the frequency and amount of water intake. But also be careful not to drink too much water at once to avoid causing gastrointestinal discomfort.

Prevent Water Leakage
During cycling, pay attention to preventing water leakage from the bladder. Check if the bite valve is tightly closed. If it’s a one-touch open-close bite valve, make sure the button is in the closed position. At the same time, avoid subjecting the bladder to severe squeezing and collisions to prevent damage to the bladder or connecting components, which could lead to water leakage. If you find water leakage, stop cycling in time, check the cause of the leakage, and deal with it.
Deal with Different Weather Conditions
In hot weather, the water in the bladder may become warm, affecting the taste of the drinking water. You can wrap a layer of heat-insulating material, such as a towel or a special heat-insulating sleeve, around the bladder to slow down the rise in water temperature. In cold weather, the water in the bladder may freeze, causing the bladder to rupture. You can add some warm water to the bladder or place the bladder close to your body to use your body heat to keep the water temperature.
IV. Maintenance and Care After Use
Clean the Bladder
After cycling, clean the bladder in time. Pour out the remaining water in the bladder, then wash the inside of the bladder with warm water and a neutral detergent. You can use a special cleaning brush to gently scrub the corners and crevices of the bladder to ensure it is thoroughly cleaned. After cleaning, rinse it with clean water and then hang the bladder upside down to dry.
Dry the Bladder
Drying the bladder is a very important step. If there is residual water inside the bladder, it is easy to breed bacteria and mold, affecting the hygiene of the next use. You can hang the bladder in a well-ventilated place to let it dry naturally. You can also use a hairdryer to dry it, but be careful not to use a high temperature to avoid damaging the bladder material.

Check and Replace Components
Regularly check the various components of the bladder, such as the drinking tube, bite valve, connectors, etc., for any signs of wear, aging, or damage. If you find any problems, replace the corresponding components in time to ensure the normal use of the bladder. Generally, it is recommended to replace the drinking tube and bite valve every six months, and other components can be replaced according to the actual situation.
Store the Bladder
Fold the dried bladder neatly, put it in a special storage bag, and store it in a dry and ventilated place. Avoid placing the bladder in direct sunlight or a damp place to prevent affecting the bladder’s material and service life.
V. Common Problems and Solutions
Water Leakage from the Bladder
Cause: It may be due to a damaged bladder, poor sealing of the connectors, or a ruptured drinking tube.
Solution: If the bladder is damaged, you can use a special repair glue to repair it or contact the seller for a replacement. If the connectors are not tightly sealed, reconnect them and ensure a tight connection. If the drinking tube is ruptured, replace it with a new one.
No Water Coming Out of the Bite Valve
Cause: It may be due to a blocked bite valve, a bent drinking tube, or no water in the bladder.
Solution: If the bite valve is blocked, rinse it with clean water or use a thin needle to unclog it. If the drinking tube is bent, adjust its position to keep it unobstructed. If there is no water in the bladder, simply refill it.

Odor in the Bladder
Cause: It may be due to inadequate cleaning of the bladder, bacterial growth caused by long-term storage, or the use of inappropriate cleaning agents.
Solution: Wash the bladder again with warm water and a neutral detergent, then rinse it with clean water. After drying, you can put some activated carbon or lemon slices in the bladder to remove the odor. In the future, pay attention to cleaning the bladder regularly and using appropriate cleaning agents.
The Drinking Tube Falls Off Easily
Cause: It may be due to an insecure connection between the drinking tube and the bladder or the bite valve, or the backpack mounting system not securing the bladder properly, causing the drinking tube to be pulled and fall off.
Solution: Reconnect the drinking tube and ensure a tight connection. Check the backpack mounting system and secure the bladder properly to prevent the drinking tube from being pulled.
VI. Related Q&A
Q: Is a hydration bladder for a bicycle backpack suitable for all cycling scenarios?
A: A hydration bladder for a bicycle backpack is suitable for most cycling scenarios, especially long-distance cycling, mountain cycling, and other scenarios that require long-term water replenishment. However, in some short-distance urban commuting cycling scenarios, if the cycling distance is short, you can also choose to carry bottled water. Nevertheless, the convenience of the hydration bladder is more evident in long-distance cycling, as it allows cyclists to replenish water at any time during cycling without having to stop and pick up bottled water.
Q: How to choose a bladder with the right capacity for myself?
A: The choice of bladder capacity should be based on the cycling distance, time, and weather conditions. Generally, a 1.5L – 2L bladder is sufficient for short-distance cycling (1 – 2 hours). For medium-distance cycling (2 – 4 hours), you can choose a 2L – 3L bladder. For long-distance cycling (over 4 hours) or in hot weather, it is recommended to choose a 3L bladder to ensure an adequate water supply.

Q: How long can the water in the bladder be stored?
A: The water in the bladder should not be stored for too long. It is generally recommended to drink it within 24 hours. If the water is stored for too long, it may be contaminated by bacteria, affecting the safety of drinking. If you need to store water for a long time, you can add some disinfection tablets to the bladder or refrigerate the bladder, but be careful not to let the water freeze.
Q: Can the bladder hold hot water?
A: This depends on the material of the bladder. TPU bladders can usually hold warm water, but it is not recommended to hold water that is too hot, generally not exceeding 60℃, to avoid damaging the bladder material. PVC bladders have relatively poor heat resistance and are not recommended to hold hot water, as it may cause the bladder to deform or release harmful substances. Before filling hot water, be sure to carefully read the bladder’s instructions to understand its heat-resistant range.
Q: How to clean the dead corners of the bladder?
A: You can use a special cleaning brush to clean the dead corners of the bladder. The brush head of the cleaning brush is relatively soft and won’t scratch the inner wall of the bladder. Insert the cleaning brush into the corners and crevices of the bladder and gently scrub, then rinse with clean water. You can also add some rice and water to the bladder and shake it. The rice can play a role in friction to help remove dirt from the dead corners.
I hope that through the above introduction, everyone can have a deeper understanding of how to use a hydration bladder for a bicycle backpack. Using and maintaining the bladder correctly during cycling can allow us to better enjoy the fun of cycling and keep our bodies hydrated. Happy cycling!