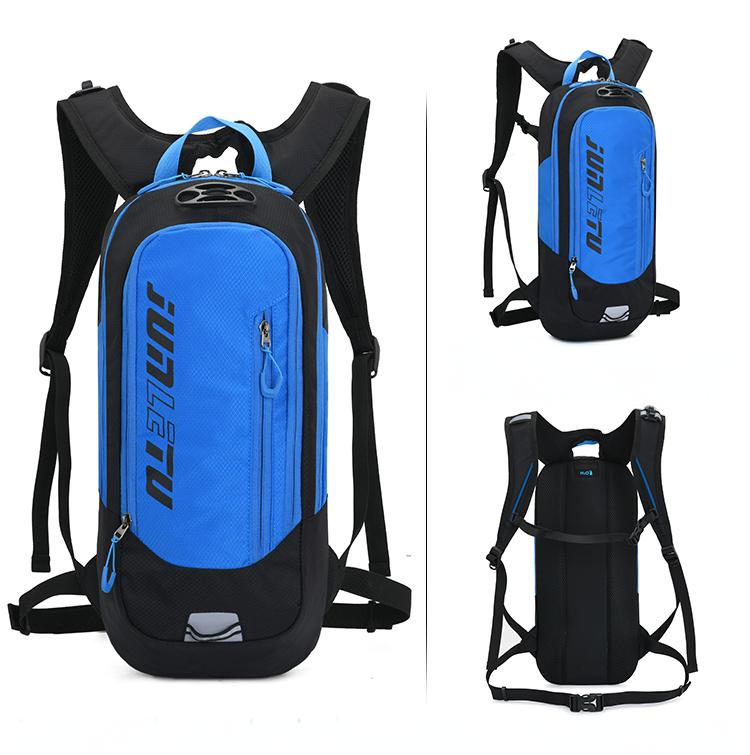
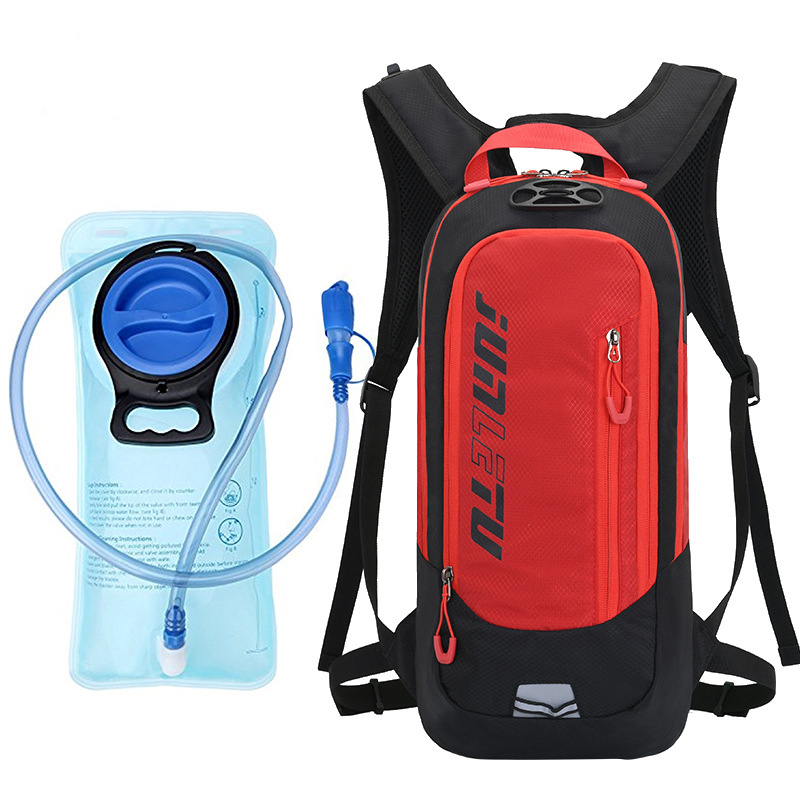
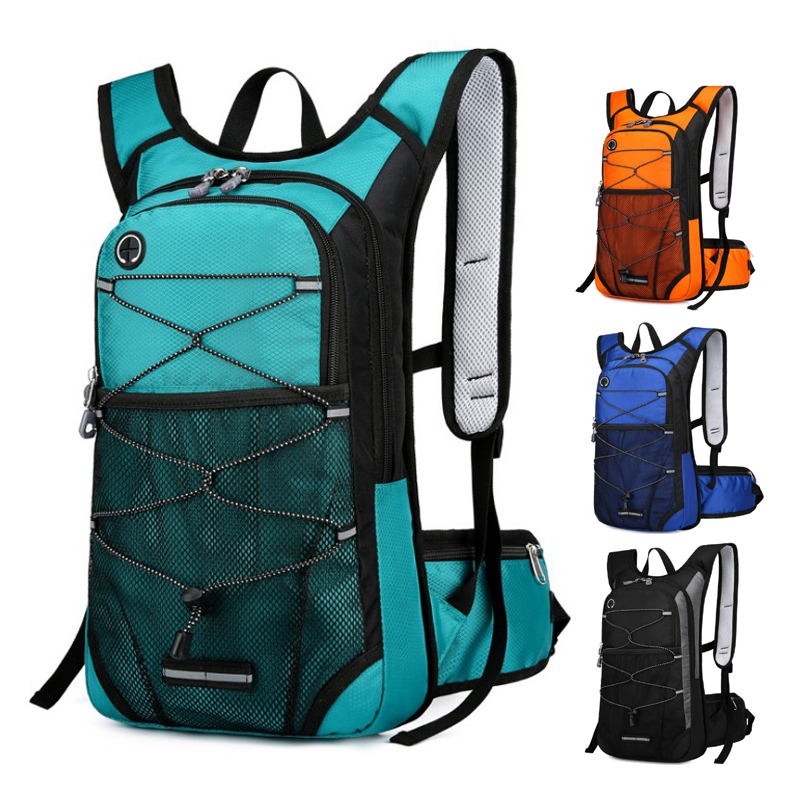
As someone who’s been hooked on outdoor adventures for years, I’ve gone through my fair share of hydration packs—probably eight or ten by now. Whether I’m hiking, biking, or hitting the trails for a run, my hydration pack is my trusty sidekick for staying hydrated. But here’s the thing: after a while, I learned the hard way that cleaning and maintaining these bad boys isn’t as straightforward as I’d hoped. Skip a wash, and you’re greeted with funky smells or even bacteria buildup. Half-ass the job, and you’re left wondering if your next sip will taste off. I’m guessing some of you have been there too—excited about your shiny new pack at first, but stumped when it comes to keeping it clean. So, I’ve put together this full-on guide based on my own trial-and-error, hoping to help you keep your hydration pack spotless and ready for action.

Why Cleaning Your Hydration Pack Matters
The first time I slacked on cleaning my pack, I popped it open a few days later and got hit with a whiff that could knock you out. The drinking tube? Slimy. It was a wake-up call. This isn’t just a backpack—it’s where your drinking water lives, and hygiene can’t take a backseat. I dug into some research and found that the U.S. Centers for Disease Control and Prevention (CDC) warns how bacteria and mold thrive in damp, unwashed water containers. Hydration packs, with their sealed-up design, are prime real estate for that kind of nastiness if you don’t stay on top of it. Whether you’re using yours every weekend or just pulling it out once in a blue moon, cleaning’s non-negotiable.
Before You Start: Get Your Ducks in a Row
After every outing, I’ve got a little pre-cleaning ritual to make the actual washing part less of a hassle. Here’s what I do:
- Dump the Leftovers: Right after I’m done, I pour out any water still sloshing around in the bladder and tube. Letting it sit overnight is a recipe for regret—I learned that when I woke up to sour water once.
- Break It Down: I take apart the tube, mouthpiece, and cap. Some packs have detachable tubes, so check your manual if you’re not sure.
- Quick Check: I peek inside the bladder for gunk or weird spots and give the tube a once-over for yellowing. It helps me know where to focus.
With that sorted, I clear some space by the kitchen sink—my go-to spot for tackling the pack without mixing it up with dirty dishes.
The Big Three: How I Clean My Hydration Pack
After a few flops (like the time I used dish soap and couldn’t shake the soapy aftertaste for days), I’ve nailed down a three-step routine that works like a charm: bladder cleaning, tube scrubbing, and drying it right. Here’s the breakdown.

Step 1: Cleaning the Bladder—Get It Spotless
The bladder’s where your water hangs out, so it’s gotta be pristine. I’ve tried a bunch of tricks, and these are my go-tos:
- Basic Rinse:
- Fill the bladder with warm water (not scalding—around 100-120°F works).
- Toss in a teaspoon of baking soda (about 5g), shake it up for a minute, and let it sit for 10-15 minutes.
- Dump it out and rinse with clean water a couple times. Baking soda’s my MVP—it kills odors and germs without leaving a chemical funk like dish soap does.
- Deep Clean: If I spot mold or I’ve been sipping sugary sports drinks, I step it up:
- Add a drop or two of white vinegar to warm water (too much stinks up the place).
- Grab a soft brush (an old toothbrush works) and gently scrub the inside, especially the corners.
- Rinse until the vinegar smell’s gone.
- Tool Time: For small-opening bladders where my hand won’t fit, I lean on a cleaning brush. Those long, skinny ones reach the bottom and leave it feeling fresh. You can snag a set online for $5-10—totally worth it.
Heads-Up: Don’t blast it with boiling water. Most bladders are TPU, and too much heat can warp them.

Step 2: Tackling the Tube—Don’t Skimp Here
The tube’s a sneaky spot for grime, especially around the mouthpiece. I ignored it once, and two weeks later, I found black specks inside—gross doesn’t even cover it. Now, I’m religious about it:
- Quick Clean:
- Pop the tube off and flush it with warm water.
- Run a tube brush (comes in most cleaning kits) through it, rinsing as I go.
- Dig into the mouthpiece with my fingers to clear out any gunk in the crevices.
- Tough Stains: If it’s yellowed or smells weird, I go harder:
- Soak the tube in warm water with a drop of white vinegar or baking soda for 10 minutes.
- Brush it again and rinse it clean.
- Lazy Hack: Short on time? I’ll fill the tube with water, attach the mouthpiece, and blow it out hard. It’s not perfect, but it clears some junk in a pinch. Still, brushing’s the real deal.
Heads-Up: Mouthpieces wear out. I swap mine every six months or so—keeps it fresh and hassle-free.

Step 3: Drying It Right—Mold’s the Enemy
If you don’t dry it properly, you’re basically rolling out the red carpet for mold. I learned that the hard way when I stuffed a damp bladder back in my pack and found it speckled with black later. Here’s how I dry it now:
- Bladder Drying:
- Prop it open with a couple balled-up paper towels to soak up moisture.
- Hang it upside down somewhere airy (my balcony clothes rack is perfect) until it’s bone-dry.
- For wide-mouth bladders, a drying rack (often in cleaning kits) speeds things up.
- Tube Drying:
- Wipe the outside with a paper towel.
- Hang it up or lay it flat on a clean towel—don’t coil it, or water gets trapped.
- Long-Term Storage: Once dry, I slide the bladder into a zip-lock bag and toss it in the freezer. The cold keeps bacteria at bay, and a quick rinse revives it for the next trip.
Heads-Up: Skip the hairdryer—hot air can mess up the bladder and tube.

Cleaning Plans for Every Situation
How often and how hard I clean depends on how I’ve been using it. Here’s a table I put together based on my habits:
| What I Used It For | How Often to Clean | How I Do It | Watch Out For |
|---|---|---|---|
| Just Plain Water | After Every Use | Warm water + baking soda, then dry | Check the tube for streaks |
| Sports Drinks/Juice | Right After Use | Warm water + vinegar soak, brush, dry | Sugar breeds mold fast |
| Sitting Unused (1+ Month) | Before Next Use | Baking soda + brush, freeze after | Look for mold spots |
| Hot Weather Trips | Every 1-2 Uses | Warm water + vinegar, scrub tube, dry | Heat makes bacteria party |
My Mess-Ups and What I Learned
I’ll be real—I didn’t start out as a hydration pack cleaning pro. I’ve had my share of screw-ups. Once, I used dish soap on the bladder, and every sip tasted like bubbles for a week, even after rinsing like crazy. Another time, I skipped drying and shoved it in my pack—next time I opened it, mold city. That one hit me hard. Now I know cleaning’s not something to cut corners on, especially drying.
The tube’s burned me too. After a long ride, I was wiped and left the pack in a corner. Days later, the tube smelled rank, and no amount of brushing fully fixed it. I ended up buying a spare tube to swap out when I’m in a rush—saves me every time.

Cleaning Gear I Swear By
To make life easier, I’ve picked up some cheap tools that punch above their weight. Here’s what I use:
- Cleaning Kit: Long brush, tube brush, drying rack—$5-10 online, and it’s a game-changer.
- Baking Soda: A few bucks at the store, perfect for deodorizing on the cheap.
- White Vinegar: Kitchen staple that doubles as a cleaner—beats fancy stuff hands down.
- Old Toothbrush: Great for scrubbing mouthpieces and cap nooks—free and green.
These don’t break the bank but make cleaning a breeze. Give ‘em a shot.
Wrap-Up: Keep Your Pack Going Strong
After years of hauling hydration packs around, my biggest takeaway is this: a little care goes a long way. Washing it right means I can grab it for my next trip without a second thought, sipping clean water every time. I hope this guide helps you out—whether it’s a quick rinse or a deep scrub, you’ve got this. It’s not just gear; it’s your adventure buddy, and it deserves some love.

FAQs
1. How often should I clean my hydration pack?
Depends on use. Plain water? Rinse after each go. Sweet drinks? Wash it ASAP to dodge mold.
2. Can I use dish soap on the bladder?
You can, but rinse it like your life depends on it—otherwise, it’ll taste soapy. I stick to baking soda for less drama.
3. What if my bladder smells funky?
Soak it in warm water with baking soda for 15 minutes, then brush. Still bad? Try vinegar ‘til the smell’s gone.
4. Can’t reach inside the tube?
Tie a small cloth to a string, dip it in cleaner, and pull it through. Or just grab a new tube—they’re cheap.
5. Moldy bladder—can I save it?
Light mold? Scrub with vinegar. Heavy stuff? Toss it and start fresh—health’s worth it.