As an avid hiker and outdoor enthusiast who’s spent countless hours on trails, I’ve come to appreciate the value of a good hydration backpack. For newcomers to hiking, camping, or other outdoor activities, choosing the right hydration backpack can make or break your experience. It’s not just about carrying water—it’s about comfort, convenience, and ensuring you’re prepared without feeling overwhelmed. When I started hiking, I struggled to find a hydration pack that was easy to use and didn’t weigh me down. In this guide, I’ll share my insights on selecting beginner-friendly hydration backpacks, drawing from my own trial-and-error experiences and practical tips to help you stay hydrated and comfortable on your adventures.

Why Hydration Backpacks Matter for Beginners
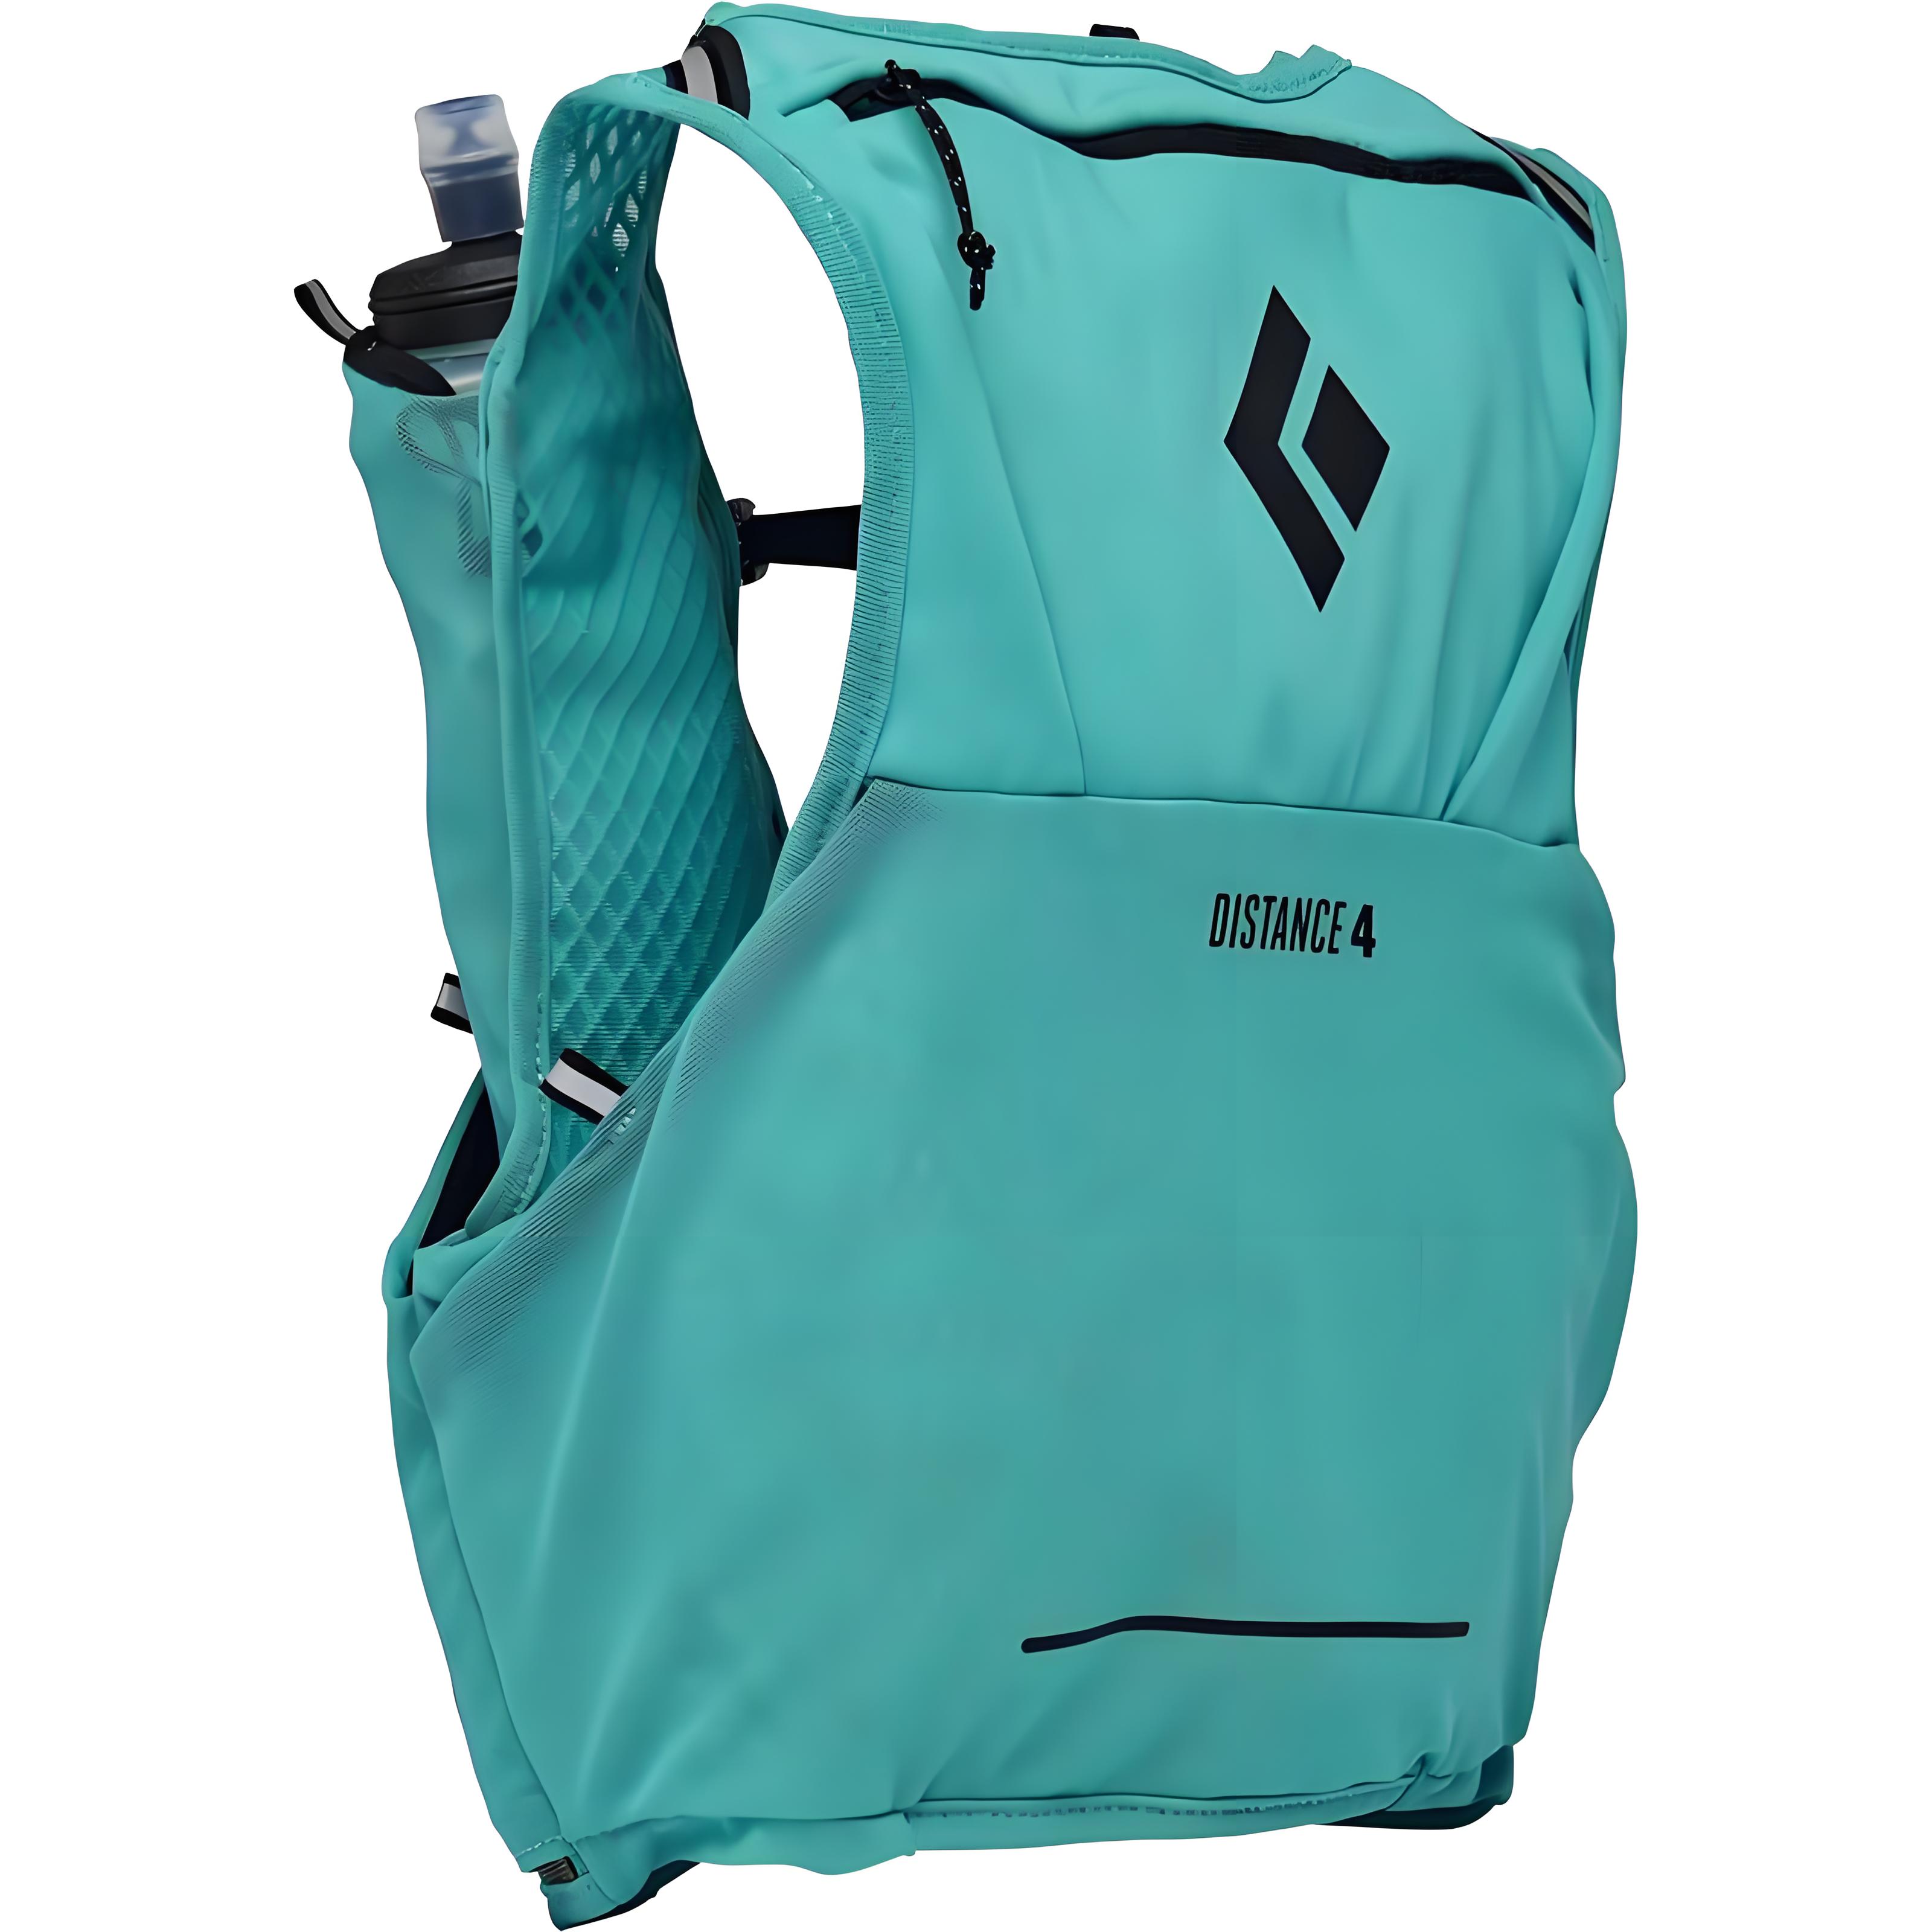
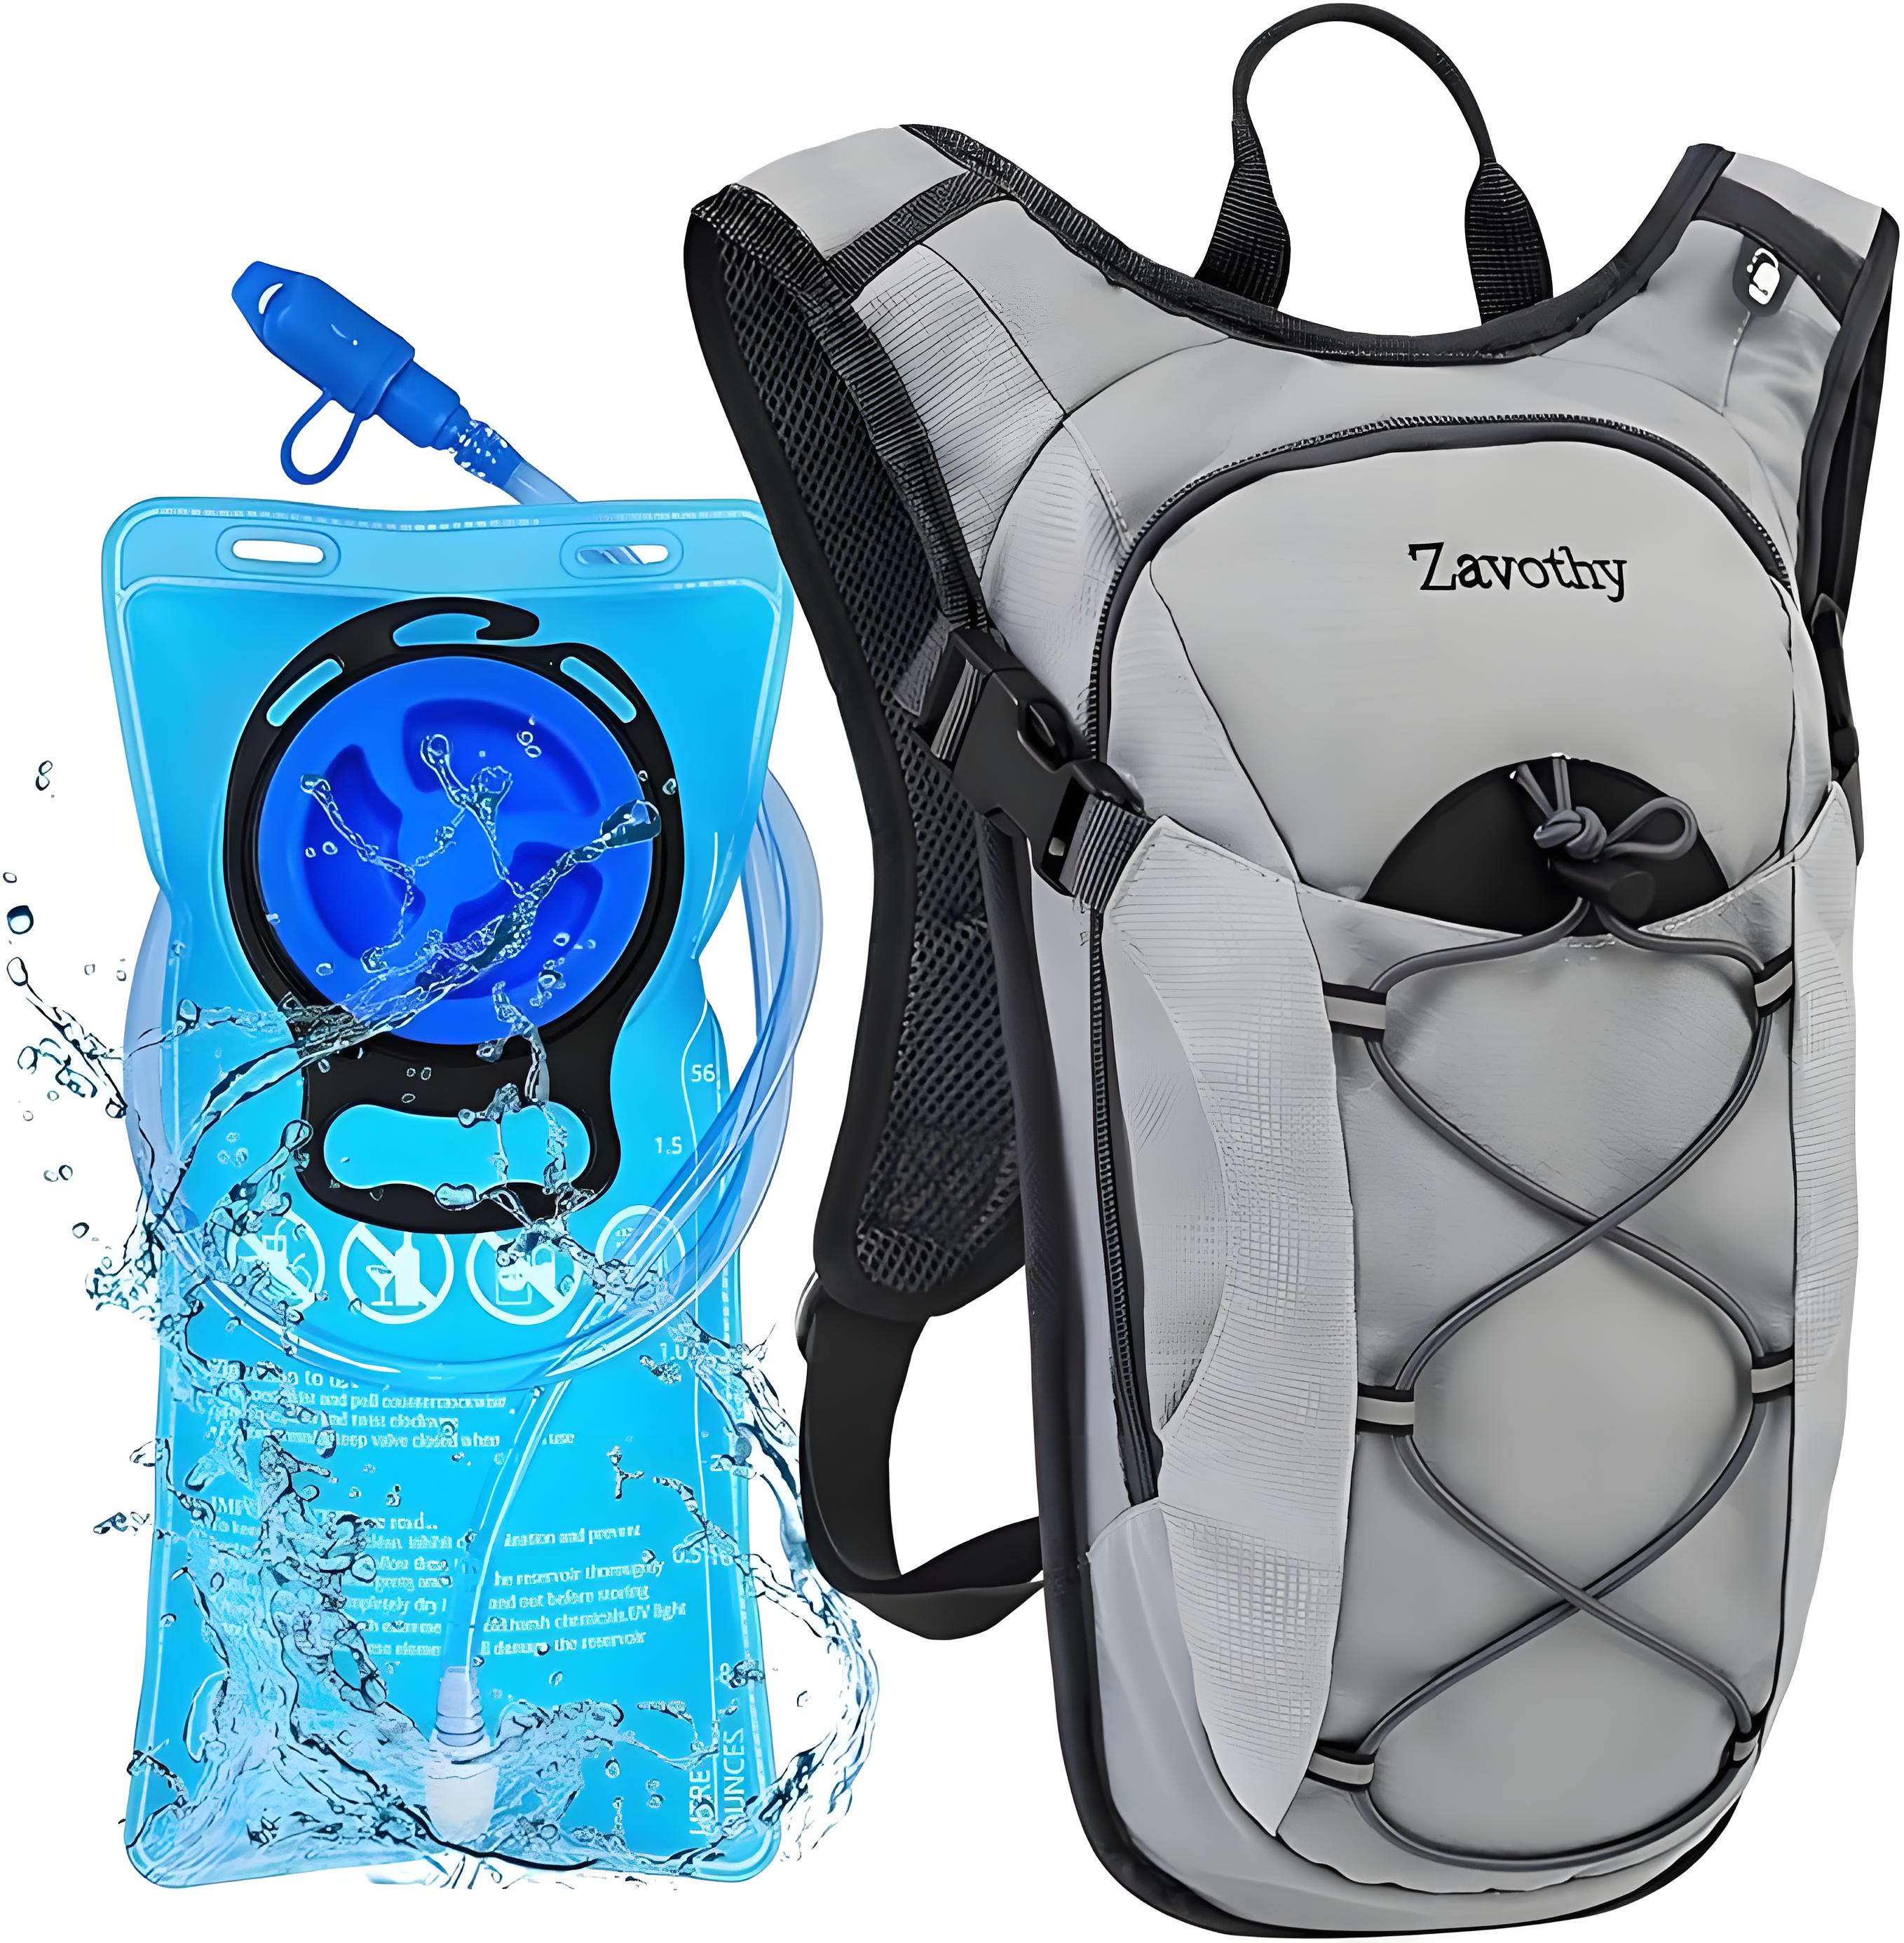
A hydration backpack is a specialized bag with a built-in water reservoir (or bladder) and a drinking tube, allowing you to sip water on the go without stopping to rummage for a bottle. For beginners, the appeal lies in their simplicity and functionality: they keep you hydrated, carry essentials, and free up your hands. However, with so many options—different capacities, features, and designs—picking one can feel daunting, especially if you’re unsure what to prioritize.
My first hydration pack was a bulky, overcomplicated model that left me frustrated on the trail. Since then, I’ve tested dozens of packs and learned what works for newbies: lightweight design, ease of use, and just enough storage for essentials. Below, I’ll break down the key factors to consider, recommend beginner-friendly features, and highlight some top choices based on my experience and industry knowledge.
Key Features to Look for in a Beginner Hydration Backpack
When choosing a hydration backpack, beginners need something intuitive, comfortable, and versatile. Here’s what I’ve found matters most:
1. Water Capacity
The reservoir size determines how much water you can carry. For beginners:
1-2 liters: Ideal for short hikes (1-3 hours) or casual outings.
2-3 liters: Suitable for half-day hikes or activities like cycling.
Avoid larger reservoirs (3+ liters) unless you’re doing long treks, as they add weight.
My Tip: A 2-liter reservoir is a sweet spot for most beginners. It’s enough for a 3-4 hour hike without feeling heavy.
2. Pack Capacity
Beyond water, you’ll need space for snacks, a jacket, or a first-aid kit. Look for:
5-10 liters: Perfect for day hikes or short outings.
10-15 liters: Good for longer day trips or if you carry extra gear.
Avoid oversized packs (20+ liters) to keep things manageable.

3. Comfort and Fit
A poorly fitting pack can cause chafing or back pain. Key features include:
Adjustable Straps: Shoulder, chest, and hip straps for a snug fit.
Breathable Back Panel: Mesh or ventilated padding to reduce sweating.
Lightweight Design: Aim for packs under 1 kg (empty) to avoid fatigue.
My Experience: I once used a pack with thin straps that dug into my shoulders after an hour. Switching to a model with padded, adjustable straps made a world of difference.
4. Ease of Use
Beginners need a pack that’s straightforward:
Quick-Access Drinking Tube: Magnetic or clip-on tubes for easy sipping.
Simple Reservoir Design: Wide-mouth openings for easy filling and cleaning.
Intuitive Pockets: Accessible storage for essentials like keys or a phone.
5. Durability and Maintenance
Look for packs made from ripstop nylon or polyester with sturdy zippers. Reservoirs should be BPA-free and easy to clean (dishwasher-safe or with cleaning kits).
My Advice: Invest in a pack with a removable reservoir for easier cleaning. I learned the hard way when mold grew in a hard-to-clean bladder!

Top Beginner-Friendly Hydration Backpacks
Based on my testing and feedback from fellow outdoor enthusiasts, here are five hydration backpacks that stand out for beginners. I’ve focused on affordability, ease of use, and suitability for short-to-medium outdoor activities. (Note: I’m not promoting specific brands, just describing generic models based on common designs.)
1. Lightweight Day Hike Pack (2L Water, 8L Storage)
Why It’s Great: This pack is compact, weighing around 0.5 kg, with a 2-liter reservoir perfect for 2-4 hour hikes. It has padded shoulder straps and a breathable back panel, ideal for hot days.
Features: Magnetic tube clip, one main compartment, and a small front pocket for snacks.
Best For: Short hikes or trail running.
My Experience: I used a similar pack for a beginner group hike. Its simplicity made it a favorite—no fuss, just reliable hydration.
2. Versatile Multi-Sport Pack (2L Water, 10L Storage)
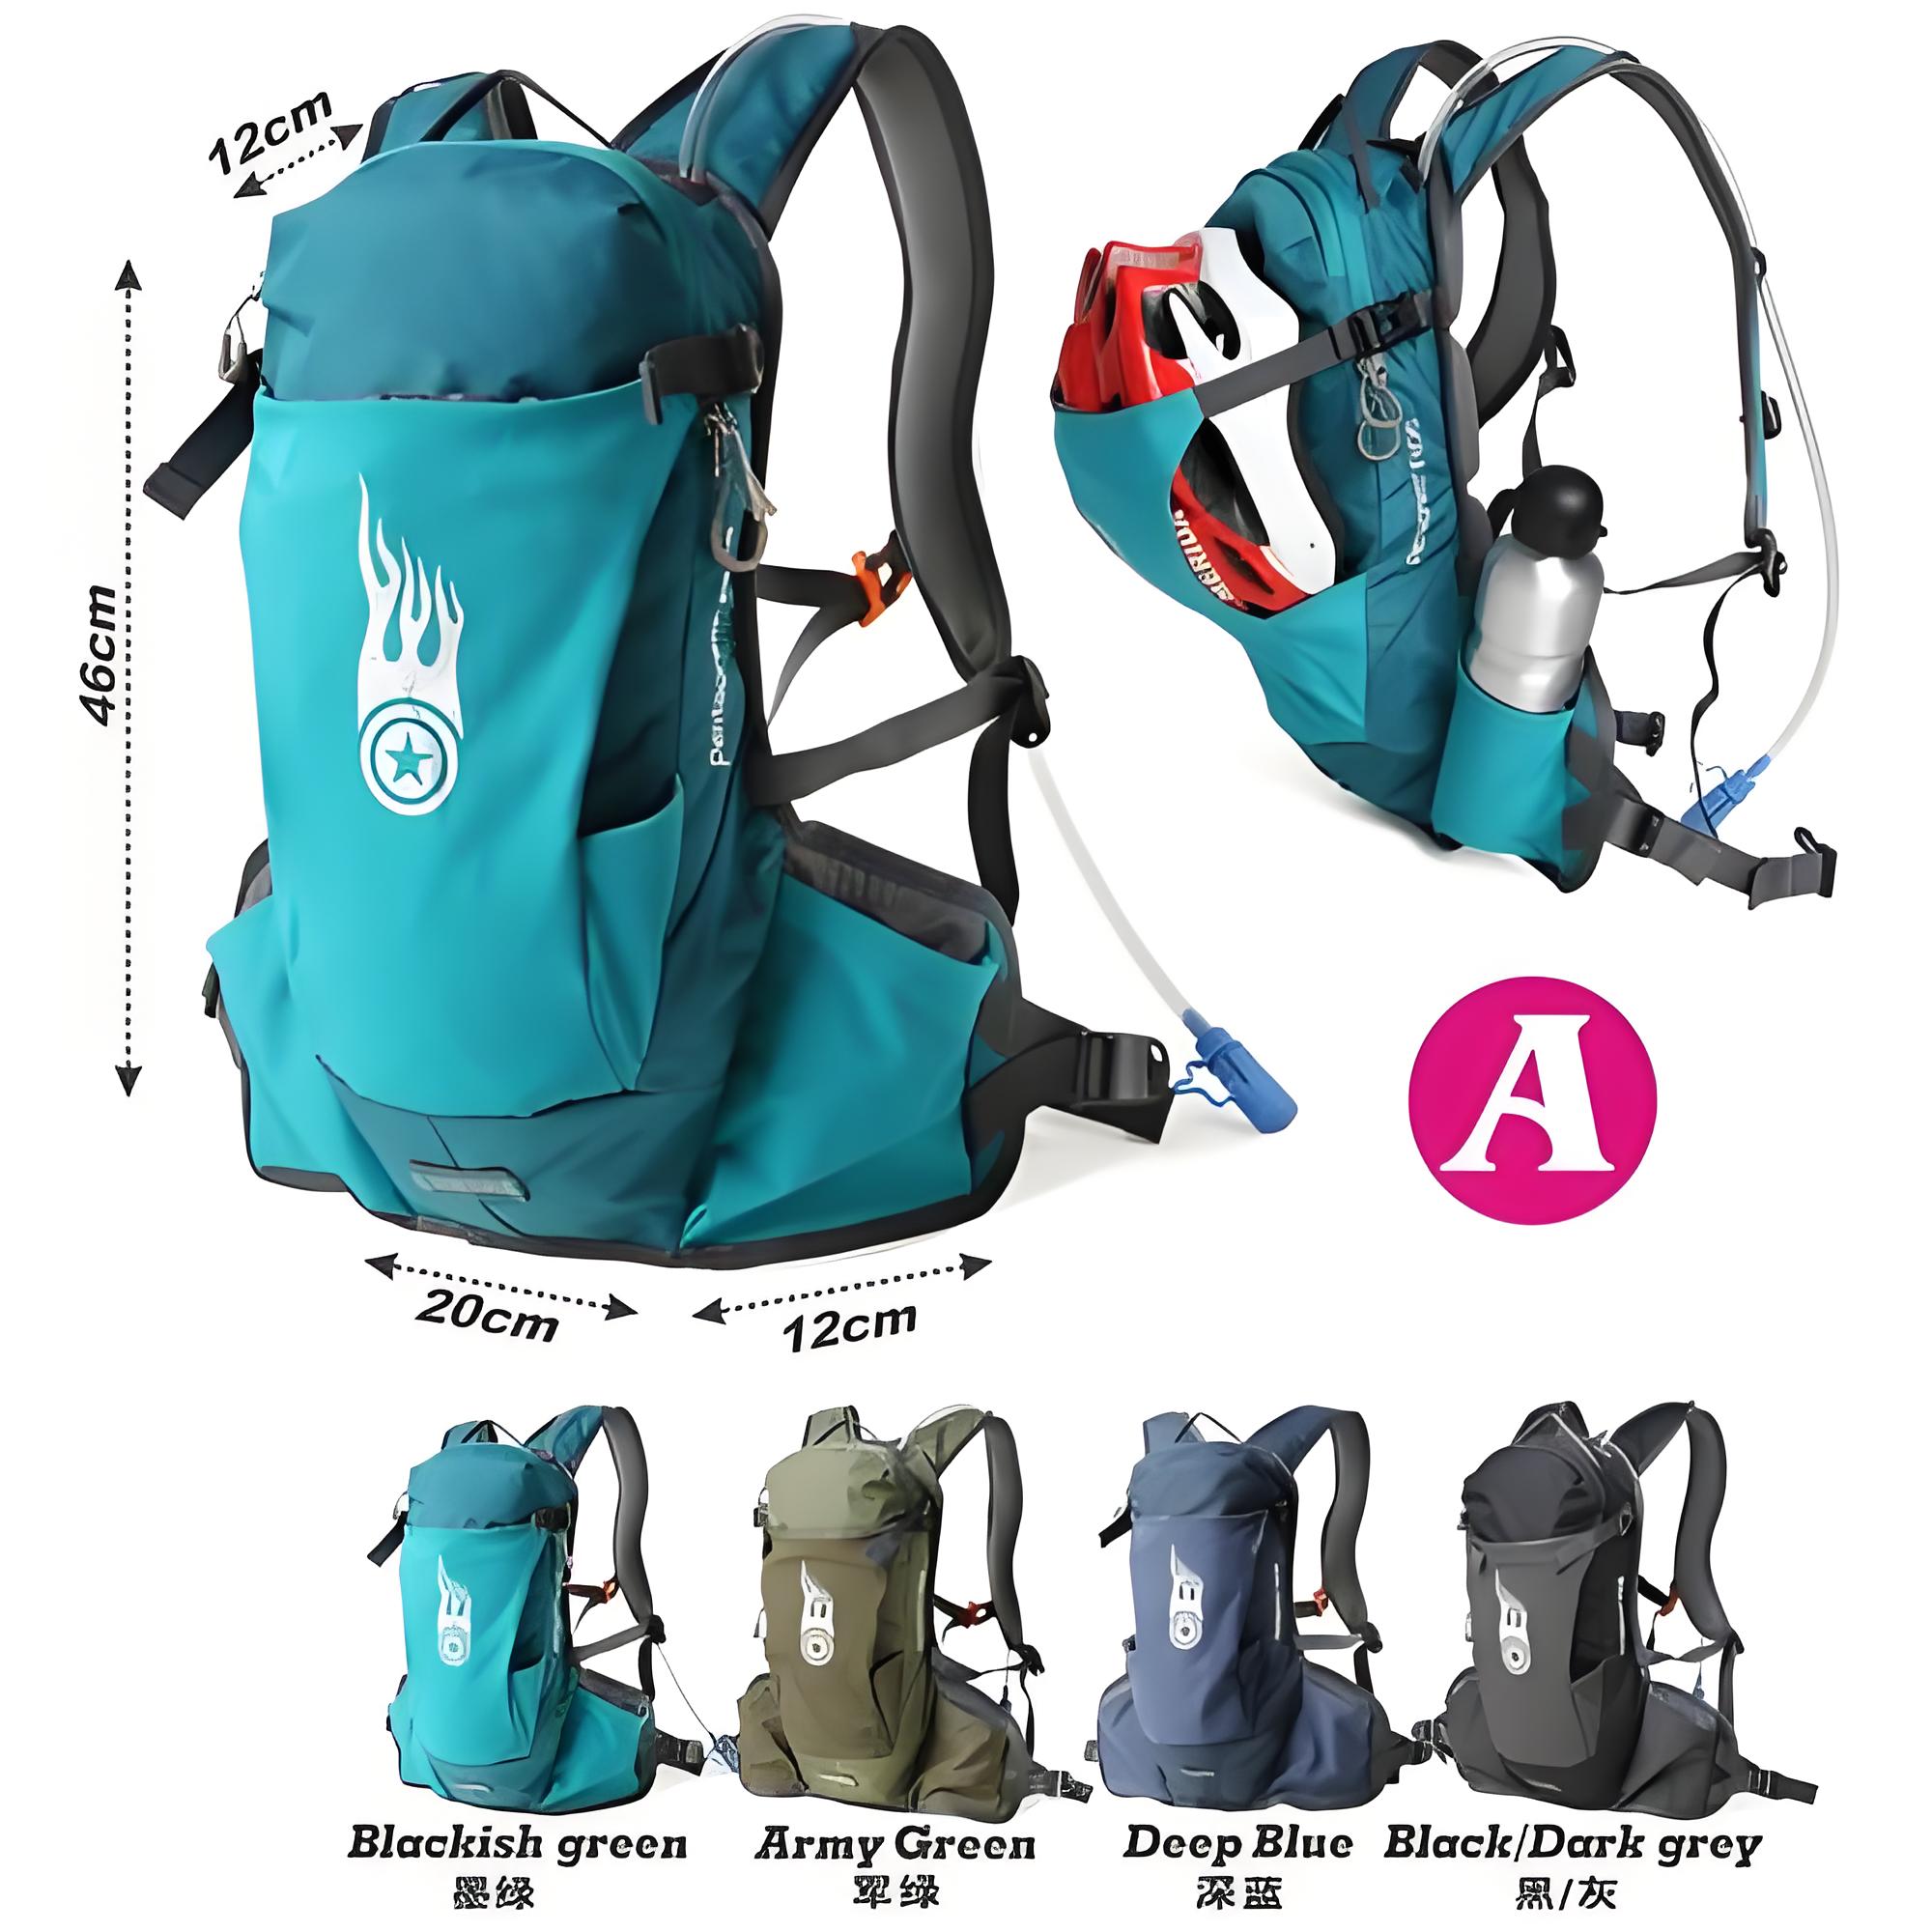
Why It’s Great: Slightly larger, this pack balances water and gear storage for half-day adventures. It includes a hip belt for stability during cycling or fast hiking.
Features: Wide-mouth reservoir, side mesh pockets, and a helmet attachment.
Best For: Cycling, hiking, or festivals.
My Tip: The hip belt is a game-changer for distributing weight, especially for beginners unused to carrying packs.
3. Minimalist Trail Pack (1.5L Water, 5L Storage)
Why It’s Great: Ultra-light at under 0.4 kg, this pack is like a vest, hugging your body for comfort during high-energy activities.
Features: Stretchy chest straps, quick-access tube, and a small zippered pocket.
Best For: Trail running or short, intense outings.
My Story: I lent a similar pack to a friend new to trail running. They loved how it stayed secure without bouncing.

4. All-Day Adventure Pack (3L Water, 12L Storage)
Why It’s Great: With a larger reservoir and more storage, this pack suits longer day hikes or camping. It’s still beginner-friendly with adjustable straps and a user-friendly reservoir.
Features: Multiple compartments, rain cover, and trekking pole loops.
Best For: Full-day hikes or overnight trips.
My Advice: Great for beginners planning to level up to longer adventures without buying a new pack.
5. Budget-Friendly Starter Pack (2L Water, 6L Storage)
Why It’s Great: Affordable yet functional, this pack is perfect for those dipping their toes into outdoor activities. It’s lightweight and has the essentials for casual use.
Features: Basic reservoir, one main pocket, and adjustable straps.
Best For: Casual outings or budget-conscious beginners.
My Experience: I recommended this type to a family for a picnic hike. It was easy for their teens to use and carry.
Comparison Table of Beginner Hydration Backpacks
To help you choose, here’s a table summarizing the key specs of these packs:
|
Pack Type |
Water Capacity |
Storage Capacity |
Best Use |
|---|---|---|---|
|
Lightweight Day Hike Pack |
2L |
8L |
Short hikes, trail running |
|
Versatile Multi-Sport Pack |
2L |
10L |
Cycling, hiking, festivals |
|
Minimalist Trail Pack |
1.5L |
5L |
Trail running, short outings |
|
All-Day Adventure Pack |
3L |
12L |
Long hikes, camping |
|
Budget-Friendly Starter Pack |
2L |
6L |
Casual outings, budget users |
How to Use and Maintain Your Hydration Backpack
Using a hydration pack correctly ensures it lasts and keeps you hydrated. Here’s my step-by-step guide based on years of use:
1. Filling the Reservoir
Open the wide-mouth cap or slide-lock (depending on the model).
Fill with clean, potable water up to the marked line (avoid overfilling to prevent leaks).
Securely close the cap and check for leaks by gently squeezing.
My Tip: Add ice cubes for cold water on hot days, but don’t fill past 80% capacity to allow for expansion.

2. Inserting the Reservoir
Slide the reservoir into the pack’s dedicated compartment, ensuring the tube exits through the designated hole.
Clip or thread the tube through loops on the shoulder strap for easy access.
3. Using the Drinking Tube
Bite gently on the mouthpiece and sip. Some tubes have a lock to prevent leaks—unlock before drinking.
Use magnetic or clip-on holders to keep the tube accessible.
My Story: I once forgot to unlock the tube and wondered why no water came out! Now, I always double-check the lock.
4. Cleaning and Maintenance
After each use, empty the reservoir and rinse with warm water. Use a cleaning kit (brushes or tablets) for thorough cleaning.
Air-dry the reservoir completely to prevent mold.
Wipe the pack’s exterior and store in a cool, dry place.
My Lesson: I neglected cleaning a reservoir once, and it developed a funky smell. A cleaning tablet and brush fixed it, but now I clean after every trip.

Common Beginner Mistakes and How to Avoid Them
From my own missteps and helping others, here are pitfalls to watch out for:
Overloading the Pack: Beginners often pack too much gear, making the pack heavy. Stick to essentials: water, snacks, a light jacket, and a small first-aid kit.
Ignoring Fit: A loose pack bounces and causes discomfort. Adjust all straps (shoulder, chest, hip) for a snug fit.
Not Testing Before Use: Test the pack at home—fill the reservoir, wear it, and sip from the tube—to ensure everything works.
Poor Cleaning Habits: Skipping cleaning leads to mold or bacteria. Rinse after every use and deep-clean monthly.
My Experience: On my first hike with a new pack, I didn’t adjust the chest strap, and it slid around constantly. A quick tweak mid-hike solved it, but testing at home would’ve saved the hassle.
Choosing the Right Pack for Your Activity
Your activity determines the best pack:
Short Hikes (1-3 hours): Lightweight Day Hike Pack or Budget-Friendly Starter Pack.
Trail Running: Minimalist Trail Pack for its snug fit and low weight.
Cycling: Versatile Multi-Sport Pack with a hip belt for stability.
Long Hikes or Camping: All-Day Adventure Pack for extra water and gear capacity.
My Advice: If you’re unsure about your activity level, start with a 2L, 8-10L pack. It’s versatile enough for most beginner scenarios.
My Real-World Example
Last year, I guided a group of beginner hikers in a national park. One newbie struggled with a heavy, oversized pack that wasn’t beginner-friendly. I swapped it for a Lightweight Day Hike Pack (2L water, 8L storage) from my gear stash. After adjusting the straps and showing them how to use the tube, they were sipping water comfortably and carrying only essentials. The hike was a success, and they’ve since bought their own pack based on my recommendation.

Budget Considerations
Hydration backpacks range from $20 to $100 for beginner models:
$20-40: Budget-Friendly Starter Pack, basic but functional.
$40-60: Lightweight Day Hike or Minimalist Trail Pack, good balance of features and price.
$60-100: Versatile Multi-Sport or All-Day Adventure Pack, with premium features like better padding or larger reservoirs.
My Tip: If you’re just starting, a $30-50 pack is fine. You can upgrade later as you get more serious about outdoor activities.
Final Thoughts: Start Your Journey Hydrated
Picking a beginner-friendly hydration backpack doesn’t have to be overwhelming. Focus on a lightweight, easy-to-use pack with a 1.5-2L reservoir and 5-10L storage, and you’ll be set for most outdoor adventures. By choosing a pack that fits your activity, testing it before heading out, and maintaining it properly, you’ll stay hydrated and comfortable while exploring the outdoors. I hope my experiences and tips help you find the perfect pack to kickstart your adventures. Got questions or need help narrowing down options? Drop a comment, and I’ll share more insights!

Related Q&A
1. How much water do I need in a hydration backpack for a beginner hike?
For a 1-3 hour hike, a 1.5-2L reservoir is sufficient. Plan for 0.5-1L of water per hour, depending on weather and exertion level.
2. Can I use a regular backpack with a water bottle instead?
Yes, but it’s less convenient. A hydration backpack’s drinking tube lets you sip without stopping, and the design distributes weight better for hiking.
3. How do I clean a hydration backpack reservoir?
Rinse with warm water after each use. For deep cleaning, use a cleaning tablet or a mix of baking soda and water with a brush. Air-dry completely to prevent mold.
4. What if my pack feels uncomfortable during a hike?
Adjust the shoulder, chest, and hip straps for a snug fit. If it still feels off, check for overpacking or try a different size/model that suits your body.
5. Are expensive hydration backpacks worth it for beginners?
Not always. A $30-50 pack with basic features is fine for starters. Invest in a pricier model if you plan longer or more frequent adventures.