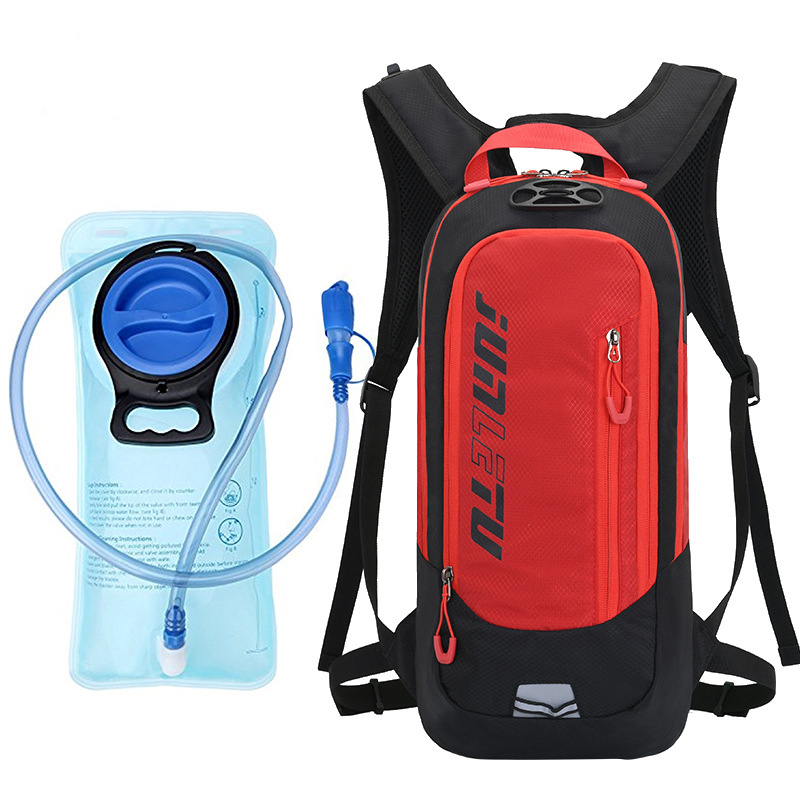
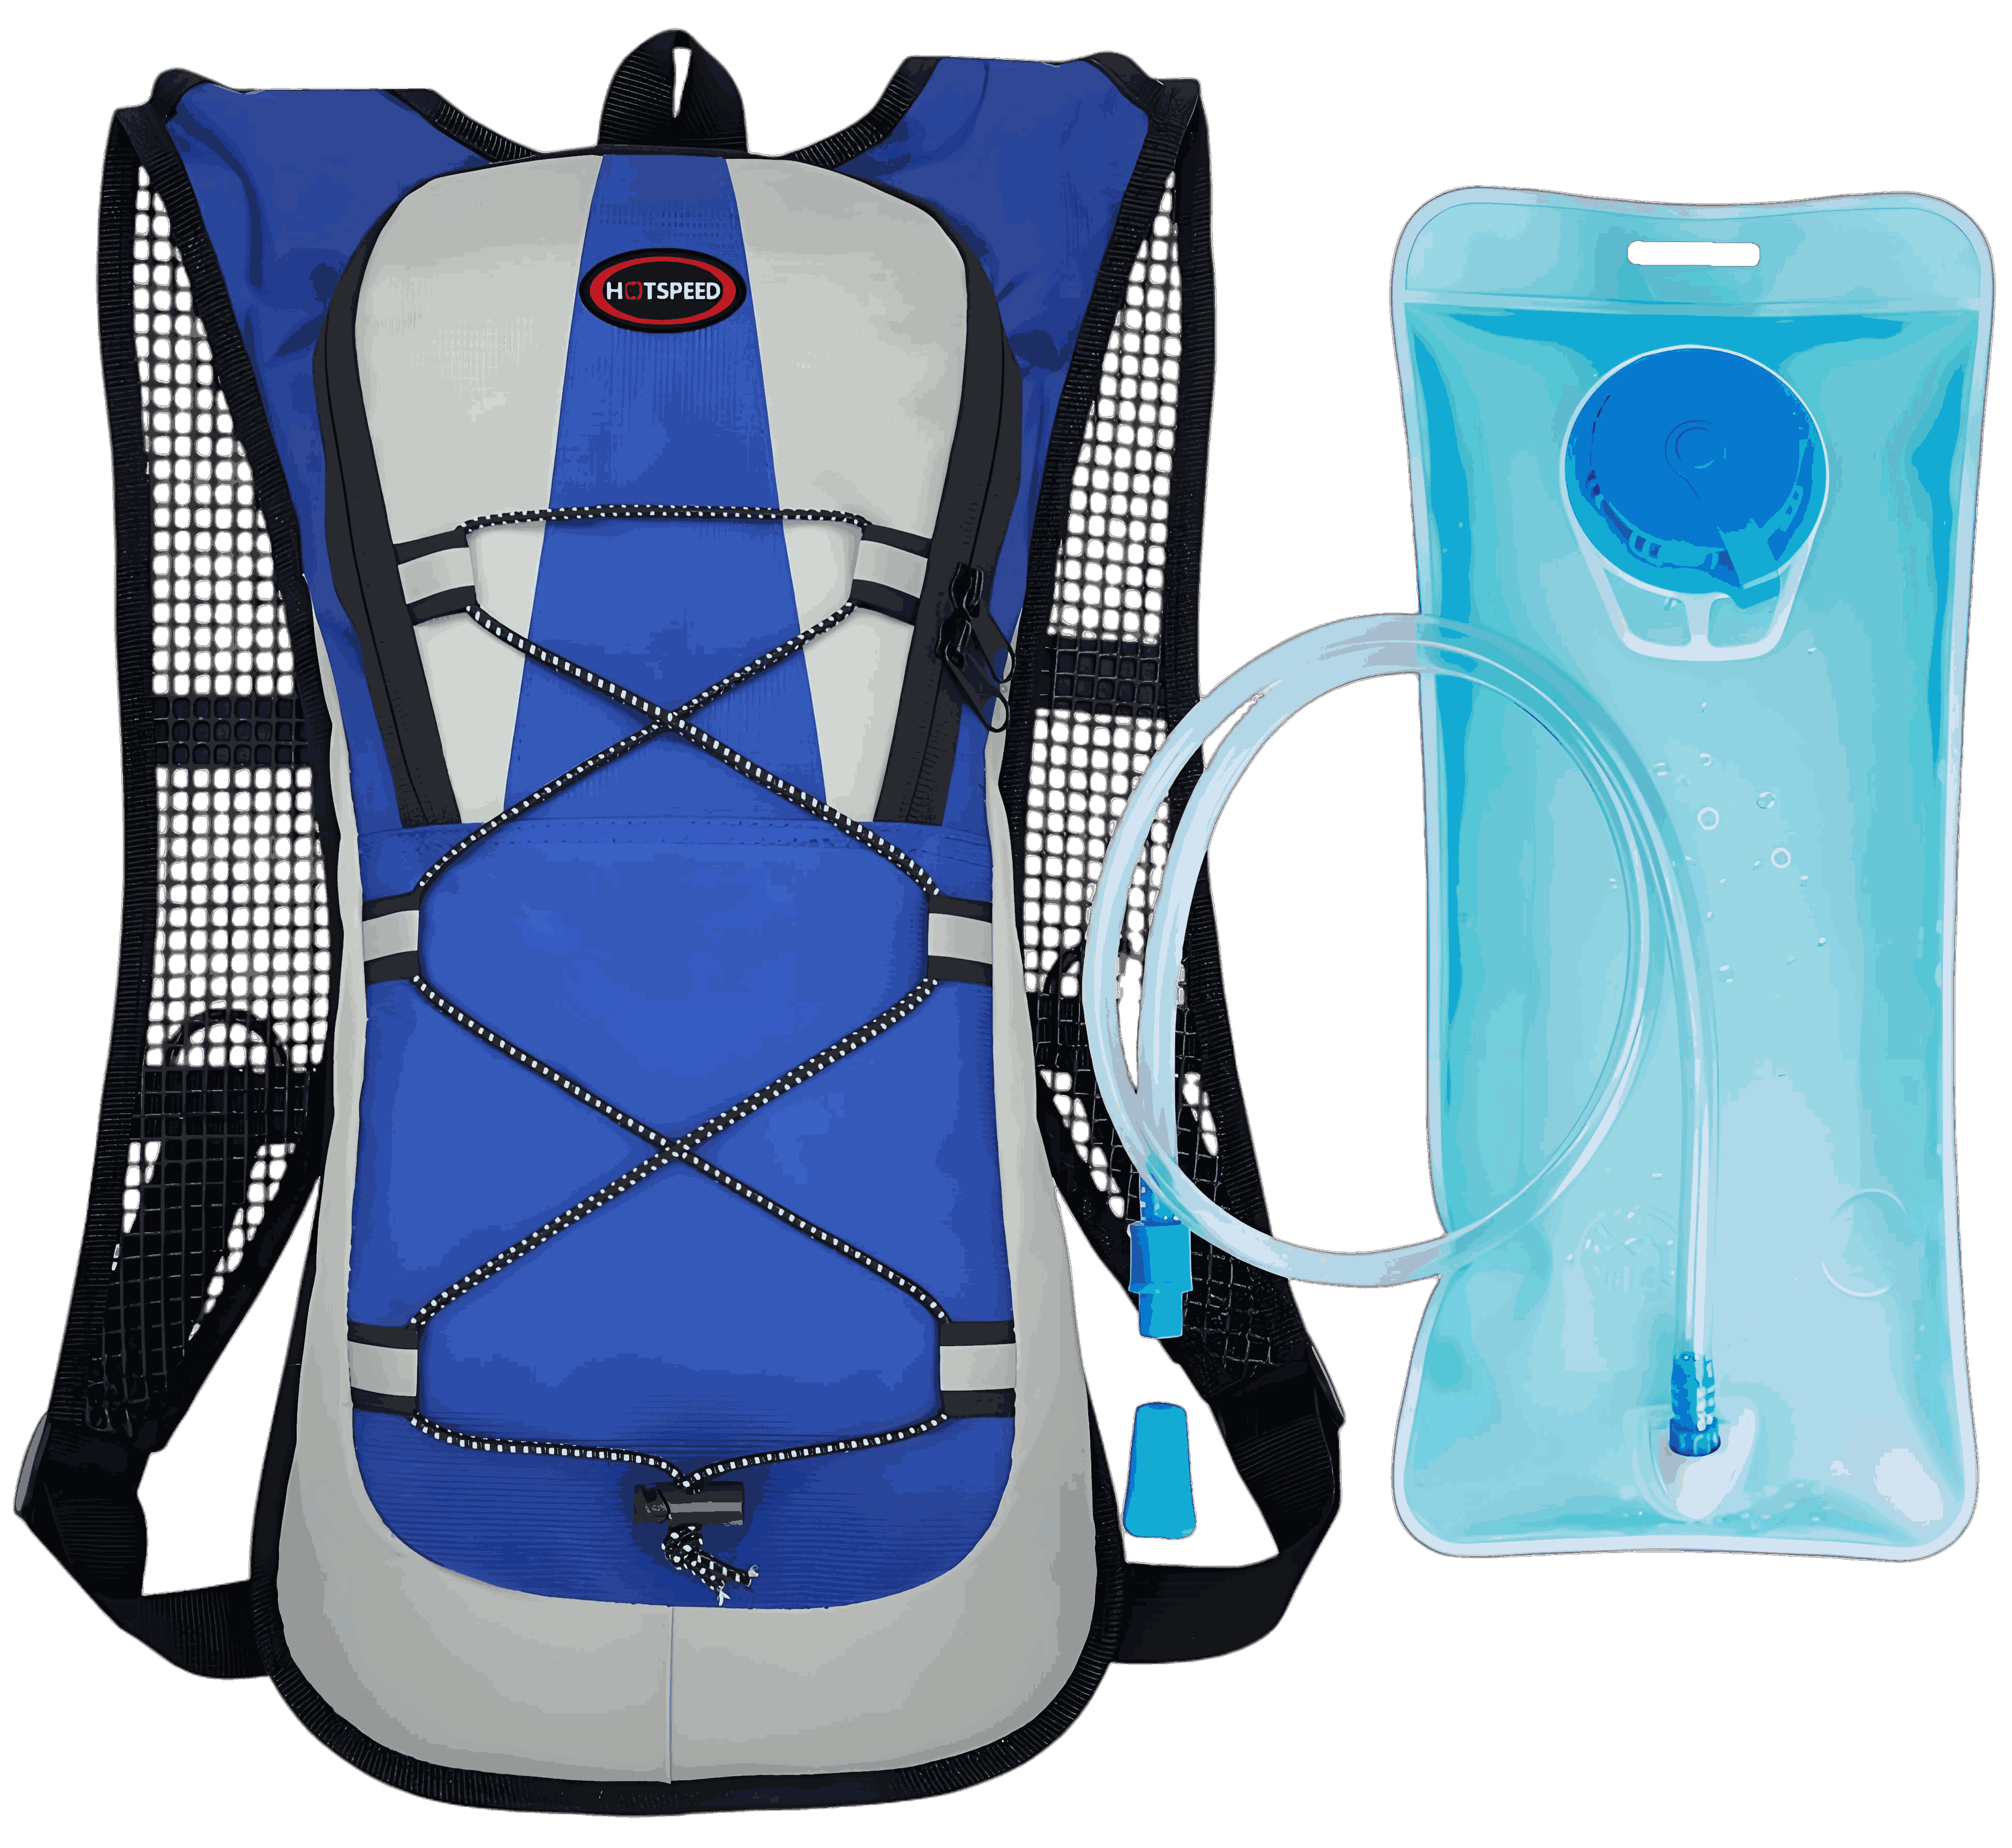
As an avid outdoor enthusiast who has spent years testing and researching gear, particularly hydration bladders and their compatibility with backpacks, I know how essential it is to find the right combination for seamless hydration on the go. Whether you’re hiking, cycling, or embarking on a long trip, a hydration bladder lets you sip water effortlessly without fumbling for a bottle. But with the dizzying array of bladders and backpacks on the market, many wonder: which hydration bladders work best with my backpack? How do I choose the right combo? In this article, I’ll share my hands-on experience and industry insights to guide you through the types of hydration bladders that pair well with backpacks, key selection tips, and practical advice to ensure you stay hydrated and comfortable on your adventures.

Why Does Pairing a Hydration Bladder with a Backpack Matter?
A hydration bladder is a portable water reservoir, typically equipped with a hose and bite valve for easy drinking, making it a favorite for hiking, climbing, cycling, and other outdoor activities. When pairing a bladder with a backpack, several factors come into play:
Compatibility: The bladder must fit into the backpack’s dedicated hydration compartment or be securable inside the pack.
Capacity: The bladder’s size should match your activity duration and hydration needs.
Durability: The material must withstand wear, pressure, and potential leaks.
Ease of Use: Filling, cleaning, and drinking should be hassle-free.
Weight and Portability: The combined weight of the bladder and backpack shouldn’t hinder your experience.
Choosing the right hydration bladder not only enhances your outdoor adventures but also ensures you stay hydrated, reducing the risk of dehydration during long activities.
Types of Hydration Bladders Suitable for Backpacks
Drawing from years of outdoor testing, I’ve identified several hydration bladder types that excel when paired with backpacks. Below, I break them down by application, features, and ideal pairings.
1. Standard Hydration Bladders (1-3 Liters)
Best for: Most hiking, climbing, and short cycling trips. With capacities of 1-3 liters, these bladders meet half-day to full-day hydration needs and fit most backpacks with hydration compartments.
Features:
Flexible capacities, typically 1.5L, 2L, or 3L.
Often feature wide-mouth openings for easy filling and cleaning.
Lightweight, ideal for standard hiking.
Recommended Pairings:
Lightweight Hiking Backpacks (20-40 liters): Designed for hiking with built-in hydration compartments and hose ports.
Cycling Backpacks (10-20 liters): Compact for short rides.
My Experience: I once used a 2L standard bladder with a 30-liter hiking backpack for an 8-hour mountain trek. The backpack’s hydration sleeve held the bladder securely, and the hose threaded through a side port made sipping effortless. I recommend choosing a bladder with a quick-disconnect hose for easy removal and cleaning.

2. Ultralight Hydration Bladders
Best for: Ultralight hiking or long-distance trail running, perfect for those prioritizing minimal weight.
Features:
Thinner materials, typically weighing 100-150 grams.
Smaller capacities (0.5-2 liters), suited for short or high-intensity activities.
Compact when folded, saving space.
Recommended Pairings:
Ultralight Backpacks (15-30 liters): Frameless or lightweight-frame packs.
Running Vests: Tight-fitting packs designed for trail running.
My Experience: During a trail run, I paired a 1L ultralight bladder with a 10-liter running vest. The combo weighed just 300 grams, barely noticeable during the run. However, ultralight bladders are less durable, so avoid sharp objects that could puncture them.
3. High-Capacity Hydration Bladders (3-6 Liters)
Best for: Multi-day hiking, camping, or group activities requiring extended or shared water supplies.
Features:
Large capacity for long expeditions.
Made with sturdier materials to prevent leaks under pressure.
Some models support hot or cold water for extreme conditions.
Recommended Pairings:
Large Hiking Backpacks (40-70 liters): Multi-day hiking or climbing packs with spacious hydration compartments.
Tactical Backpacks: Ideal for carrying heavy gear.
My Experience: On a 3-days, 2-nights camping trip, I used a 4L bladder with a 50-liter backpack. It provided enough water for me and a friend, even doubling as a camp water source. Be mindful that high-capacity bladders add weight, so choose based on your physical capacity.

4. Collapsible Hydration Bladders
Best for: Short trips or as a backup water source, with a design that minimizes space when empty.
Features:
Collapsible, taking up minimal space when not in use.
Typically 1-2 liters, great for temporary needs.
Some models double as water bottles for added versatility.
Recommended Pairings:
Everyday Backpacks (10-30 liters): For commuting or city travel.
Small Hiking Backpacks: For short outings.
My Experience: I took a 1.5L collapsible bladder on a short city hike, tucking it into the side pocket of a 20-liter backpack. After use, it folded down to almost nothing, making it ideal for occasional use.
Comparison Table: Hydration Bladders and Backpack Pairings
To simplify your decision, here’s a table comparing hydration bladder types and their ideal backpack pairings:
| Bladder Type | Capacity Range | Suitable Backpack Type | Recommended Use |
|---|---|---|---|
| Standard Bladder | 1-3 Liters | Lightweight Hiking, Cycling | Daily hikes, short rides |
| Ultralight Bladder | 0.5-2 Liters | Ultralight Packs, Running Vests | Ultralight hiking, trail running |
| High-Capacity Bladder | 3-6 Liters | Large Hiking, Tactical | Multi-day hikes, camping |
| Collapsible Bladder | 1-2 Liters | Everyday, Small Hiking | Short trips, backup source |
How to Choose the Right Hydration Bladder and Backpack Combo?
Here are key considerations to ensure a great match:
Check for a Hydration Compartment
Most outdoor backpacks feature a dedicated hydration sleeve with a hose port. If your backpack lacks one, opt for a collapsible bladder that fits in a side pocket or main compartment.
Match Capacity to Activity
Short Activities (4-8 hours): 1-2L bladder with a 20-30L backpack.
Full-Day Hikes or Rides: 2-3L bladder with a 30-40L backpack.
Multi-Day Adventures: 3-6L bladder with a 40L+ backpack.
Inspect Bladder Design
Look for bladders with quick-disconnect hoses for easy cleaning and wide-mouth openings for filling. I recommend leak-proof valves to avoid spills.
Prioritize Material and Durability
Choose bladders made of TPU or food-grade PVC, which are durable and safe. Ensure seams are high-frequency welded for pressure resistance.
Focus on Cleaning and Maintenance
Bladders can harbor bacteria if not cleaned properly. Opt for easy-to-clean designs and maintain them with specialized cleaning kits.

Practical Tips for Pairing and Using Hydration Bladders
From my outdoor experiences, here are some tips to optimize your hydration setup:
Secure the Bladder: Use the backpack’s internal hooks or Velcro to keep the bladder in place, preventing slippage.
Manage the Hose: Thread the hose through the backpack’s port and clip it to a shoulder strap for easy access. Magnetic clips can keep it from dangling.
Prevent Leaks: Double-check the lid and hose connections after filling. Gently squeeze the bladder before packing to confirm it’s sealed.
Temperature Control: Freeze the bladder beforehand for cool water in hot weather, or use an insulated hose for cold environments.
Carry a Backup: A collapsible bladder is a great secondary option for unexpected water needs.
Real-Life Example
Last year, I tackled a two-day desert hike with a 3L standard bladder paired with a 40-liter hiking backpack. The hydration sleeve kept the bladder secure, and the hose port made drinking effortless. My only oversight was not cleaning the bladder beforehand, which left a slight taste in the water. Since then, I’ve invested in a cleaning brush kit, ensuring pristine water on every trip.
How to Clean and Maintain Your Hydration Bladder?
Proper cleaning is critical for longevity and water safety. Here’s my routine:
Clean Immediately After Use: Rinse the bladder with warm water (below 50°C) to remove residue.
Use a Cleaning Brush: Scrub the hose and bite valve with a specialized brush to reach tight spots.
Disinfect: Monthly, soak the bladder in a solution of food-grade disinfectant tablets or diluted white vinegar for 10 minutes, then rinse thoroughly.
Dry Thoroughly: Open the bladder fully and hang it in a ventilated area to prevent mold.
Store Properly: Once dry, fold the bladder and store it in a cool, dry place away from sunlight.

Frequently Asked Questions
Q1: Can I use a hydration bladder with a backpack that doesn’t have a hydration compartment?
A: Yes! Opt for a collapsible bladder and place it in the main compartment or side pocket. Secure it to avoid shifting or leaks.
Q2: How long can water stay in a hydration bladder?
A: Replace water daily. For longer storage, add a food-grade disinfectant tablet to maintain freshness.
Q3: Can I put beverages in a hydration bladder?
A: Most bladders are designed for water only to avoid bacterial growth or material damage. Some support sports drinks—check the manufacturer’s guidelines.
Q4: How do I check if a hydration bladder is leaking?
A: Fill the bladder, gently squeeze, and inspect seams, the lid, and hose for leaks. You can also apply soapy water and look for bubbles.
Q5: Are hydration bladders or water bottles better for hiking?
A: Bladders are ideal for long hikes requiring frequent sips, while bottles suit short trips or precise water management. Choose based on your activity.
Conclusion
Pairing the right hydration bladder with your backpack can transform your outdoor experience, keeping you hydrated and focused. From standard bladders to ultralight or collapsible options, each type offers unique benefits. I hope this guide empowers you to find the perfect combo for your next adventure. If you have more questions, drop them below—I’m happy to help!