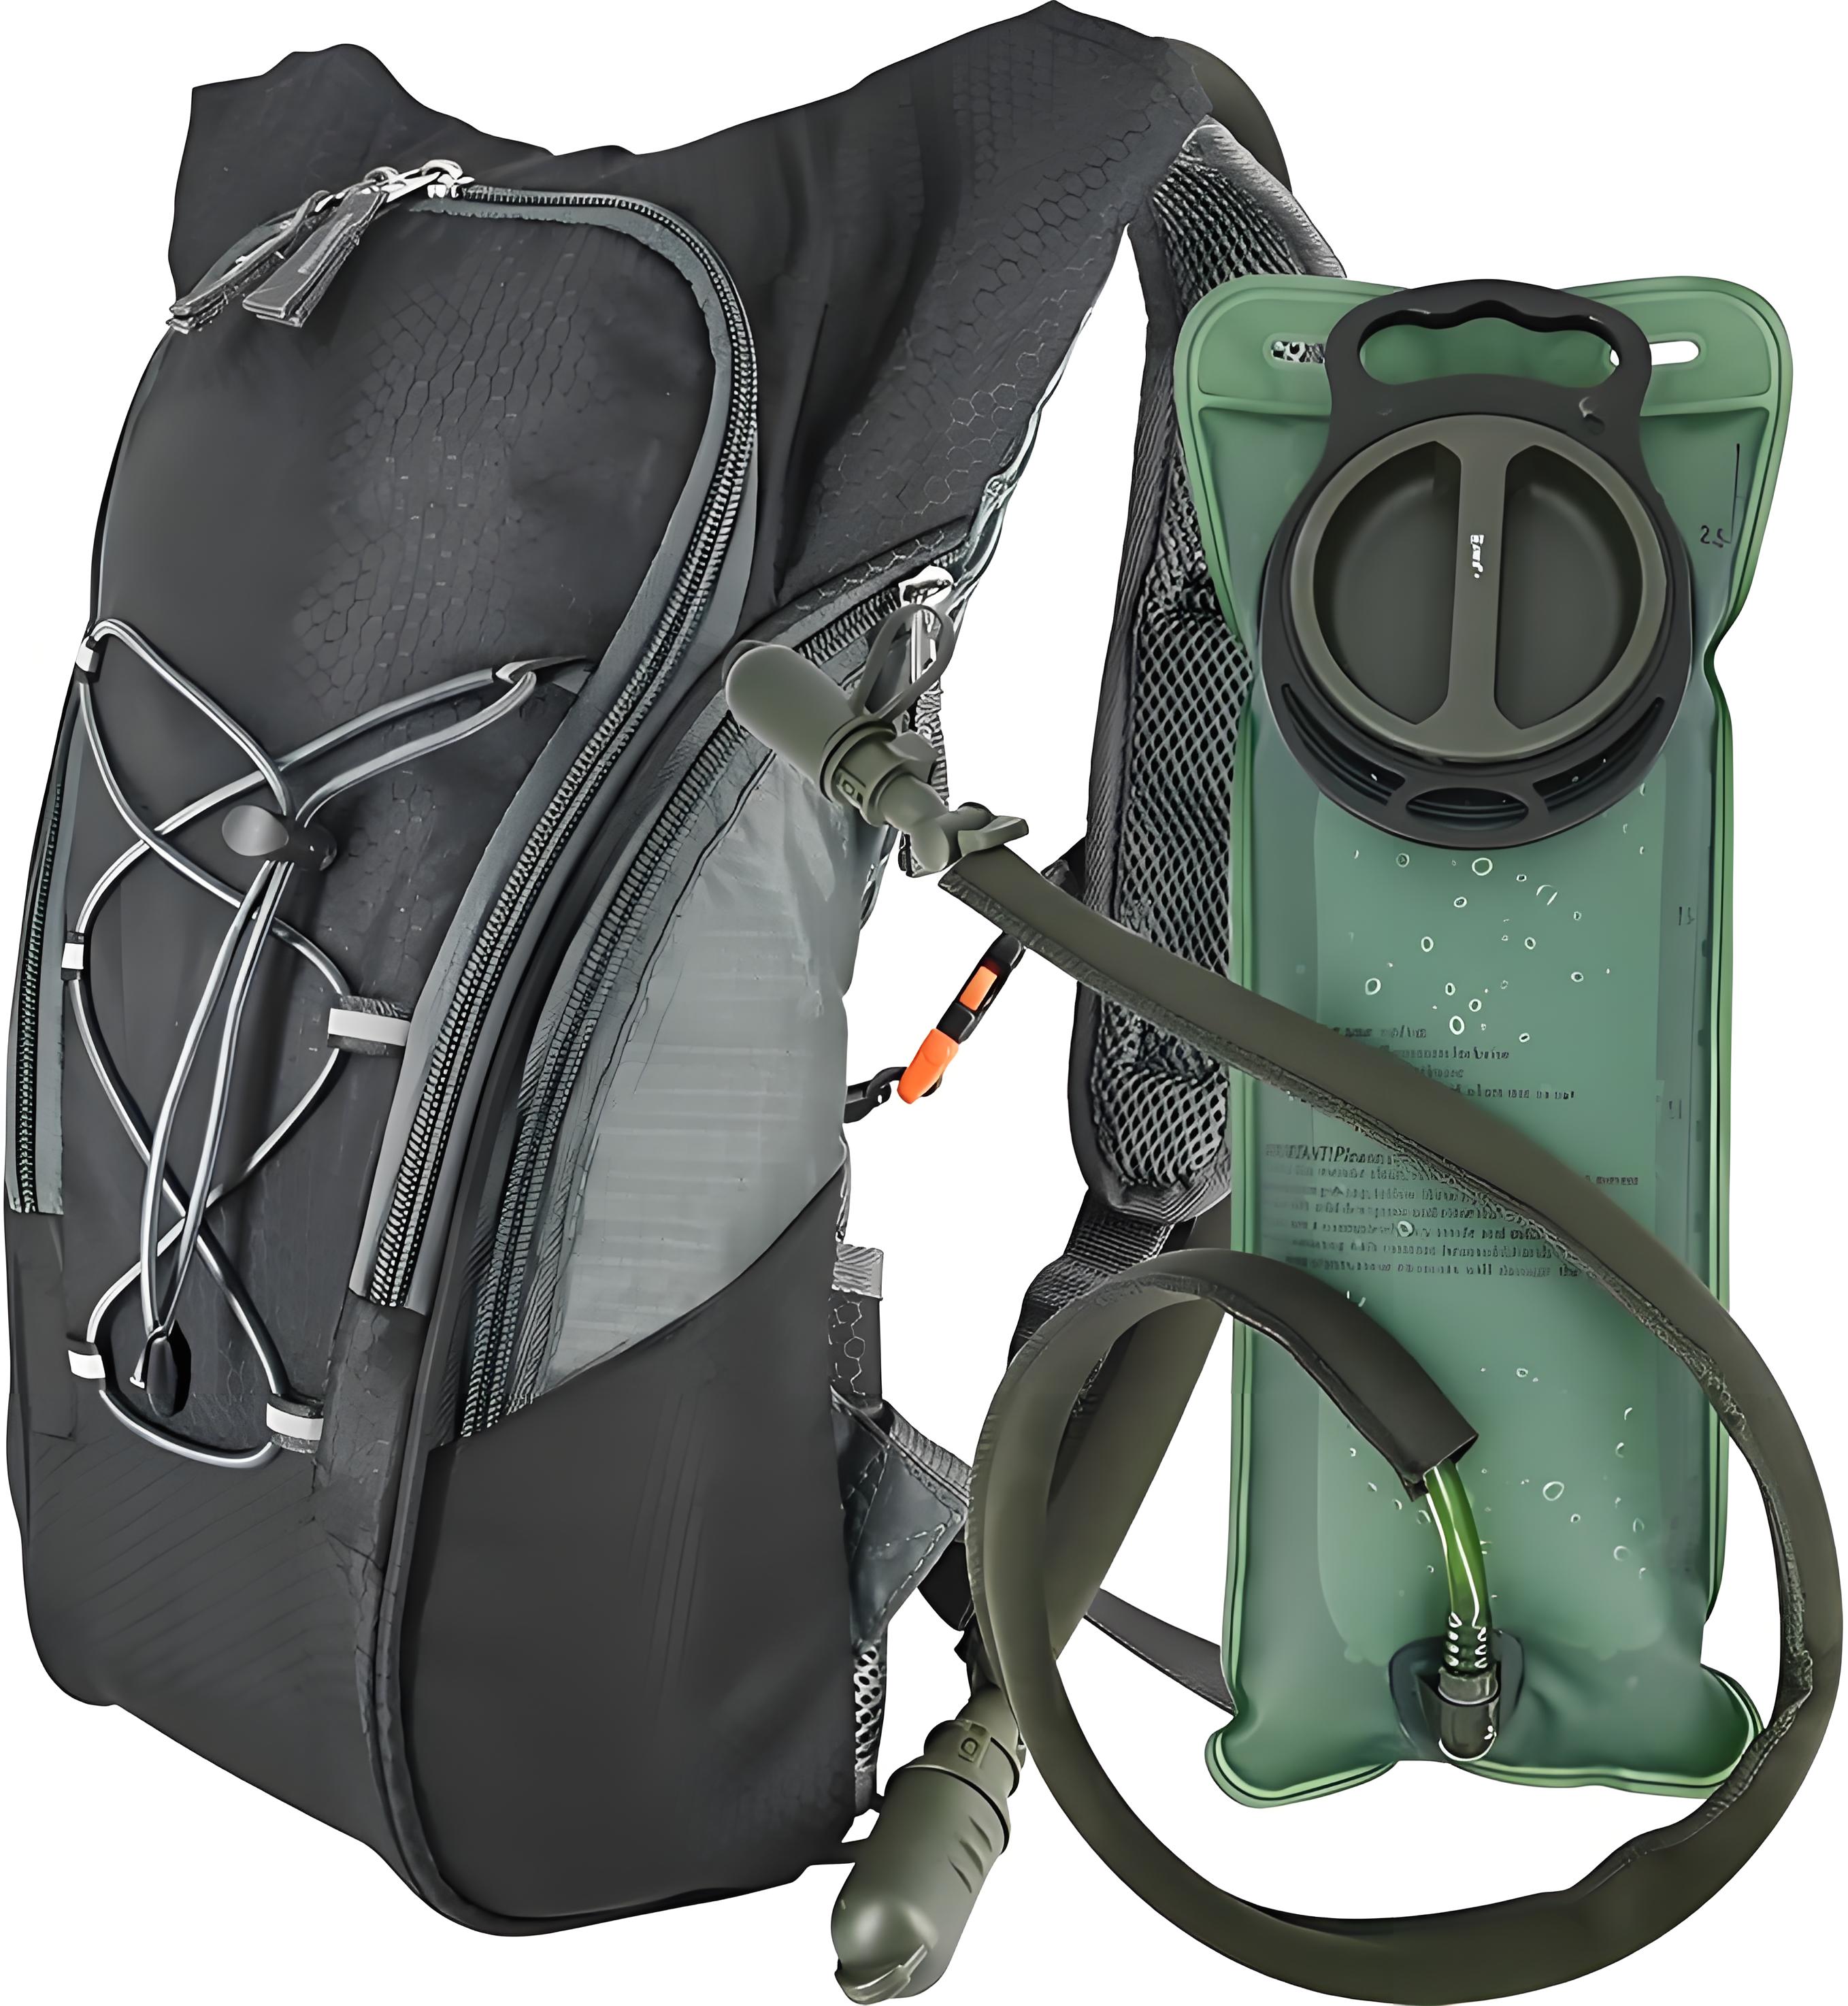
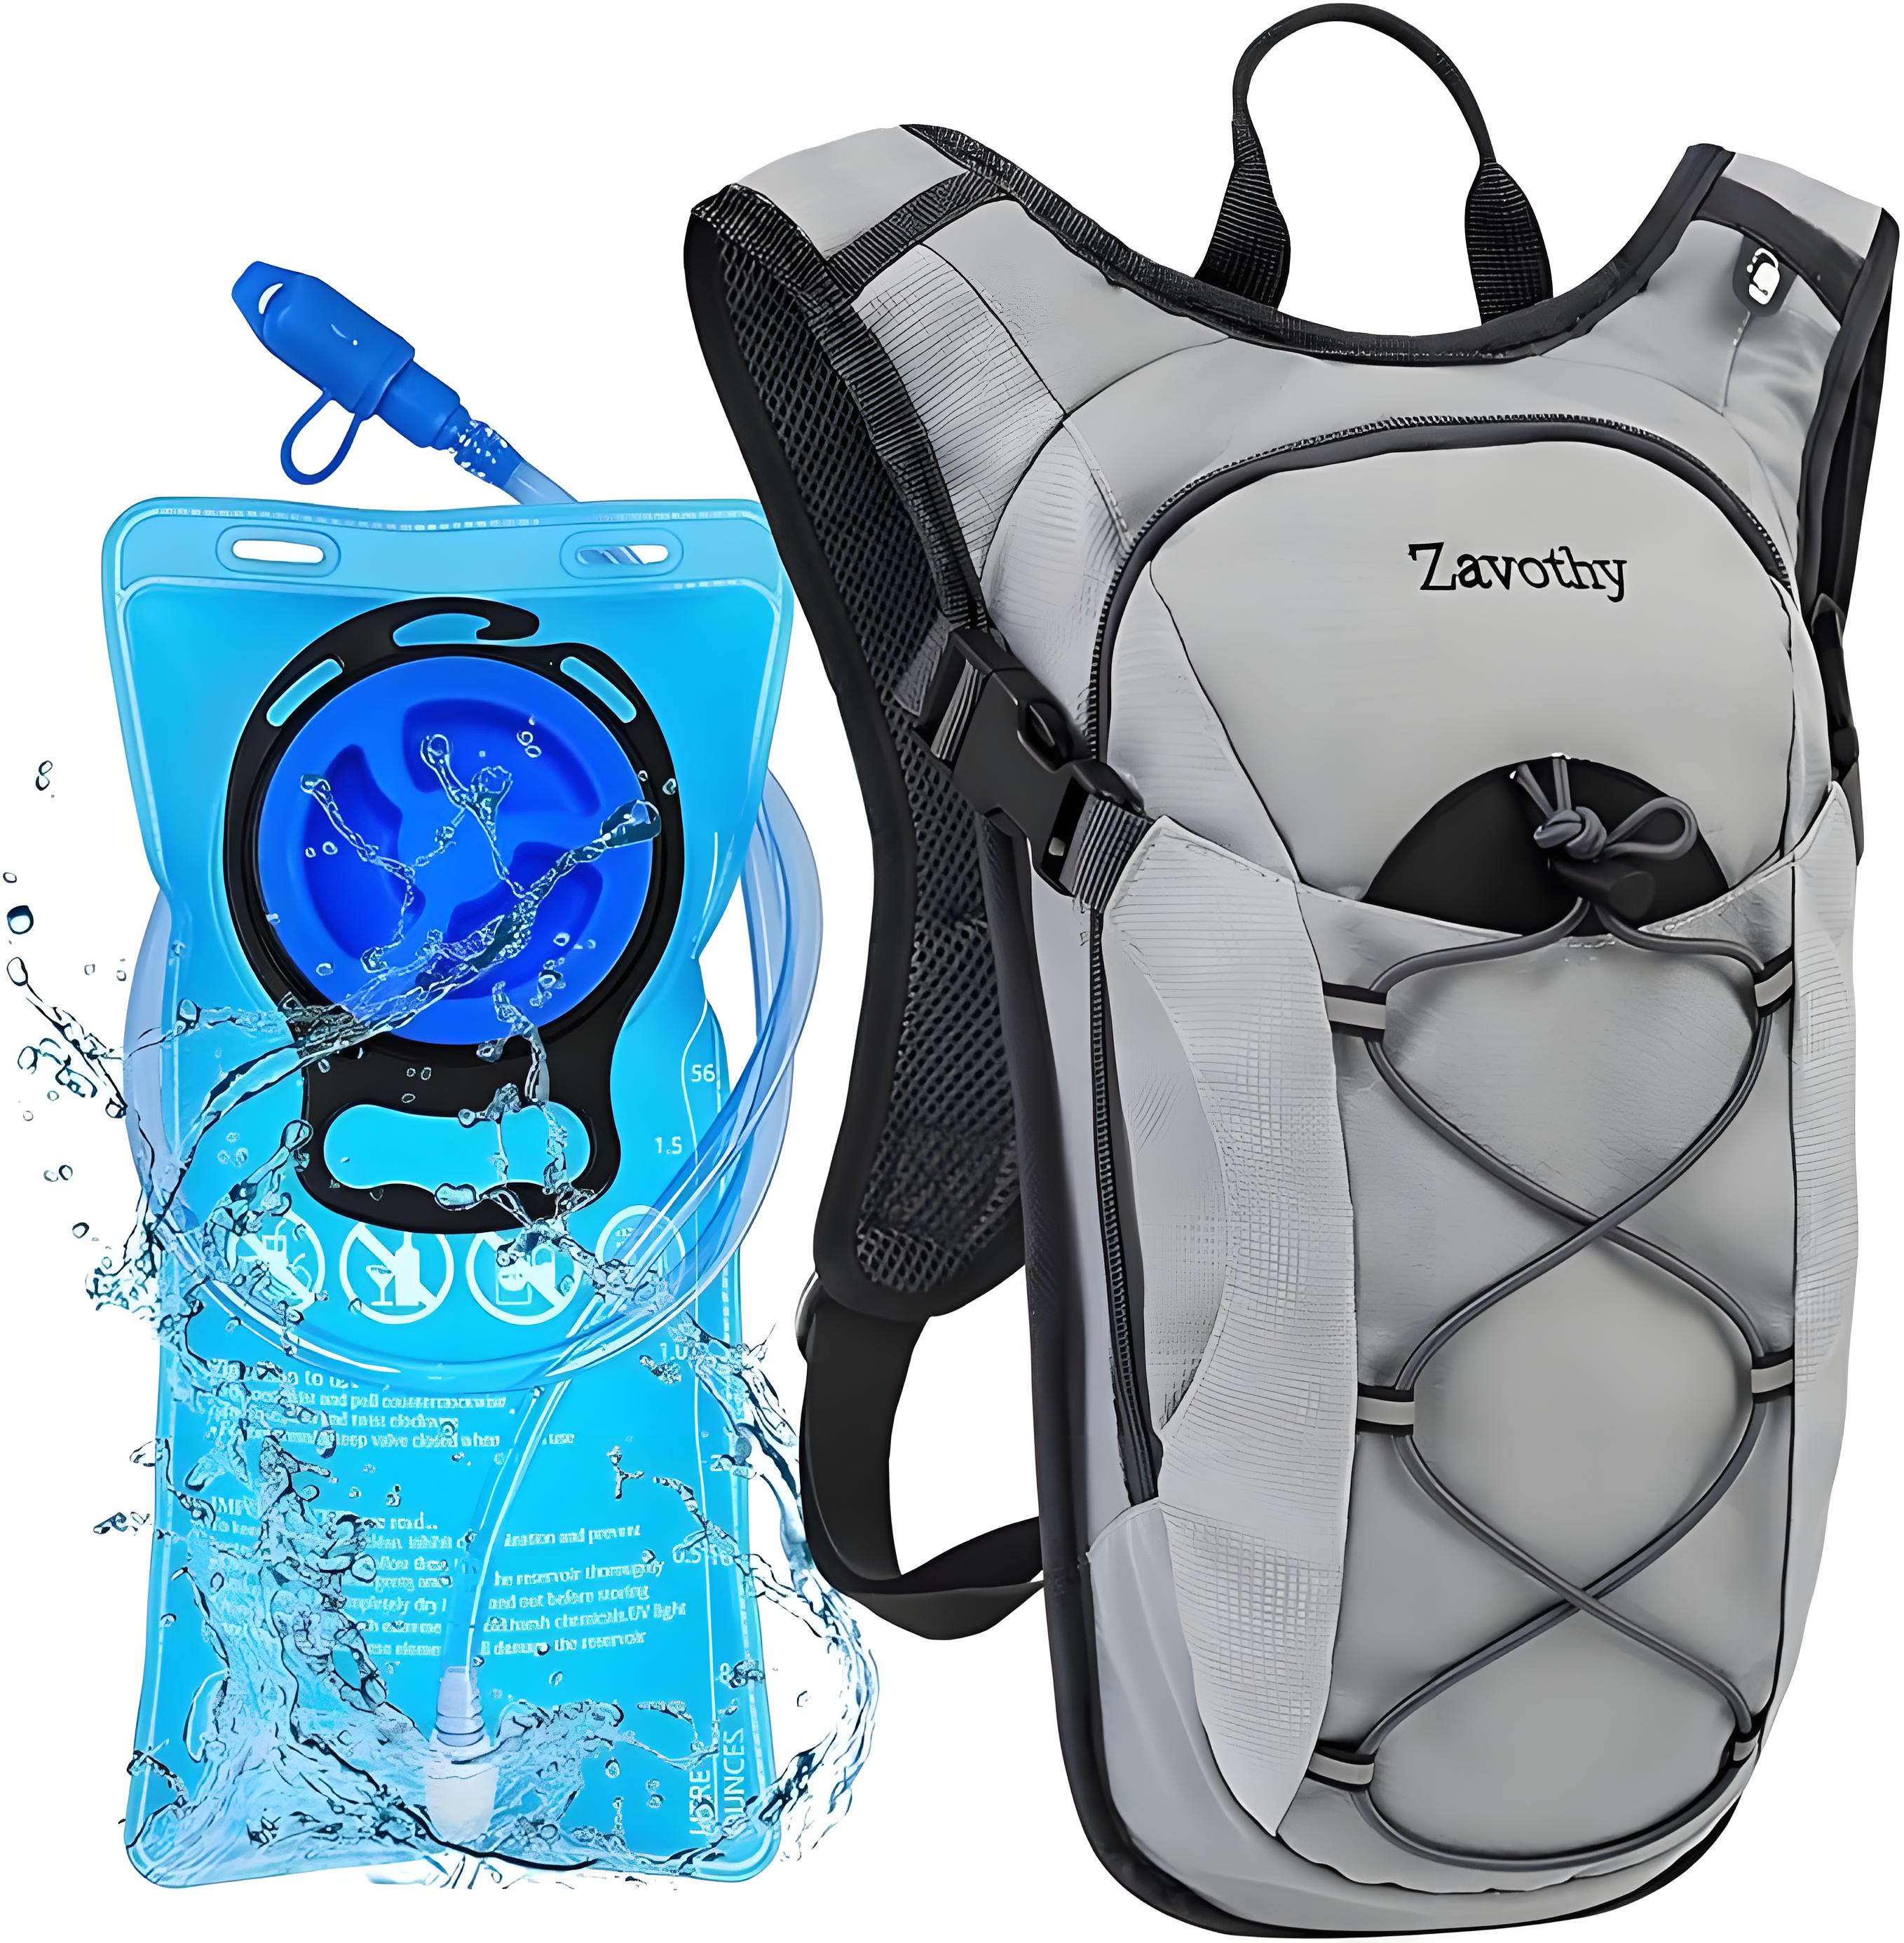
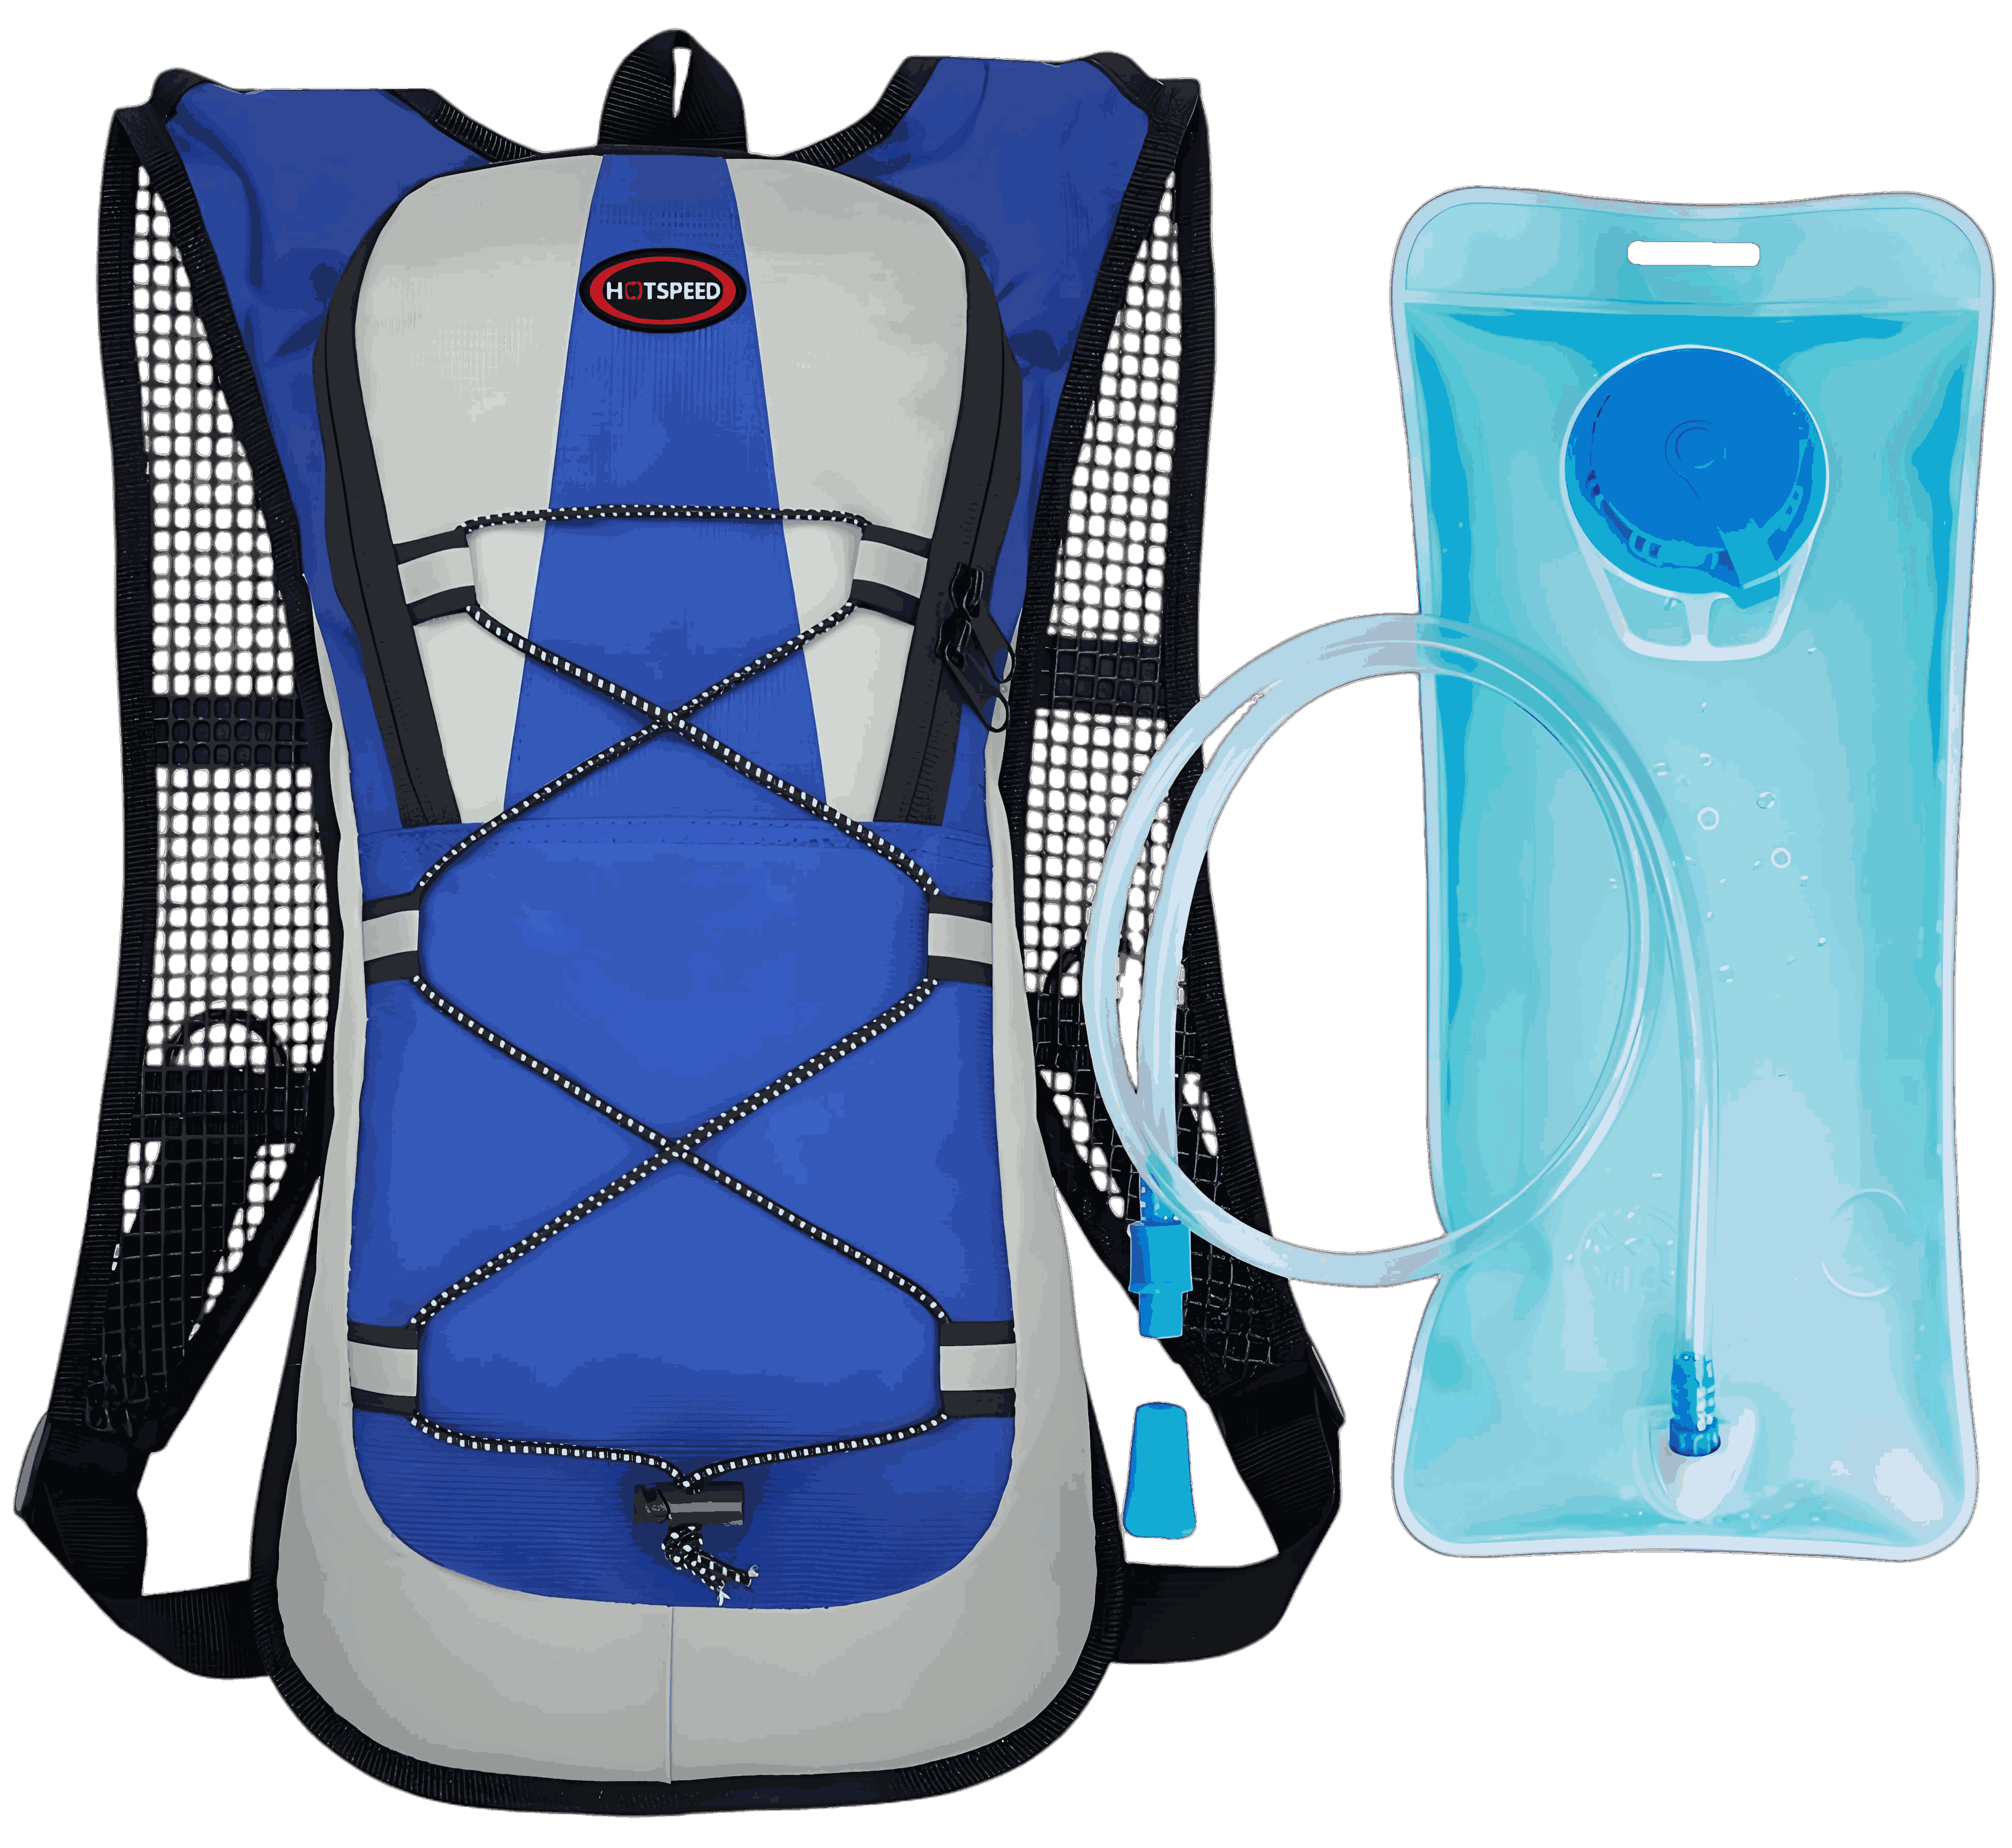
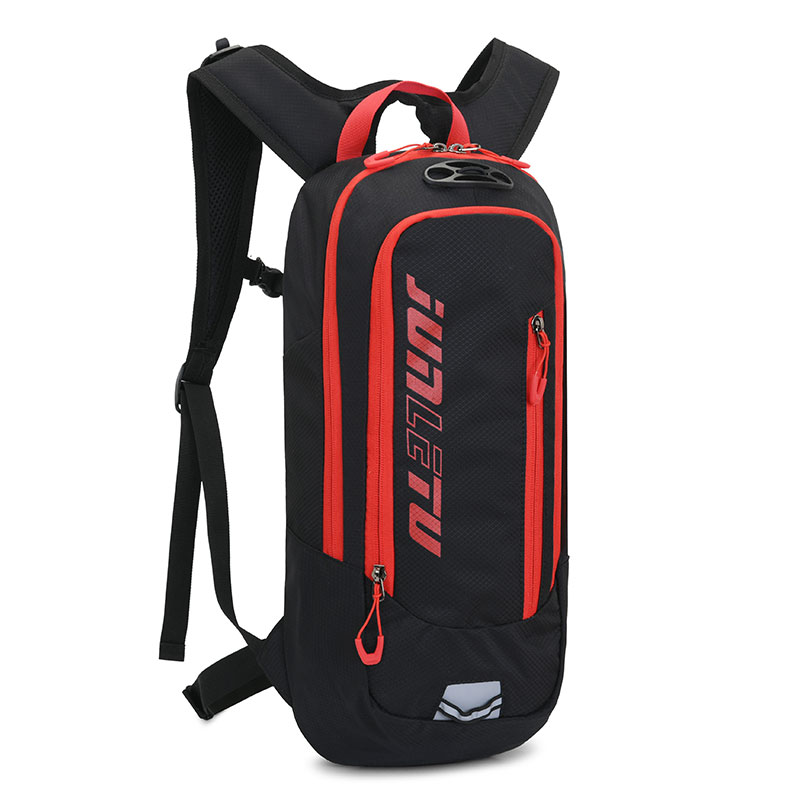
When we talk about hydration packs for trail running, the length of the hydration tube might seem like a minor detail, but it’s actually a nuanced aspect. As someone who’s spent years immersed in the outdoor gear industry, I know that every small detail can significantly impact your experience in the wilderness. Today, let’s take a comprehensive look at everything concerning hydration tubes for trail running packs, hoping to provide you with an in-depth reference.
Hydration Tube Length for Trail Running Hydration Packs: A Balance of Hydration and Experience
For outdoor activities like trail running, hiking, and even cycling, hydration packs have become an essential piece of gear due to their convenient hydration method. However, when I talk to many friends who are new to the outdoors, I often find that they’re unsure about the length of the hydration tube. How long should this seemingly insignificant tube really be? And what inconveniences might an overly long or short tube bring? These are all questions worth exploring.

Why Hydration Tube Length Matters So Much
Some might think that the length of a tube is trivial and can be easily overlooked. But that’s simply not the case. The length of your hydration tube directly affects your hydration efficiency, comfort, and even safety.
Imagine you’re pushing hard up a steep incline or sprinting down a trail running course. Every time you stop to adjust your tube, you break your rhythm and expend extra energy. If the tube is too long, it can swing around, get in the way, or even snag on branches or rocks. If it’s too short, you might have to contort your body to drink, which is uncomfortable and can be distracting.
Therefore, choosing a tube of appropriate length is crucial for enhancing your outdoor experience.
Common Hydration Tube Lengths and Selection Considerations for Trail Running Hydration Packs
The length of hydration tubes for trail running packs isn’t standardized across the market. It typically ranges from 90 centimeters to 120 centimeters, and for good reason—it needs to accommodate outdoor enthusiasts of varying heights, body types, and usage habits.
1. Common Standard Lengths
Most hydration packs come with a tube length that falls within a moderate range, such as 100 centimeters to 110 centimeters. For the majority of adults, this length allows the tube to comfortably extend from the pack’s inner bladder compartment and easily reach the mouth.

2. Factors Influencing Tube Length Selection
So, among these common lengths, how do we choose the one that’s best for us? We need to consider the following key factors:
Height and Body Type: This is the most direct influencing factor. Taller individuals will naturally need a longer tube to comfortably reach. Conversely, for shorter individuals, an overly long tube will feel cumbersome.
Backpack Structure and Bladder Placement: Different backpack designs may have different bladder placement. Some backpacks have higher bladder compartments, while others are lower. The position of the bladder directly impacts how far the tube needs to extend.
Personal Usage Habits: Some people prefer to secure the tube to their shoulder strap, while others let it hang freely. Some are accustomed to drinking directly while running, while others prefer to stop for a brief rest before hydrating. These habits also influence the desired tube length.
Type of Outdoor Activity: Trail running emphasizes lightweight gear and convenience, so the tube should be easily accessible for quick sips. Long-distance hiking might require more secure tube fixation and storage. For cycling, the tube needs to be accessible while maintaining balance.

3. Common Tube Length Range Table
To make it more intuitive, I’ve put together a simple table listing recommended tube length ranges for different height brackets. Please note that this is just a reference, and specific situations may require personal adjustment based on actual experience.
The “Pain Points” of Overly Long or Short Tubes and Their Solutions
Now that we understand common lengths and selection considerations, let’s look at the actual problems an overly long or short tube can cause, and how we can address them.
Problems with an Overly Long Tube:
Bouncing and Friction: When running or moving quickly, an overly long tube can easily swing around on your chest or sides, affecting your balance and potentially causing friction against clothing or skin, leading to discomfort over time.
Snagging and Damage: When navigating through forests or thickets, a long tube can easily snag on branches or vines, which can impede your movement or even damage the bladder or tube itself, leading to leaks.
Aesthetics and Storage: An excessively long tube is also harder to store neatly, affecting the overall appearance of your pack.
Difficulty Cleaning: A longer tube generally means a more complex internal structure, making it harder to clean and more prone to bacterial growth.

Solutions:
Self-Trimming: Most hydration pack tubes can be trimmed. If you find your tube too long, you can trim it to your desired length. It’s crucial to double-check the length before cutting; it’s better to leave it a bit long than to cut it too short. After trimming, you usually need to soften the end of the tube with hot water, then reattach the bite valve, ensuring a secure seal.
Tube Clips/Magnetic Holders: There are specialized tube clips or magnetic holders available that can help secure your tube to your backpack strap or chest strap, effectively reducing bouncing. Some high-end hydration packs also come with these built-in attachments.
Tube Sleeves: If your tube is too long and cannot be trimmed, or if you want to improve insulation, consider using a tube sleeve. It makes the tube look neater and can also reduce bouncing to some extent.
Problems with an Overly Short Tube:
Inconvenient Hydration: This is the most direct problem. If the tube is too short, you might have to bend over, twist your head, or even remove your pack to drink, which is inconvenient and energy-consuming during outdoor activities.
Impact on Breathing and Posture: To reach the tube, you might need to alter your normal breathing rhythm or body posture, which can severely impact your performance, especially during high-intensity exercise.
Increased Fatigue: Frequently adjusting your body position to hydrate can accelerate fatigue and diminish your outdoor experience.
Solutions:
Purchase Extension Tubes: If your tube is simply too short, some hydration pack brands offer tube extension accessories. This is the most direct and effective solution.
Replace with a Longer Tube: If an extension tube isn’t convenient or compatible, then directly purchasing a longer replacement tube that’s compatible with your bladder is a better option.
Adjust Bladder Position: Try placing the bladder higher inside your backpack or adjusting the tightness of your pack’s shoulder and chest straps to see if it increases the effective length of the tube. However, this is usually a temporary fix.

Professional Details: Beyond Length, What Else Matters for Hydration Tubes?
As a seasoned outdoor gear enthusiast, I can tell you unequivocally that an excellent hydration tube is about much more than just the right length. The following critical details are equally worth our attention:
1. Material and Hygiene:
Food-Grade TPU/Silicone: High-quality tubes are typically made from food-grade TPU (thermoplastic polyurethane) or silicone. These materials are non-toxic, odorless, durable, and won’t leach harmful substances into your drinking water.
Antimicrobial Treatment: Many high-end tubes are treated with an antimicrobial agent, effectively inhibiting the growth of bacteria and mold, and keeping your drinking water clean and hygienic. This is incredibly important, especially in damp outdoor environments.
Ease of Cleaning: Whether the inner wall of the tube is smooth and whether there are structural designs that facilitate cleaning will impact how easy it is to clean. Regular cleaning of the tube is key to ensuring drinking water safety.
2. Bite Valve Design:
Flow Control: A well-designed bite valve provides a steady water flow, preventing you from choking on too much water during exercise or struggling to get enough water if the flow is too weak. Some bite valves also have flow regulators to adjust the water flow as needed.
Leak-Proof Design: The seal of the bite valve is paramount. It usually features designs like twist-lock, push-to-open, or auto-sealing valves to ensure no leaks when not in use.
Biting Comfort: The shape and material of the bite valve should be ergonomic and comfortable to bite, preventing fatigue during prolonged use.
Dust Cap: Many bite valves come with a dust cap, which effectively prevents dirt, dust, and other contaminants from entering the bite valve, maintaining hygiene.

3. Connection Method:
Quick-Connect System: Many modern hydration systems feature a quick-connect system. This design makes connecting and disconnecting the tube from the bladder incredibly convenient, facilitating filling, cleaning, and bladder replacement.
Anti-Detachment Design: The connection point should be secure and reliable, ensuring the tube doesn’t accidentally detach during vigorous activity.
4. Insulation:
Winter Freeze Prevention: In cold environments, water in the tube can easily freeze. Some tubes come with insulating sleeves or feature a double-layer construction to slow down the freezing process.
Summer Cooling: In hot weather, water in the tube can heat up from direct sunlight. An insulating sleeve can also help maintain water temperature to some extent, allowing you to drink cooler water.
5. Maintenance and Care:
Regular Cleaning: After each use, thoroughly clean the bladder and tube. You can use a specialized cleaning brush with cleaning tablets or diluted vinegar water. Then, hang them to dry to prevent moisture buildup and bacterial growth.
Thorough Drying: After cleaning, hang the bladder and tube upside down or prop them open to ensure they are completely dry inside, preventing mold growth.
Storage: Store away from direct sunlight and high temperatures to prevent the tube material from degrading.

My Personal Experiences and Tips
Over years of outdoor practice, I’ve accumulated some exclusive experiences regarding hydration pack tubes that I’d like to share with you:
“Better Long Than Short” Principle: If you’re unsure about the tube length, I generally recommend opting for one that’s slightly longer. Because if it’s too long, you can trim it or secure it; but if it’s too short, it’s very inconvenient, requiring extra accessories or even a replacement.
Actual Testing is King: After purchasing a hydration pack, it’s best to perform a simulated test at home. Fill the bladder with water, place it in the pack, put the pack on, and mimic your movements during outdoor activities to test if the tube can comfortably reach your mouth.
Learn the Tube’s “Routing”: Different backpacks and different outdoor activities require careful consideration of the tube’s “routing.” For example, when trail running, I prefer to thread the tube through the inside of the shoulder strap and secure it to the chest with a clip. This minimizes bouncing and allows for quick hydration. When hiking, I might allow the tube a bit more freedom, securing it to the side of the pack for easy access.
Bite Valve Selection: I personally prefer bite valves with a twist-lock mechanism. This is because they can be completely sealed when not in use, eliminating the risk of leaks, which is especially important if you carry electronic devices in your pack.
Backup Plan: For long outdoor activities, especially in remote areas, I usually carry a spare bite valve or a section of spare tube. Damage to the tube or bite valve can leave you stranded without hydration in the wilderness.

Frequently Asked Questions
To more comprehensively address common questions about hydration tubes for trail running packs, I’ve compiled some frequently asked questions and provided my expert answers.
Q1: Are hydration tubes universal? Can different brands of bladders and tubes be interchanged?
A1: In most cases, hydration tubes are not entirely universal. Different brands of bladders may have different tube connector diameters and connection methods (e.g., quick-connect, threaded). While some brands might have compatibility, to ensure sealing and safety, I strongly recommend purchasing tubes and bladders from the same brand or those explicitly stated to be compatible. If you absolutely need to mix and match, carefully check the connector specifications and perform thorough leak tests.
Q2: How do I know if my hydration tube needs to be replaced?
A2: You can consider the following aspects when determining if your tube needs replacement:
Odor or Mold: If the inside of the tube has a persistent odor, discoloration, or visible mold that cannot be removed even after repeated cleaning, it’s best to replace it. This could be a sign of bacterial growth or material degradation.
Material Aging: Tube materials (especially TPU) may harden, become brittle, or show cracks due to aging after prolonged use. An aged tube is prone to rupturing or leaking during use.
Leaking or Poor Flow: If the tube connection is loose and leaks, or if air enters the bite valve when you try to drink, leading to poor flow, these are all signs of a problem with your hydration system.
Damaged Bite Valve: If the bite valve is damaged, deformed, or has poor sealing, it also needs to be replaced promptly.
Lack of Regular Cleaning: If you haven’t thoroughly cleaned your tube for a long time, even if it looks fine, it might be harboring bacteria. Regular replacement is recommended for hygiene.

Q3: Will the hydration tube freeze in winter? How can I prevent it from freezing?
A3: Yes, hydration tubes are very susceptible to freezing in cold environments. This is a common hydration challenge in winter outdoor activities. Ways to prevent the tube from freezing include:
Use an Insulated Sleeve: There are specialized insulated sleeves for hydration tubes that can slow down the freezing process of the water inside.
Drink Frequently: Regularly drinking water keeps the water flowing in the tube, which effectively prevents freezing. Even if you’re not thirsty, take small sips and spit the water back into the bladder to ensure the tube doesn’t freeze.
Tuck the Tube Inside Clothing: When not in use, you can tuck the end of the tube (especially the bite valve) inside your clothing, using your body heat to maintain its temperature.
Invert the Bladder: After each drink, try inverting the bladder to allow any residual water in the tube to drain back into the bladder, reducing the risk of the tube freezing.
Choose a Freeze-Resistant Bite Valve: Some brands offer specialized freeze-resistant bite valves with internal designs that are less prone to freezing.
Carry a Hot Water Bottle: If conditions permit, you can place a small water bottle filled with warm water inside your pack to use its heat to warm the surrounding bladder and tube.
Q4: What are the important considerations when cleaning a hydration tube?
A4: Cleaning the hydration tube is crucial for ensuring drinking water hygiene.
Clean Immediately After Each Use: Don’t wait for scale or odors to appear; rinsing with clean water after each use is fundamental.
Use a Dedicated Cleaning Brush: The inside of the tube is narrow, making it difficult to clean with ordinary tools. Purchasing a long, thin cleaning brush specifically designed for hydration packs is very important, as it can reach deep inside the tube for thorough scrubbing.
Use Cleaning Tablets or Vinegar Water: For stubborn scale or odors, you can use specialized hydration pack cleaning tablets (follow the instructions) or diluted vinegar water (1 part vinegar to 4-5 parts water) for soaking, then rinse thoroughly.
Disassemble All Components: When cleaning, try to completely disassemble the tube, bite valve, and bladder, and clean them separately.
Thoroughly Dry: This is the most critical step! After cleaning, be sure to hang the tube to ensure air circulation and complete drying inside to prevent mold growth. You can use a drying rack or insert one end of the tube into a bottle to keep the opening facing upwards.
Avoid Dish Soap: Try to avoid using dish soap or other chemical cleaners, as they may leave residue inside the tube, affecting drinking water safety and taste.

Q5: Besides the tube, what other details of a hydration bladder are worth noting?
A5: Besides the tube, there are many other details of a hydration bladder itself that are worth noting:
Capacity Selection: Choose an appropriate capacity (commonly 1.5L, 2L, 3L) based on the duration, intensity, and availability of refilling points for your activity.
Opening Design: Large opening designs (like slide-top closures) are convenient for filling, cleaning, and adding ice cubes; smaller openings prioritize sealing.
Baffle Design: Some high-end bladders have internal baffles that prevent water from sloshing around during vigorous activity, which can affect your balance.
Bladder Hanger: Check if the bladder has attachment points to secure it inside your backpack, preventing it from bunching up.
Material and Durability: Choose a wear-resistant, tear-resistant, food-grade material to ensure it doesn’t easily rupture in challenging environments.
Antimicrobial Treatment: Like the tube, the inside of the bladder should also have antimicrobial treatment to reduce bacterial growth.
Bladder Size Compatibility: Ensure the bladder’s dimensions are a perfect fit for your backpack’s hydration compartment.
The hydration tube of a trail running pack, though seemingly small, carries the crucial task of outdoor hydration. I hope this article provides you with a deeper understanding of tube length selection, functional details, and maintenance. Remember, sufficient hydration is always a guarantee of safety during every outdoor adventure. May you and I enjoy a worry-free and refreshing hydration experience in the mountains and wilds!