As someone who loves outdoor adventures, I never head out for a hike, bike ride, or camping trip without my trusty hydration backpack. It’s lightweight, practical, and keeps me hydrated on the go—honestly, it’s a lifesaver for any outdoor enthusiast. But here’s the thing: the market is flooded with options, from different materials to prices ranging from a few bucks to hundreds. When I first started shopping for one, I was totally lost and ended up with a few duds—leaky bags, uncomfortable straps, you name it. After years of trial and error, plus a bit of research, I’ve finally figured out what works. So today, I’m sharing my experience as a regular user to break down what materials hydration backpacks are made of and what to watch out for when buying one. Hope this helps anyone looking to grab their own!
What Materials Are Hydration Backpacks Made Of?
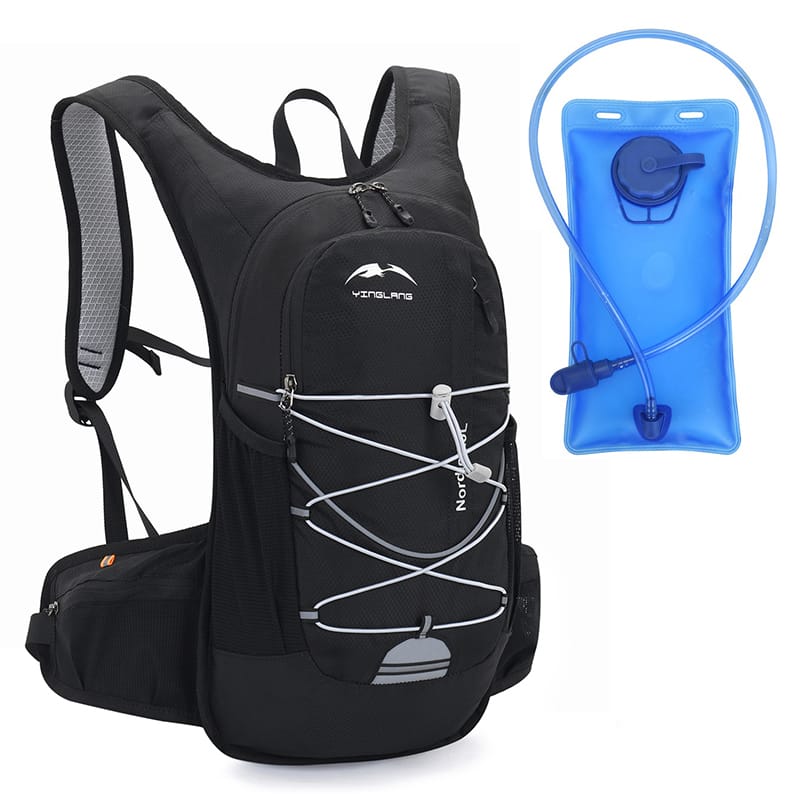
A hydration backpack typically has two main parts: the bladder (where the water goes) and the backpack (what you carry on your back). The materials used in these two components directly affect how well it performs. Let’s dive into each part.
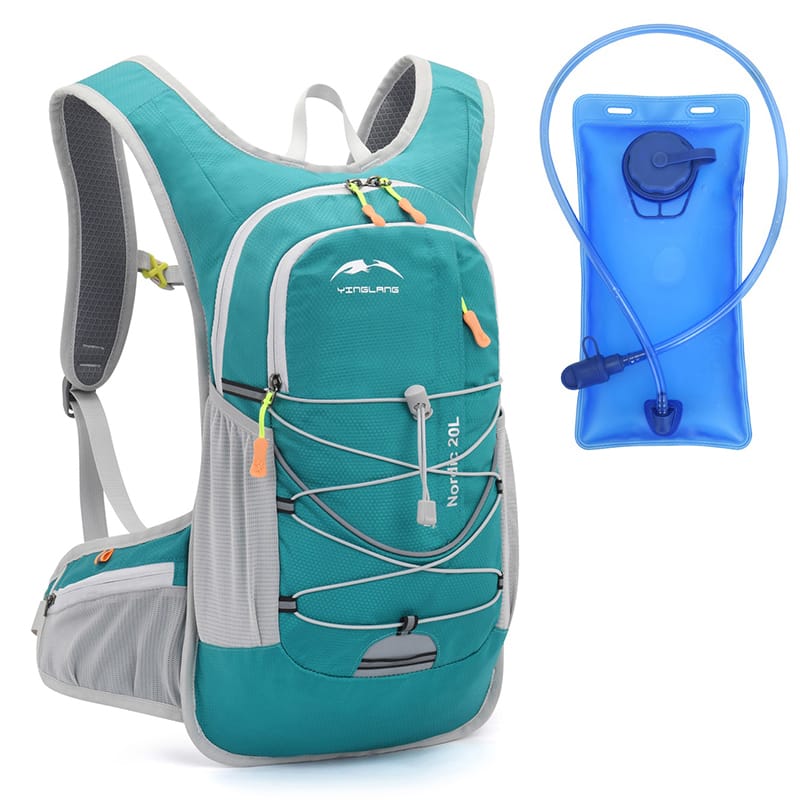
1. Bladder Materials
The bladder is the heart of the system—it holds your water—so its material matters for durability, safety, and ease of cleaning. Here are the most common ones I’ve come across:
TPU (Thermoplastic Polyurethane)
This is hands-down the most popular bladder material out there. My AqSack bladder is made of TPU, and I love how flexible, tough, and cold-resistant it is. You can even rinse it with hot water without it warping. Best of all, TPU is non-toxic and odorless, and it’s food-grade certified, so there’s no weird plastic taste when I drink. I once bought a cheapo bladder that tasted like chemicals right out of the gate—straight to the trash. TPU’s a safe bet every time.
PEVA (Polyethylene Vinyl Acetate)
PEVA is a bit cheaper than TPU and still considered eco-friendly. It’s soft and decent enough. But from my experience, it’s not as durable—cracks showed up when I used it in cold weather. It’s fine for casual use, but for serious outdoor trips, I’d skip it.
PVC (Polyvinyl Chloride)
PVC is the budget king—super cheap, almost too good to be true. But trust me, it’s not worth it. I’ve heard horror stories (and learned the hard way) that it can leach harmful stuff into your water, especially in the heat. Plus, it ages fast and leaks. A buddy of mine had a PVC bladder burst mid-hike, soaking his gear. Steer clear.
Silicone
Silicone bladders are rare but pop up in some premium models. I tried one with a silicone mouthpiece once—super soft and easy to clean. It’s pricey, though, so unless you’ve got extra cash to burn, it’s not a must-have.
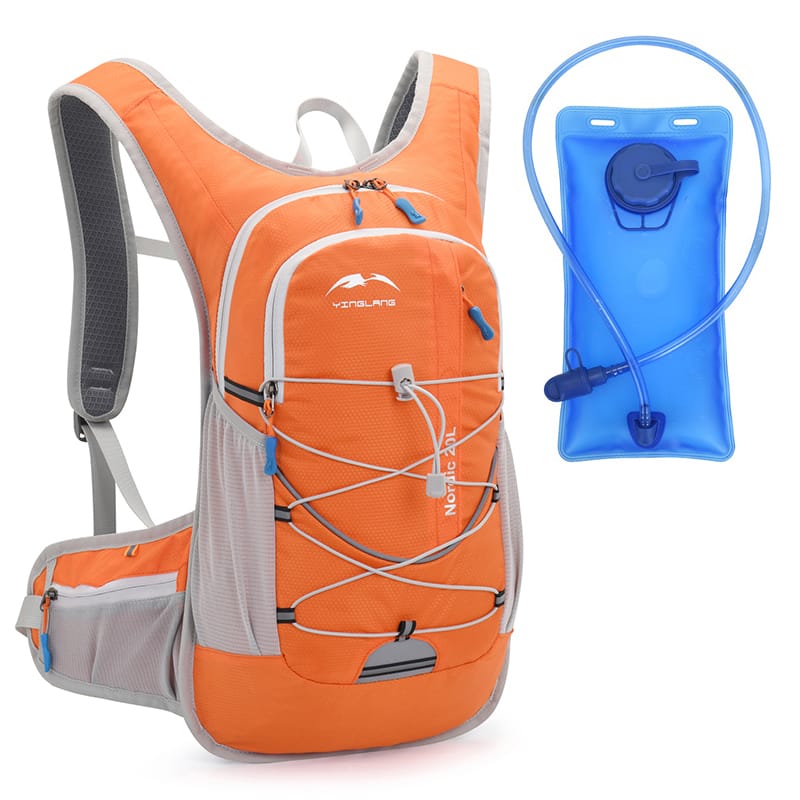
2. Backpack Materials
The backpack part is all about carrying the load and keeping you comfortable. Its material impacts durability, water resistance, and breathability. Here’s what I’ve seen:
Nylon
Nylon’s my go-to. It’s lightweight and rugged. My AqSack pack uses high-density nylon, and after multiple long hikes—loaded with water and gear, probably 10-12 pounds—it’s still holding strong with no tears. Nylon’s also great for water resistance; light rain doesn’t faze it.
Polyester
Polyester’s a cheaper alternative to nylon and pretty durable too, but it’s not as water-resistant. I had a polyester hydration pack once, and during a downpour, it leaked through, soaking everything inside. Fine for dry days, but not my pick for wet climates.
Cordura
Cordura is like nylon on steroids—insanely tough and tear-resistant. A friend swears by his Cordura pack; it survived a tumble down a rocky slope. The catch? It’s expensive. Perfect for hardcore adventurers.
Mesh
Mesh isn’t about the main body—it’s for the back panel. Breathability matters when you’re sweating buckets. I used a pack without mesh once in the summer, and my back was drenched and sticky. My AqSack has thick mesh padding now, and it’s a game-changer—way less sweat.
Here’s a quick table to sum it up:
| Part | Material | Pros | Cons | Best For |
|---|---|---|---|---|
| Bladder | TPU | Non-toxic, durable, flexible | Slightly pricey | Long-term use, daily |
| Bladder | PEVA | Eco-friendly, soft | Less durable, cracks in cold | Casual use |
| Bladder | PVC | Dirt cheap | Toxic, ages poorly | Avoid |
| Bladder | Silicone | Soft, easy to clean | Expensive | Premium buyers |
| Backpack | Nylon | Light, tough, water-resistant | Bit costlier | Most outdoor activities |
| Backpack | Polyester | Durable, affordable | Weak water resistance | Short trips, dry areas |
| Backpack | Cordura | Ultra-tough, tear-resistant | High cost | Extreme adventures |
| Back Panel | Mesh | Breathable, comfy | No load support | Summer or long wear |
What Should You Look Out For When Buying a Hydration Backpack?
Knowing the materials is step one, but picking the right pack takes more than that. I’ve made mistakes and learned some tricks—here’s what I focus on now.
1. Get the Right Capacity
Bladders usually range from 1L to 3L, plus extra space in the pack for gear. For a day hike, I go with 2L—enough water with a little buffer. Cycling? 1.5L does the trick. For multi-day camping, 3L is my pick. Think about your trip length and activity level—too big, and it’s heavy; too small, and you’re parched.
2. Check the Mouthpiece
The mouthpiece is where you drink from, so it’s a big deal. I love the bite-valve on my AqSack—just bite and sip, no fuss. Some have twist valves, which are fine if you don’t mind using your hands. Make sure it’s removable for cleaning—a dirty mouthpiece gets gross fast. I skipped cleaning once, and the moldy taste haunted me for days.
3. Comfort Is Key
If you’re trekking all day, your shoulders and back will thank you for a comfy pack. I look for wide shoulder straps and a breathable back pad. My AqSack has both, plus chest and waist straps to spread the weight. No more sore spots after hours on the trail.
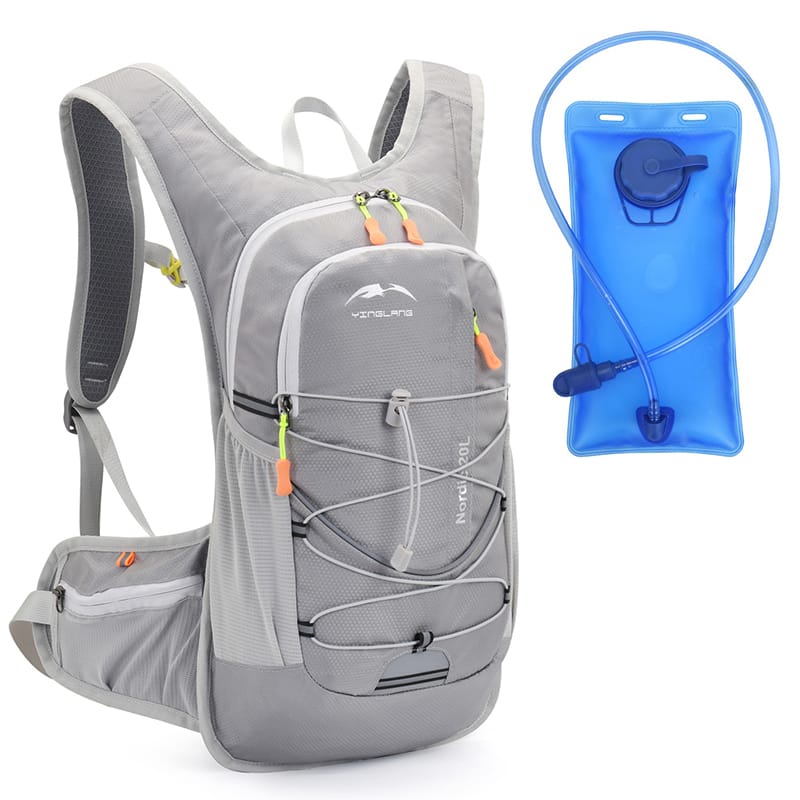
4. Test the Seal
A leaky bladder is a nightmare—I learned that when my first pack soaked my phone. Now I check the sealing strip and connectors before buying. Double-seal designs are the best. At home, fill it up, shake it, and see if it holds.
5. Durability in the Details
Beyond materials, stitching and zippers matter. I had a pack fall apart after a month—zipper broke, seams unraveled. Now I stick to double-stitched packs with YKK zippers. My AqSack’s been solid for two years.
6. Easy Cleaning
Bladders can get funky if you don’t clean them right. I prefer wide-mouth designs—I can scrub inside with a brush. My AqSack’s big opening makes it a breeze to clean and dry. Narrow ones are a pain; you’re stuck sloshing water around.
7. Keep It Light
Weight’s a big deal outdoors. I once hauled a 6-pound pack—empty!—and regretted it. My AqSack weighs under a pound, and even with 2L of water, it’s manageable. Check the listed weight and skip bulky extras.
8. Price vs. Value
You can find packs for $20 or $200, and the difference shows. Cheap ones cut corners on safety and durability. I’ve found the $100-$200 range hits the sweet spot—quality without breaking the bank. My AqSack fits right in there, and it’s worth every penny.
My Real-World Experience
Let me give you the rundown on how I got hooked on hydration backpacks. My first one was three years ago for a hike up Mount Huangshan. I grabbed a random $20 pack online, and it was a disaster—leaky bladder, straps digging into my shoulders. Halfway up, I was ready to quit. Then a friend tipped me off to AqSack, and I got their 2L TPU bladder and nylon pack combo. Since then, it’s been my go-to for hiking, biking, and camping.
One time, I was trekking in high altitude with scarce water—my 2L AqSack got me through the day without a drop wasted. The mesh back kept me cool, too; I checked after, and my shirt wasn’t even soaked. Two years in, it’s still kicking—only the mouthpiece shows some wear. It’s been a champ.

FAQ Section
To wrap up, here are some questions I get a lot, with my take:
Q1: Can you put hot water in a hydration backpack?
A: Most TPU bladders handle 104-140°F (40-60°C), but boiling water’s a no-go—it’ll warp. I use warm water in my AqSack with no issues. Check the specs for temp limits.
Q2: How do you clean a hydration backpack?
A: After use, I rinse it with water, soak it with a bit of baking soda for 30 minutes, scrub, and air-dry. Hang it open so the inside doesn’t stick together and get moldy.
Q3: Are they heavy?
A: Depends. My AqSack’s under a pound empty, about 5 pounds with 2L of water—easy for a day. Go lightweight and skip heavy add-ons.
Q4: Good for running?
A: Yup, if it fits snug. My AqSack’s tight design barely sloshes—great for jogs.
Q5: Cheap vs. expensive—what’s the deal?
A: Cheap ones use PVC or polyester—sketchy safety, short lifespan. Pricier ones like AqSack use TPU and nylon with better craftsmanship. Spend a little more; it lasts.
Final Thoughts
Picking a hydration backpack can feel overwhelming, but it doesn’t have to be. For materials, I’d go with TPU for the bladder and nylon for the pack—safe and sturdy. Focus on capacity, mouthpiece, comfort, and sealing when you shop, and don’t just chase the lowest price. My AqSack’s been a game-changer for me, and I’d say it’s worth taking the time to find something solid. Out there, reliable gear keeps you going—and keeps you sane. Got plans to snag one soon? Or any tips from your own adventures? Drop a comment—I’d love to hear!