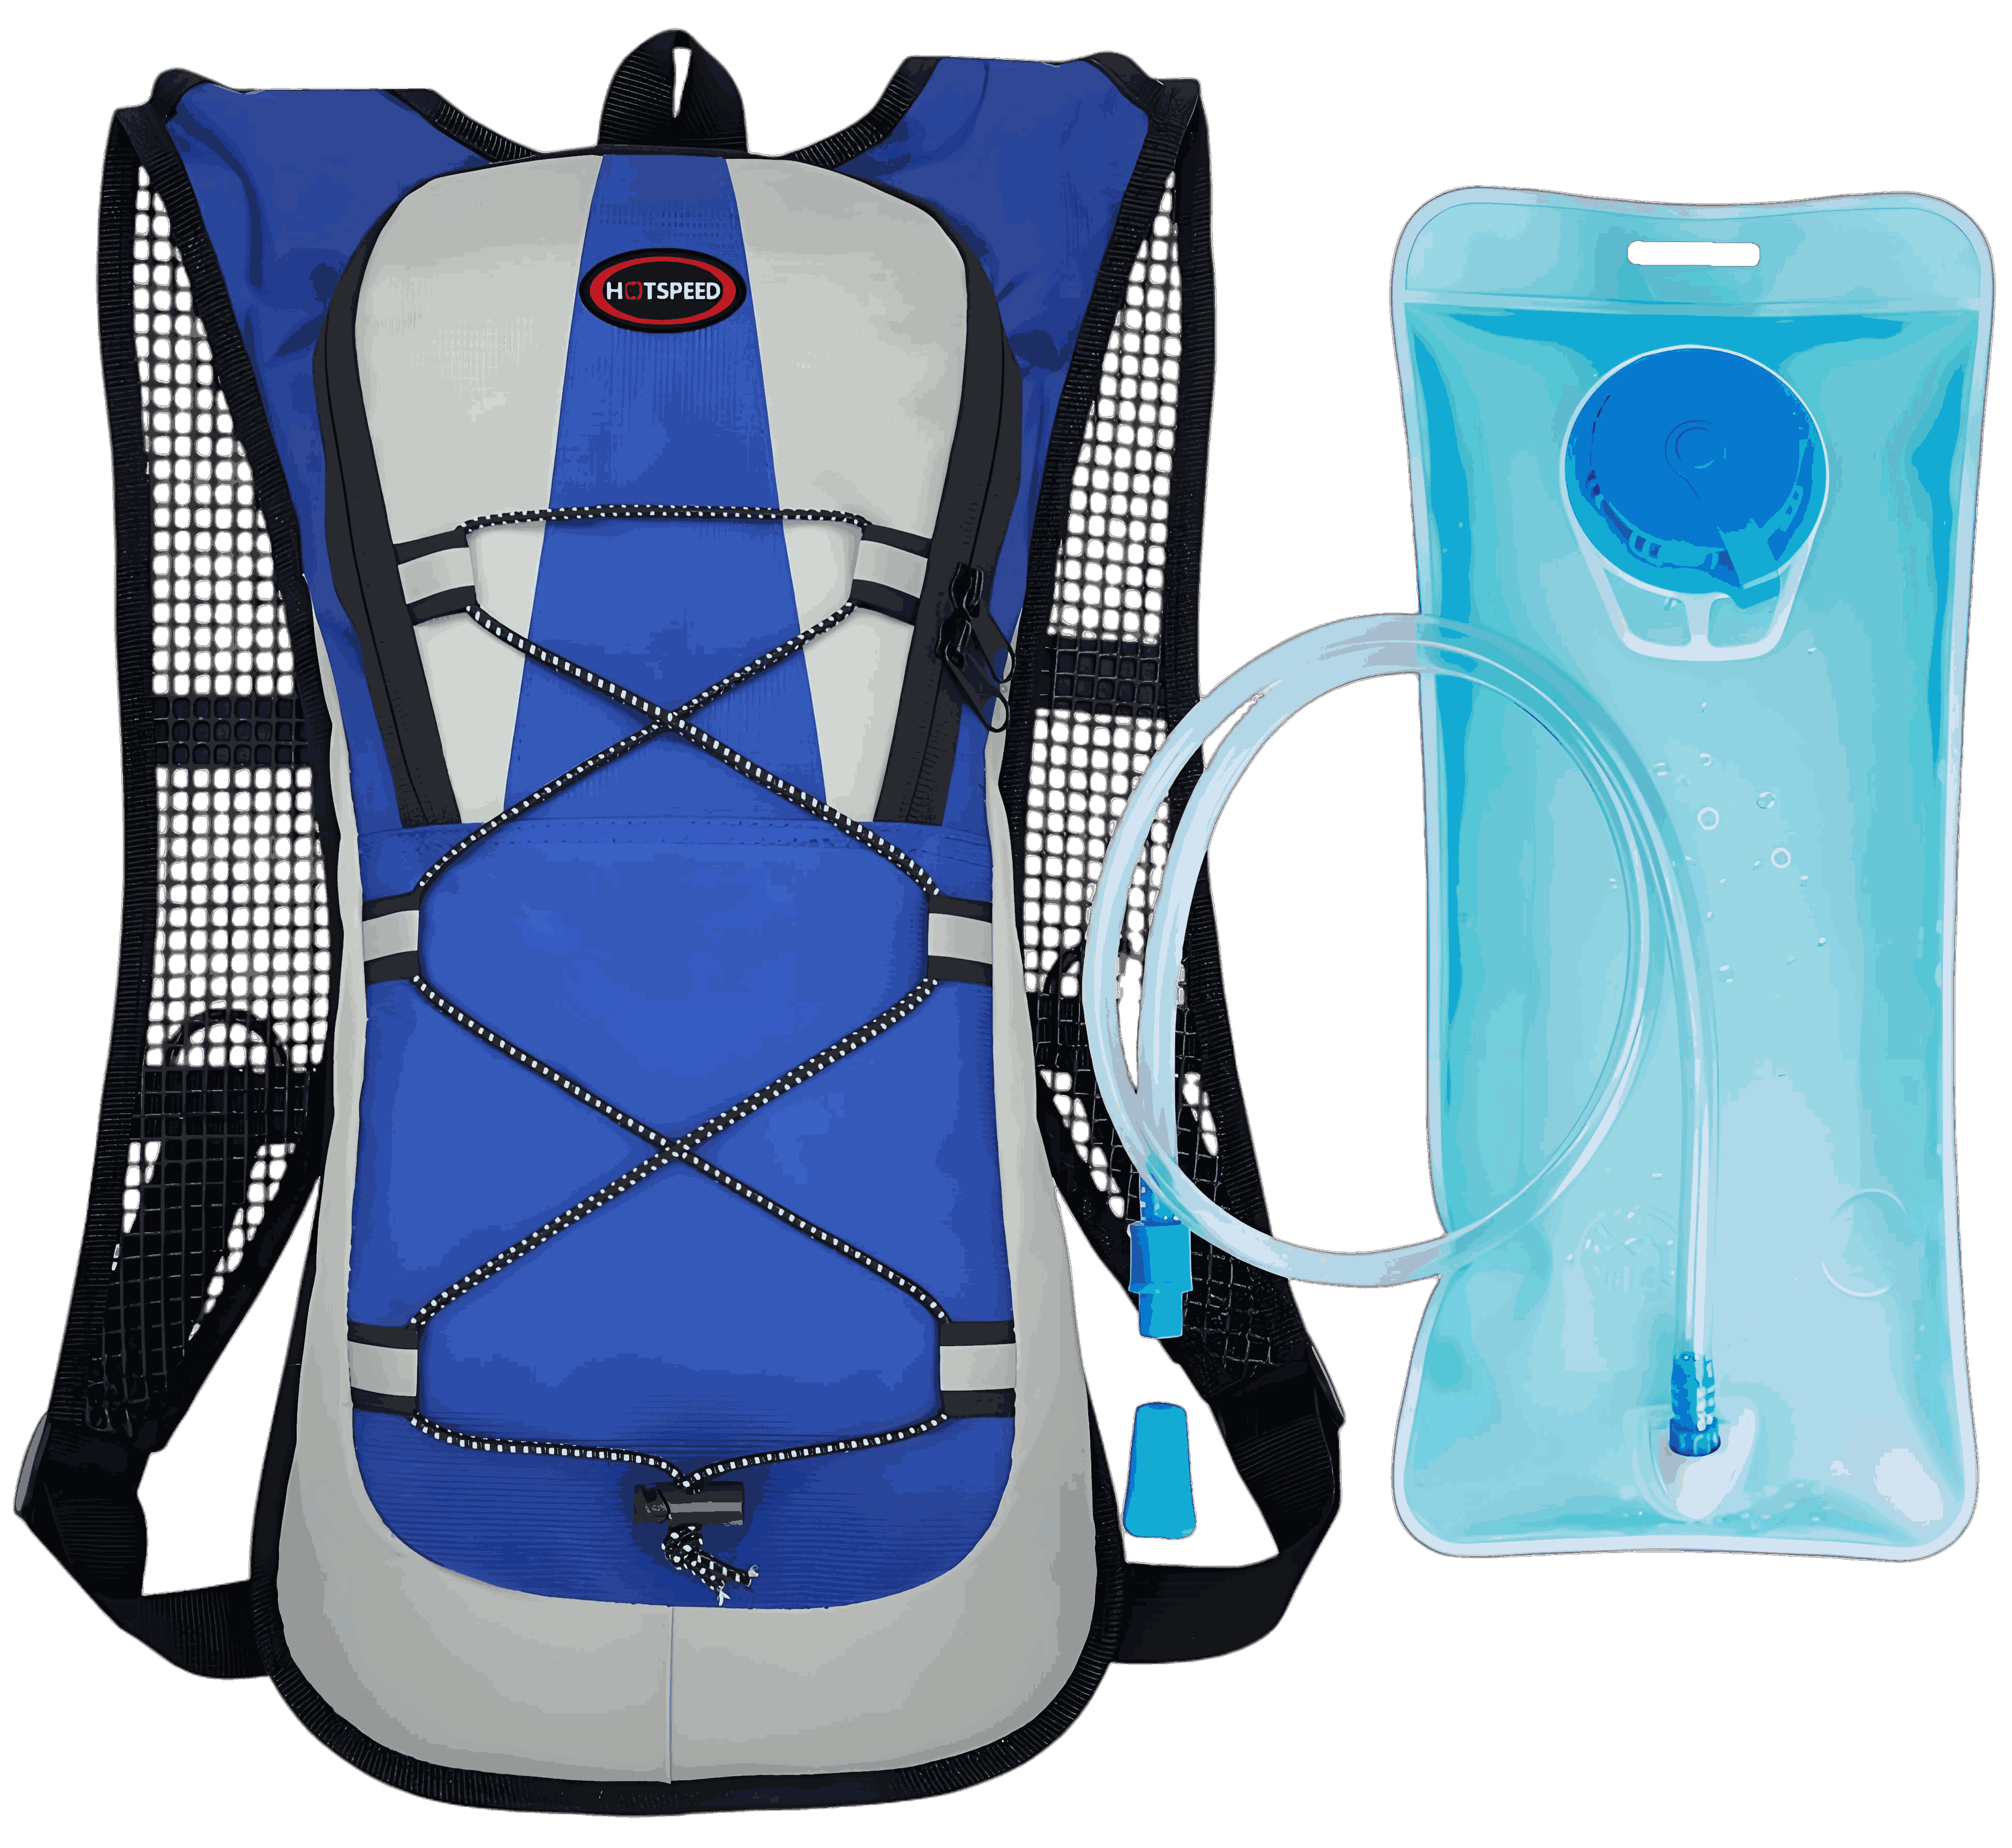
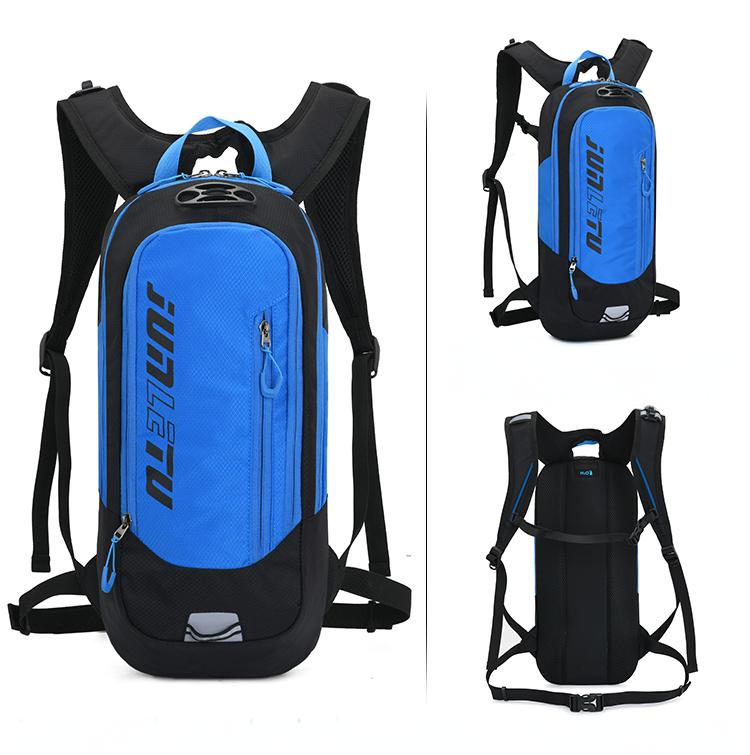
As an avid outdoor enthusiast, I know the liberating feeling of trekking through the mountains with a hydration backpack—hands-free, with water always within reach, it’s the perfect gear for hiking, running, or cycling. But if you’ve ever been frustrated by the constant sloshing or instability of your hydration backpack, like I have, this article is for you. I’ll dive into why hydration backpacks shake, how to choose the right one, and specific tips for adjustments and use to help you eliminate that annoying shake and make your outdoor adventures smoother!

Why Does a Hydration Backpack Shake?
The reasons behind a hydration backpack’s shaking are straightforward and usually boil down to a few key factors:
Unsecured Water Bladder: If the bladder isn’t properly fixed inside the backpack, water sloshes around, creating that “sloshing” sound and an unstable feel.
Poor Backpack Fit: If the shoulder straps, chest straps, or waist belt aren’t designed to hug your body, the entire pack can shift during movement.
Improper Water Volume: Too much or too little water in the bladder can cause instability, especially when it’s half-full, as water moves freely inside.
Mismatched Use Case: Using a loose-fitting pack designed for hiking during a run, for example, almost guarantees shaking.
Incorrect Adjustments: If the backpack’s straps aren’t tailored to your body, shaking is inevitable.
These issues might sound tricky, but they’re manageable with the right approach. Below, I’ll break down solutions from choosing the right backpack, adjusting it properly, and practical usage tips to keep your pack steady as a rock.
How to Choose the Right Hydration Backpack
Picking the right hydration backpack is the foundation for preventing shaking. With countless options on the market, from budget-friendly to high-end, the key isn’t always the price but whether it suits your needs. Here’s what I’ve learned about choosing the perfect pack:
Define Your Activity
Are you using it for running, hiking, cycling, or a mix of activities? Running calls for a lightweight, snug pack (5-10 liters), while hiking might require more capacity (10-20 liters) for extra gear. Knowing your activity narrows down your choices.
Check the Bladder Compartment
A good hydration backpack has a dedicated bladder compartment with fixing straps or Velcro to keep the bladder in place. For instance, I’ve used the Salomon ADV Skin series, which has built-in straps that secure the bladder tightly, minimizing movement.
Evaluate Strap and Chest Belt Fit
Look for packs with wide shoulder straps and adjustable chest belts, ideally with a dual-buckle design for a precise fit across your chest. Elastic chest straps are great for runners, as they allow easier breathing.

Material and Weight
Lightweight designs are crucial, especially for running or long hikes. Opt for breathable mesh back panels to reduce sweat buildup and ensure the pack weighs under 500g (without the bladder).
Bladder Capacity
Bladders typically range from 1-3 liters, depending on your activity duration and access to refill points. A 1.5-liter bladder works for most short-to-medium activities, while 2 liters or more suits long hikes. Pro Tip: Don’t overfill the bladder—80% capacity reduces water sloshing.
Here’s a quick comparison table to help you choose a hydration backpack:
| Brand/Model | Best For | Capacity (Pack/Bladder) | Features |
|---|---|---|---|
| Salomon ADV Skin 12 | Running, Short Hikes | 12L/1.5L | Lightweight, elastic chest straps, snug fit |
| Osprey Duro 6 | Running, Cycling | 6L/1.5L | Breathable back panel, multiple pockets |
| CamelBak Ultra Pro | Running | 4L/1L | Ultra-light, quick-access water system |
| Gregory Mountain 3D Hydro | Hiking | 15L/3L | Wide shoulder straps, large bladder capacity |
When shopping, try the backpack on to ensure it fits your body’s contours. If buying online, check the return policy in case the fit isn’t right.
How to Adjust Your Hydration Backpack Properly
Even the best backpack will shake if not adjusted correctly. Here are my go-to tips for securing your pack, based on years of trial and error:
Fine-Tune Shoulder Straps
Shoulder straps should neither be too loose nor too tight. The goal is a snug fit against your back without shoulder strain. Start with the straps fully loose, put on the pack, then gradually tighten until it hugs your spine. Check Point: The top of the pack should align with your shoulders, and the bottom shouldn’t dip below your waist.
Secure Chest and Waist Belts
The chest belt prevents side-to-side shaking and should sit at your sternum, just above your armpits. The waist belt stabilizes the lower part and reduces shoulder pressure. Adjust the waist belt to sit above your hip bones, tight enough to allow two fingers to fit underneath.

Lock the Bladder in Place
Place the bladder in its compartment and check for fixing straps or Velcro. If the pack lacks these, add a small non-slip mat or towel under the bladder for extra grip. Key Reminder: After filling the bladder, squeeze out excess air and tighten the cap to prevent water-air mixing, which causes sloshing.
Balance the Load
If you’re carrying extra gear like energy gels, a phone, or spare clothing, place heavier items close to your back to distribute weight evenly. Avoid uneven loading, which can cause the pack to tilt.
Test Dynamically
After adjusting, do a few jumps or a short jog to test stability. If you feel shaking, recheck the shoulder and chest straps or ensure the bladder is secure.
I once ran a trail race with a poorly adjusted chest belt, and the pack kept shifting side to side, driving me nuts. After stopping to reposition the chest belt and tighten the shoulder straps, the shaking vanished, and the rest of the run felt effortless!
Practical Tips for Using a Hydration Backpack
Beyond choosing and adjusting your pack, small habits during use can make a big difference in reducing shaking and boosting comfort. Here are my top tips:
Control Water Volume
Avoid filling the bladder beyond 80% capacity, as half-full bladders are prone to sloshing. For short runs, I use a 1-liter bladder with 500-700ml of water—enough to stay hydrated without extra weight.
Check Bladder Sealing
A loose cap or leaky hose connection amplifies sloshing sounds. Before each use, ensure the cap is tight and the hose is secure. I prefer bladders with quick-twist caps for ease of use.
Secure the Drinking Tube
Most packs let you clip the drinking tube to the shoulder strap, but improper placement can cause it to flap around. Fix the tube near the chest belt with a magnetic clip or holder to keep it steady.

Adjust Your Posture
When running or hiking, keep your upper body upright and avoid excessive leaning or swaying. This minimizes pack movement. For downhill running, slow your pace slightly to maintain balance.
Clean and Maintain Regularly
A dirty bladder can develop scale or odors, affecting your experience. After each use, rinse with warm water, dry thoroughly, and keep the bladder open to prevent mold. I also check for tiny cracks before long trips and replace the bladder if needed.
Additional Tips to Keep in Mind
Weather Considerations
In hot weather, a snug pack might cause back sweat. Choose a pack with a ventilated back panel or add a sweat-wicking towel between the pack and your back. In cold weather, insulate the drinking tube to prevent freezing (use a tube cover if available).
Custom Accessories
Some packs offer add-ons like trekking pole loops or rain covers. If you carry extra gear, pick a pack with versatile attachment points for better weight distribution.
Test Before Big Adventures
If you’re new to hydration backpacks, start with short trips to get a feel for the pack’s fit and stability. Adjust based on real-world feedback.

Real-Life Example
Last year, I ran a 50km trail race with a 10-liter hydration backpack. Before the race, I spent 20 minutes securing the 2-liter bladder, exp Petselling air, and adjusting the chest belt to my sternum. The pack stayed rock-solid throughout, with barely any sloshing. Meanwhile, a friend struggled with a loose pack that shook for the first 10km, forcing him to stop and readjust, costing valuable time.
This experience taught me that preparation and careful adjustments are the key to a shake-free pack. I hope my insights help you avoid similar hassles on your next adventure!
Final Thoughts
A shaky hydration backpack may seem like a minor issue, but it can derail your outdoor experience. By choosing the right pack, adjusting it carefully, managing water volume, and adopting smart usage habits, you can ensure your pack stays stable and comfortable. Whether you’re running, hiking, or cycling, a well-secured hydration backpack will be your trusty companion.
If you have more questions about hydration backpacks or want to share your own tips, drop them in the comments! Below, I’ve answered some common questions to further assist you.
Frequently Asked Questions
1. How can I stop the annoying sloshing sound in my hydration backpack?
Completely eliminating sloshing is tough, but you can minimize it by:
Filling the bladder to no more than 80% and squeezing out excess air.
Securing the bladder with straps or Velcro in the compartment.
Ensuring the cap and hose are tightly sealed.
2. Why does my backpack slide to one side while running?
This is likely due to improper strap adjustments. Try:
Positioning the chest belt at your sternum and tightening it slightly.
Ensuring gear is evenly distributed to avoid lopsided weight.
Choosing a snug-fitting pack to reduce sliding.

3. Are hydration backpacks good for long hikes?
Absolutely, but opt for a 10-15 liter pack with enough storage and a comfortable carrying system. Check the bladder’s stability periodically during long hikes to prevent loosening.
4. How do I clean my hydration bladder to keep it hygienic?
Rinse the bladder with warm water and a bit of mild detergent after each use, then flush thoroughly. Use a cleaning brush for the tube, and dry with the bladder fully open to avoid mold.
5. Hydration backpack vs. water bottle—which is better?
Hydration backpacks are ideal for hands-free activities like running or cycling, with easy sipping on the go. Water bottles are better for short or low-intensity trips and are easier to carry. Choose based on your activity and preferences.