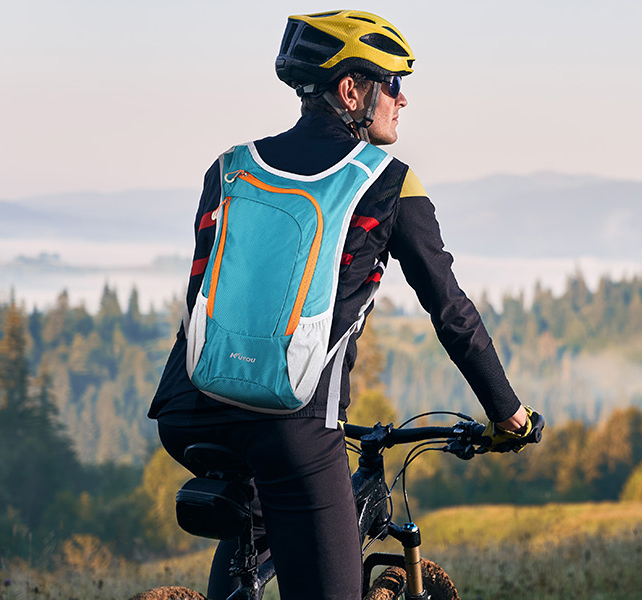
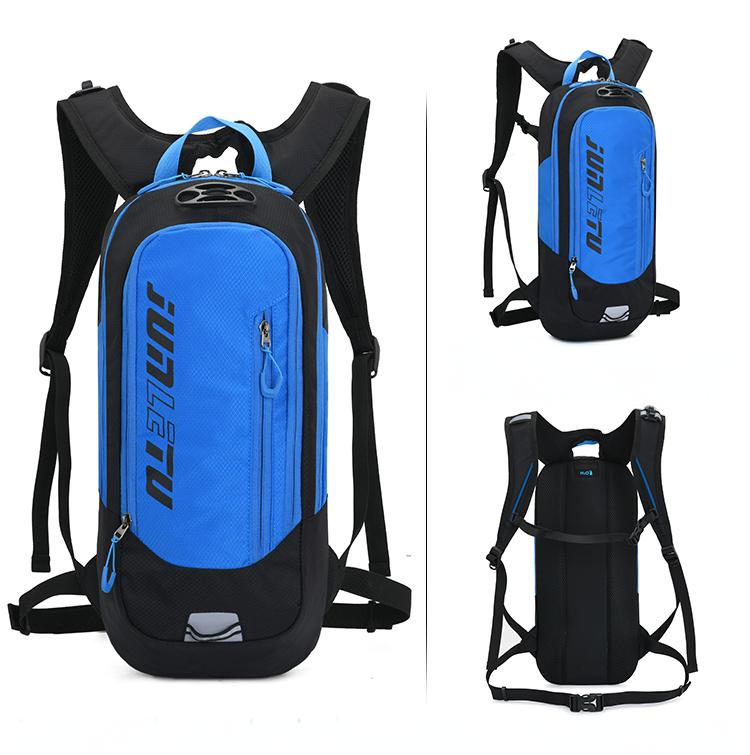
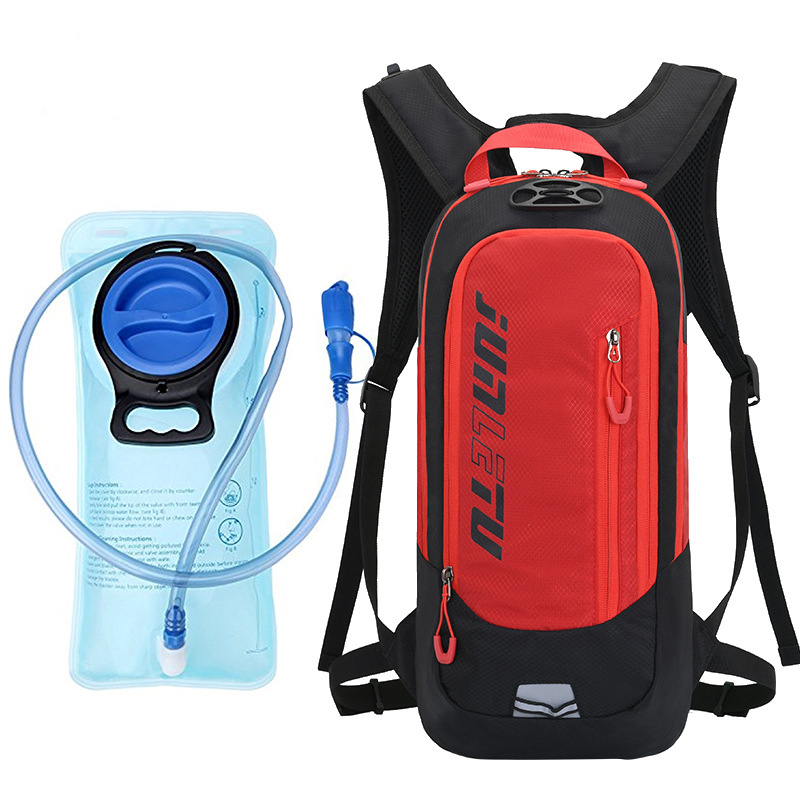
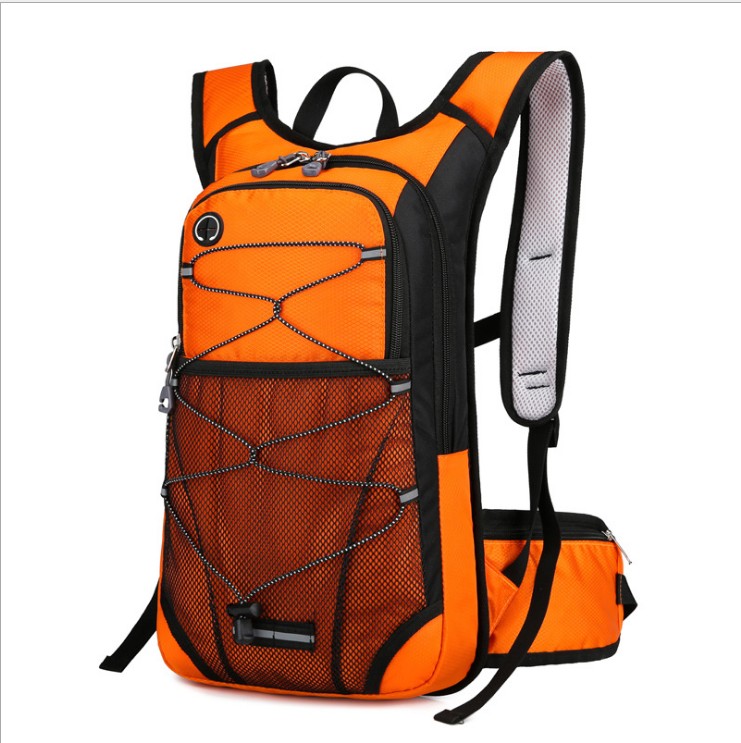
As someone who loves outdoor adventures, I can’t wait to strap on my gear every winter and head out for a hike, ski, or camping trip in the mountains. My hydration bladder is pretty much a must-have—it’s convenient, lightweight, and keeps me hydrated on the go. But for years, one thing drove me nuts: my water kept freezing in the cold! The tube would turn solid, leaving me parched and annoyed with a bulky, icy lump in my pack. After a lot of trial and error, I’ve finally figured out some practical ways to keep it from freezing. Today, I’m sharing my hard-earned tips with you, hoping they’ll help fellow winter outdoor enthusiasts stay hydrated and happy.

Why Does a Hydration Bladder Freeze So Easily in Winter?
Let me start with a little story. A few years back, I was hiking in the mountains at minus 10°C (14°F), and just two hours in, my hydration tube was frozen stiff—like an ice pop. I tried blowing into it, squeezing it, even tucking it inside my jacket, but nothing worked. After that fiasco, I got curious: why does this happen? It’s pretty simple, really. The water in the bladder and tube sits still, and in freezing temps with little insulation, it’s a recipe for ice. The tube, especially, is a weak spot—thin, exposed, and quick to freeze when the wind hits it.
To tackle this, I’ve learned we need to work with how the bladder is built and the winter environment. It’s all about keeping things warm and usable. Below are the tricks I’ve tested and swear by.
My Go-To Tips for Preventing a Frozen Hydration Bladder
1. Prep Smart: Hot Water and Insulation Are Key
Before heading out, I always fill my bladder with warm water—around 40-50°C (104-122°F). Too hot, and you risk damaging the bladder; too cool, and it won’t help much. Warm water buys you extra time before freezing sets in, especially for shorter trips. To boost this, I use an insulation sleeve. Some brands like CamelBak and Osprey make winter-ready bladders with built-in insulation, but if yours doesn’t have one, a cheap universal sleeve works—or even a towel or fleece wrapped around it inside your pack.
For the tube, I slap on a tube insulator—a few bucks online, and worth every penny. No insulator? Cut up an old sock and slide it over the tube; it’s surprisingly effective. Last winter, at minus 5°C (23°F) in snowy terrain, warm water plus insulation kept my water liquid for a solid 4 hours.

2. Pack It Right: Position Matters
Where you stash your bladder in your pack makes a difference. I used to toss it in an outer pocket, but the cold air hit it hard and froze it faster. Now, I tuck it close to my back, letting my body heat slow the freezing process. If your pack has a dedicated hydration sleeve, even better—keep it away from the outer edges and stuff clothes or a sleeping bag around it for a cozy “natural insulation” boost.
The tube? I slip it inside my jacket, near the collar or sleeve, so my body keeps it warm and it’s still easy to sip from. Just don’t leave too much dangling outside, or it’ll freeze anyway.
3. Blow It Dry: Keep the Tube Water-Free
The tube freezing is my pet peeve—especially after a sip, when leftover water turns to ice. So I got into the habit of blowing air into the tube after every drink to push the water back into the bladder. No water, no ice. It’s a simple trick that works like a charm. I’ve tested it at minus 15°C (5°F), and as long as the tube’s dry, it stays clear.
4. Add a Twist: Safe Anti-Freeze Alternatives
You might wonder, “What about adding something to stop the freeze?” I looked into it—car antifreeze is a no-go, obviously toxic. But there are safe options like mixing in a bit of edible alcohol (think vodka) or salt. For 500 ml (17 oz) of water, try 1-2 teaspoons of salt or 10 ml of alcohol—it lowers the freezing point a tad. I don’t use this much, though; the taste is weird, and I’d rather sip plain water. It’s more of an emergency hack.

5. Last Resorts: Body Heat and Backup Plans
What if it freezes anyway? I’ve been there—once on a mountain, my tube was a solid block, and I panicked. Then I stuffed the bladder inside my down jacket, right against my stomach, and after 20 minutes, it thawed! Body heat is a lifesaver in a pinch, so don’t sleep on it.
I also started carrying a backup: a small thermos with hot water. If the bladder freezes, I’ve still got something warm to drink, and it keeps me from trudging back dehydrated.
Hydration Bladder Freeze-Proofing Comparison Table
To give you a clear picture, here’s a table of my real-world results with these methods:
| Method | Temp Range | Freeze-Free Time | Pros | Cons |
|---|---|---|---|---|
| Warm Water + Insulation | 32°F to 14°F (0°C to -10°C) | 4-6 hours | Easy, reliable | Sleeve adds weight |
| Blow Tube + Body Heat | 23°F to 5°F (-5°C to -15°C) | 6-8 hours | Cheap, practical | Takes discipline |
| Salt/Alcohol Mix | 23°F to 14°F (-5°C to -10°C) | 3-5 hours | Good in a pinch | Taste isn’t great |
| Body Heat (Emergency) | Any cold temp | 20-30 min to thaw | No extra gear needed | Slows you down |
| Backup Thermos | Any cold temp | Full trip | Dependable, warm drink | Extra weight |
These are my findings from testing in various conditions—your mileage might vary depending on your bladder brand or weather quirks, so tweak as needed.
Picking the Right Hydration Bladder
After years of using these things, I’ve got some thoughts on choosing one for winter. Go for a model with insulation features, like a silicone tube cover or a thermal layer—Hydrapak’s Shape-Shift (2L, with a quick-release tube) is my current fave, super durable. Also, bite valves beat twist valves hands-down; they’re less prone to freezing and easier to sip from.
On a budget? A basic bladder works fine—just pair it with these tricks, and you’re golden.

My Journey: From Freezing Fails to Winter Wins
I’ll be honest—my early hydration bladder days were rough. One snowy hike, my tube didn’t just freeze; it cracked, leaking water all over my pack and soaking my clothes. I was freezing and miserable, nearly ready to call it quits. That mess taught me that in winter, hydration isn’t just convenience—it’s safety. Since then, I’ve been obsessive about prepping my gear and testing fixes. Now, I can handle minus teens (°C) like it’s no big deal.
These tips aren’t rocket science—just practical stuff I’ve learned the hard way. Try them out, tweak them to fit your style, and you’ll find what works.

Q&A: Answers to Your Burning Questions
Q1: Can a frozen bladder still be used?
A: Yup! If the tube’s frozen, blow into it or warm it with your body to thaw it. If the whole bladder’s iced up, tuck it inside your jacket to melt it slowly. Worst case, lug it back as an “ice brick” and deal with it later.
Q2: Do insulation sleeves really work?
A: Totally. I’ve compared them side-by-side—an insulated bladder lasts 2-3 hours longer than a bare one, especially in windy conditions.
Q3: What size bladder is best for winter?
A: Depends on your trip. 1-2 liters (34-68 oz) for short outings, 3 liters (100 oz) for longer hauls. Don’t fill it to the brim—leaving some slosh room slows freezing.
Q4: My tube keeps freezing—what’s the fix?
A: Blow the water out after each sip, or get an insulated tube cover. Still stuck? Tuck it inside your jacket to keep it warm.
Q5: Any brands you recommend?
A: I’ve had good luck with CamelBak (love the bite valve), Hydrapak (light and tough), and Osprey (great for extreme cold).
Final Thoughts
Winter outdoor sports are a blast, but a frozen hydration bladder can really throw a wrench in things. I’ve gone from fumbling in the cold to confidently sipping water in snowy subzero temps—all thanks to these little lessons. I hope my experiences help you stay hydrated and enjoy your adventures. Got a killer tip of your own? Drop it in the comments—I’d love to hear it, and we can all learn something new!